Things You'll Need
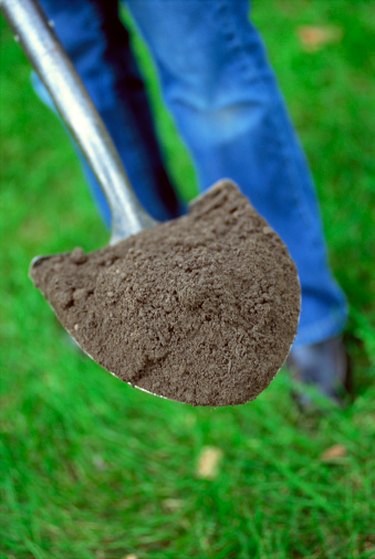
Shovel
Garden hoe
Wheelbarrow
Large stones or gravel
Landscaping cloth
Excess water can erode landscaping, damage home foundation and create a very muddy and messy situation for a homeowner. To prevent water buildup and collection in a yard, create a drainage ditch that will naturally allow excess water to flow away from the yard and home. A drainage ditch creates an avenue or pathway for water to flow, which corrects the issue of standing or collecting water. To create the best flow of water, the best angle for a drainage ditch is downhill or sloping to create a gravitational pull to flow the water away from the yard. A drainage ditch can be left with a gravel or stone bottom or can be planted with grass to disguise the ditch if desired.
Digging a Drainage Ditch
Step 1
Remove grass, plants and vegetation from the path of the drainage ditch. Use the shovel to clear the top of the ground or a hoe to help remove tough rooted grass or plants.
Video of the Day
Step 2
Dig the drainage ditch using the shovel. When digging, place the removed soil into the wheelbarrow for use later, do not discard the soil. The ditch needs to be 1 foot wide and starting at 1 foot deep at the highest point of the ditch. As you progress in digging the ditch, it must slightly slope downward. Remember to keep the ditch sloping downward for proper drainage of water.
Step 3
Line the bottom of the ditch with the large stones or large-sized gravel. If using gravel, make certain the gravel is big enough that the water can't move it and create a blockage. The stones or gravel will prevent the water from eroding the bottom of the ditch and enlarging or deepening the ditch.
Planting over Ditch
Step 1
Lay a flat, thin layer of landscaping cloth over the stone or gravel bottom of the drainage ditch. This step is only required if you plan to plant grass over the ditch to disguise its appearance.
Step 2
Create a 1-inch layer of soil over the landscaping cloth. This soil can be new potting soil or can simply be soil that was removed when digging the ditch.
Step 3
Seed the soil with grass seeds and water. The grass will grow over the drainage ditch. Because the ditch still has pitch and slope, water will flow away from the yard and home, but the drainage ditch will be less obvious in the yard.
Tip
If not planting over the ditch, the soil removed in creation of the drainage ditch is great to save and use in gardens or to level other areas of the yard or property.
Warning
For the drainage ditch to function properly, the highest point of the ditch should be the area where water is standing and the lowest point of the ditch is where the water will drain. If the yard does not have a natural slope, the drainage ditch will need to be dug to create a natural slope for the water to drain properly.
Video of the Day