Things You'll Need
Wire strippers
Flat-head screwdriver
Honeywell manufactures digital thermostats for residential air conditioning and heat pump systems. A digital thermostat precisely measures temperature and its display screen lets a user make temperature adjustments as small as one degree. A Honeywell digital thermostat receives its power from a set of low-voltage wires that lead to the air conditioner's inside unit, called the air handler or furnace. When the Honeywell digital thermostat detects a demand, when the temperature no longer remains within the thermostat's tolerance levels, it sends a low-voltage signal back to the air handler, causing the system to turn on.
Step 1
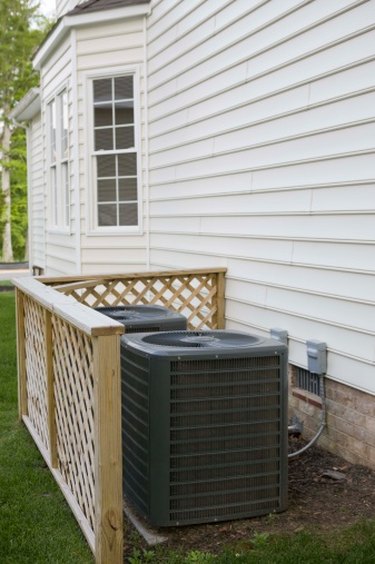
Turn off the electricity to the air handler at its circuit breaker or fuse box. The correct circuit breaker or fuse uses an "Air Handler" or "Furnace" label.
Video of the Day
Step 2
Remove 1/4-inch of the insulation from each color-coded thermostat wire with wire strippers. Keep the ends of the wires straight.
Step 3
Push the end of the wire with red insulation into the space under the thermostat's terminal labeled "R." Tighten the terminal screw with a flat-head screwdriver. Wire terminals on a Honeywell digital thermostat's sub base, the part of the thermostat that mounts to the wall, contain small spaces directly under the terminal screws for the wires slide into. The air handler sends a 24-volt power source to the thermostat through the wire with red insulation.
Step 4
Push the end of the wire with yellow insulation into the space under the thermostat's terminal labeled "Y." Tighten the terminal screw with the flat-head screwdriver. The "Y" terminal on a Honeywell digital thermostat operates an air conditioner or heat pump's cooling cycle.
Step 5
Push the end of the wire with white insulation into the space under the thermostat's terminal labeled "W." Tighten the terminal screw with the flat-head screwdriver. The "W" terminal on a Honeywell digital thermostat operates an air conditioner or a heat pump's primary heating stage.
Step 6
Push the end of the wire with pink insulation, if used, into the space under the thermostat's "W2" terminal. Tighten the terminal screw with the flat-head screwdriver. The "W2" terminal on a Honeywell digital thermostat operates a heat pump's secondary heat source.
Step 7
Push the end of the wire with tan insulation, if used, into the space under the thermostat's "E" terminal. Tighten the terminal screw with a flat-head screwdriver. The "E" terminal on a Honeywell digital thermostat powers a heat pump system's emergency heat. Most heat pump models only use two heating stages -- W and W2 -- and do not use this terminal.
Step 8
Push the end of the wire with green insulation into the space under the thermostat's terminal labeled "G." Tighten the terminal screw with the flat-head screwdriver. The "G" terminal on a Honeywell digital thermostat operates an air conditioner or heat pump's fan relay.
Step 9
Push the end of the wire with brown insulation, if used, into the space under the thermostat's terminal labeled "C." Tighten the terminal screw with a flat-head screwdriver. The "C" terminal on a Honeywell digital thermostat connects to a heat-only or cool-only transformer's common terminal. Heat-only systems use the "Rh," "W" and "C" terminals; cool-only systems use "Rc," "Y" and "C."
Step 10
Push the end of the wire with orange insulation, if used, into the space under either the terminal labeled "O" or "B." Tighten the terminal screw with a flat-head screwdriver. The "O" and "B" terminals on a Honeywell digital thermostat send power to a heat pump's reversing valve. The "O" terminal operates the reversing valve during the cooling cycle and the "B" terminal operates it during the heating cycle. The heat pump's wiring diagram identifies the reversing valve and its operation. Usually only Rheem and Ruud brand heat pumps use the "B" terminal.
Step 11
Push the end of the wire with black insulation, if used, into the space under the terminal labeled "X." Tighten the screw with the flat-head screwdriver. The "X" terminal supplies the thermostat with a common connection.
Video of the Day