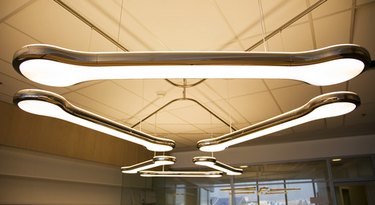
Fluorescent light fixtures comprised of four tubes are common in offices and many home kitchens. Just like any other light fixture, bulbs require replacement, and some testing of circuitry may be necessary when the lights do not operate correctly. To access the tubes or wiring, removal of the fixture cover is necessary. Removing the cover on a four-tube fixture is straightforward once you know how it connects. Most below-ceiling fixture covers simply snap on and off, while some have screws. Flush-fitting fixtures usually have some type of retaining clip, much like a window screen.
Step 1
Turn off the wall switch to the fluorescent light fixture. Place a stepladder under the fixture so you can access the cover.
Video of the Day
Step 2
Look for screws on each end of the cover, if you have a fixture that extends below the ceiling. Remove the screws with a Phillips-head screwdriver and slide the cover off the fixture.
Step 3
Squeeze the sides of the cover inward with your hands and pull the cover away, if there are no screws. These types of covers simply snap into a groove on each side of the fixture.
Step 4
Find two clips between the fixture and the ceiling, if your fixture is flush to the ceiling. Pull the arms of the clips away from the ceiling and gently lower the side of the fixture cover. These types of covers do not require full removal to access the light tubes or ballasts (the device that maintains electrical current in the fixture).
Video of the Day