Things You'll Need
Felt paper
Starter shingles
Heritage shingles
Roofing nails
Tape measure
Ladder
Nailer
Utility knife
Hip and ridge shingles
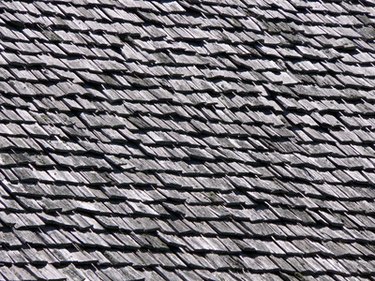
Tamko Heritage shingles are laminated asphalt shingles that come in a variety of colors. The Heritage line offers a 50-year and a 30-year warranty on their shingles and both varieties of shingles are treated with an algae-relief product. The shingles carry a 10-year algae relief warranty. This replaces materials for manufacturers defects for the first ten years. Installing Heritage shingles in either the 30- or 50-year variety is very similar to the installation of any other common kind of shingle and can be completed by most homeowners.
Step 1
Measure the size of the roof and figure out how many bundles of shingles will be needed. Three bundles is equal to 100 square feet. Nail down the felt paper covering the entire area of the roof. No. 15 or No. 30 felt paper will work.
Video of the Day
Step 2
Attach the starter shingles to the roof with roofing nails. Cover the edge of the roof starting 3 to 4 inches above the eave of the roof and going across the entire area. The starter shingles should hang 1/4 inches over the eave of the roof to help prevent water from leaking.
Step 3
Nail the first full piece of shingles in the bottom left hand corner of the roof. Make sure it is hanging over 1/4 inch from the eave so it covers the starter shingle. Each shingle is around 40 inches long. Cut 10 3/8 inches from the second shingle with a utility knife and nail the remaining 29 inches just above the first shingle starting on same side. Cut a 23-inch-long shingle and nail it above the second shingle beginning from the left side. Nail the remaining 16 3/8-inch piece for the fourth row and the left over 10 3/8-inch piece for the top row. Nail both pieces down just like the first three rows. Continue in this pattern until the entire roof has been covered with the exception of 5 inches at the top.
Step 4
Cut holes in the shingles to the correct size to fit over the roof and gable vents. Nail down the shingles along the top of the roof for the ridge cap. Use Tamko hip and ridge shingle products for this application. These shingles should be 5 inches wide and run along the top of the roof. Check the roof for nails sticking up and remove any extra roofing materials that are leftover.
Video of the Day