Things You'll Need
8D finishing nails for sheathing
16D nails for framing
Hammer
Pencils
Chalk line
Speed measuring square
Tape measure
2-by-4 wooden beams
2-by-6 wooden beams
2 ladders
4-foot Level
Metal flashing
Diverter
Jigsaw
Circular saw
Air compressor
Framing nailer
Power drill
Vinyl waterproofing cover
Glue
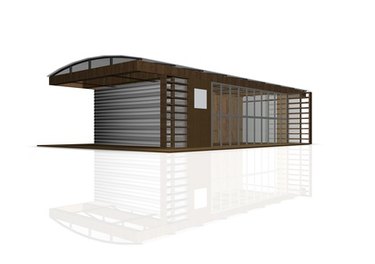
The advantages of a flat roof garage are its efficient use of urban space, control of water flow to the drainage system and its inexpensive costs. A flat roof garage built with joists span the gap between two walls. "I-Joist" wood beams, shaped like the capital letter "I," add strength to the garage and roof top. They provide additional firmness needed to withstand the pull of the garage doors over time as they open and close. Building a flat roof that will not leak requires a solid plan and sealing the roof top with a glue-down rubber membrane system.
Building a strong foundation
Step 1
Install a concrete slab for your garage. Follow city code. After cured, start framing the walls. Measure slab and cut treated 2-by-4 boards to make bottom, or sill plate. Anchor down sill plate to slab with bolts 12 inches from the cut. Your starting wall is the full width of the slab foundation. The side walls overlap the ends of the first wall. Assemble starting wall on the ground and move it aside.
Video of the Day
Step 2
Build the lower ledger wall, the horizontal piece of timber, at the back end of garage. The opposite wall will have the higher ledge. Build the side walls. After the two side walls are built, lift the first wall onto the anchor bolts, hold in place and thread the washers and nuts on the bolts. Continue process with the rest of walls. Nail both walls together with 16D nails at the corners and match up the edges. Stand on the ladder and add a corner brace across the two top plates.
Step 3
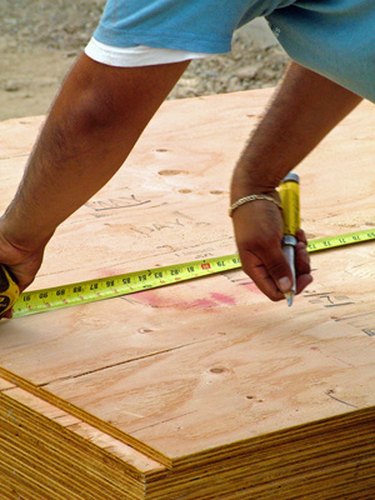
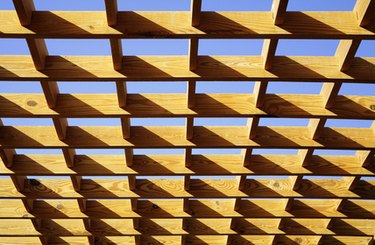
Sheath the outside walls. Nail in plywood every six to eight inches on interior studs with 8D nails in the nailer. Measure and cut wood hangers for your roof. Mount hangers on two opposite walls, at 16 inches, or 24 inches if using 2-by-6 wooden beams. Timber beams must be inserted between the joists at least at 24 inches to avoid twists in the joists. Measure pitch with level, cover with plywood and nail down.
Step 4
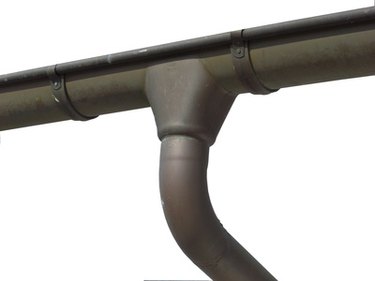
Use a gutter at rear overhang if you have a slight pitch. Any pitch over 10 degrees may have to dispose of rainwater. Sagged joists allow rainwater to pool at low points in roof, so Install a roof drain. Cut out a 6-by-12 inch inch drain spout hole in the roof's plywood. Around the drain hole, wrap up the metal flashing, edging and diverters. Run aluminum piping down to drain.
Step 5
Lay down the roofing underlayment on the top of the roof. Screw down underlayment into plywood. Dry fit the roofing for size. Once it fits, glue down the rubber. Finish the edges and use economical panel-siding to match house or other buildings in area.
Tip
If you use roll roofing on a flat garage, "Duralast vinyl system" and "Torch-down rubber roof system" cost the same and have a 15-year warranty. Installation of asphalt on flat roofs can be harmful to the environment and the installers. Some urban areas do not allow hot mop roofs because of the fumes contributing to smog and high levels of air pollutants.
Warning
Wear safety goggles when cutting wood. Post your city building permit at the job site. Black covered shingles on top of a flat roof will cause leaking. The pitch of the roof is essential for avoiding puddles and leaks.
Video of the Day