Things You'll Need
Doll
1 cup flour
4 cups water
1 cup glue
Large mixing bowl
Scissors
White paper or cloth (amount relative to the size of your doll)
Foam rectangle (relative to the size of your doll)
Brown acrylic latex paint
Ancient Egypt had fascinating cultural customs, and mummification was a popular one that many children learn about in school. One way to teach students about mummification is to do a mummy project. Making a mummy is a fun way for students to learn and use their imagination.
Step 1

Start by cutting off any hair on the doll. Though you can use most any doll, a good doll for this project is a base, crafts doll used in doll-making, as they are already hairless and are a good size. Find them at most crafts store.
Video of the Day
Step 2
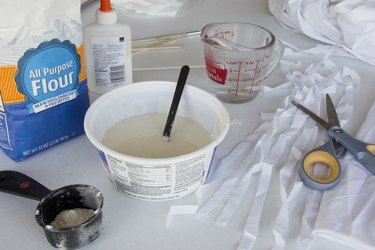
Mix 1 cup flour, 4 cups water and 1 cup glue into a thin paste in a large mixing bowl. Cut plain white paper or thin white cloth into 1/2-inch-wide by 12-inch-long strips.
Step 3
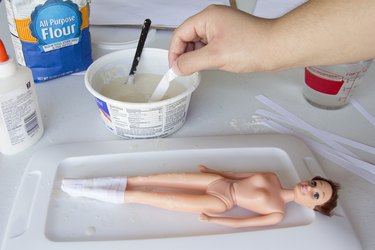
Dip one of the strips into the mixture, making sure it is thoroughly covered in paste, then wrap it around the feet of your doll. Repeat until the doll has been covered with a thin layer of strips. Allow to dry for at least an hour.
Step 4
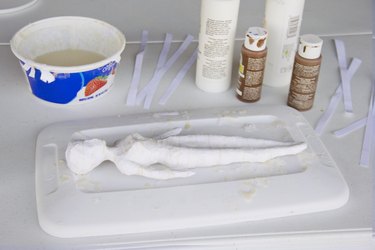
Repeat Step 3 three times, allowing each layer ample time to dry between applications.
Step 5
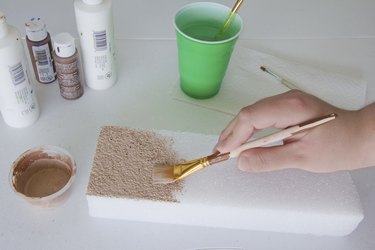
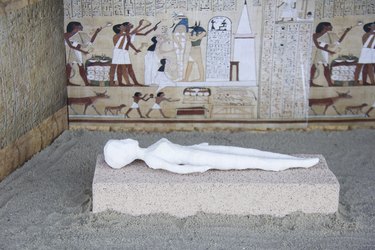
Cut the foam rectangle so that it is slightly larger than the doll. Cover with the paint and allow to dry. Glue your doll to the brown rectangle, and your mummy is lying in its tomb.
Video of the Day