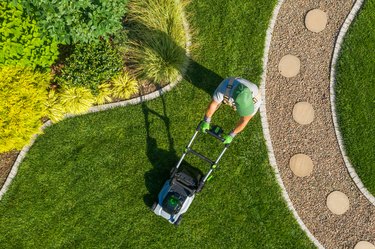
If you've struggled with ensuring your lawn gets enough nutrition or you're tired of seeing clippings littering the grass, a set of mulching blades for your John Deere mower may solve many of your problems. Furthermore, mulching allows you to mince the grass into smaller parts and distribute it directly back into the lawn. This will make it easier to decompose and contribute nitrogen and other nutrients to the soil. Mulching may not be right for all yards, however, and you may wish to remove the mulching blades at times. Knowing how to put them on and take them off is important.
John Deere 42 Mulching Kit Installation
Video of the Day
The primary act of installing a mulching kit is changing the mower's blades from regular to John Deere mower mulching blades and ensuring the discharge chute is sealed. The mulch kit installation process is similar to the process of replacing the blade. Of course, the blade you'll be using is the mulching blade.
Video of the Day
You will need to be certain to place the mulch plug in the discharge hole. Properly installing and maintaining the mulching blades on your John Deere 42-inch mower will yield the best results and keep your machine in its best condition.
Sharp mulching blades are key to effective mowing. Dull blades are not only visually displeasing but the torn and jagged edges of grass can invite disease and pests. When replacing your mower's blades, take proper precautions. Wear closed-toe shoes, long sleeves and pants and work gloves. Remove both blades, holding the blade on which you're working in a gloved hand and removing the locking nut with a wrench. Retain the nut and remove the unsecured blade.
Next Steps in the Process

Once you've placed the new blade over the mounting stud, ensure that the cutting edge turns clockwise and secure it with the reserved nut. Repeat this process on the other side and check that both blades rotate without interfering with each other.
The mulch plug should be secured with a carriage bolt installed from the underside of the mower. This can only be done once the discharge chute deflector is closed. You'll need to secure the carriage bolt with a wingnut on the exterior of the mower.
Important Safety Considerations
While working on a mower using a jack to access the blades, be absolutely sure you are working on a flat surface, that the key to the ignition is removed and, if possible, that the spark plug is disconnected. The mowing deck should be raised to its highest level to provide the most access to the blades and their mounting stud.
An extra safety measure you may take is to place a block of wood between the blades while you are working. There are two blades between which to place a block. While this may seem like overkill, there is no such thing as having too many safeguards in place.

If you've successfully changed the blades and have sealed the discharge chute, you can lower the mower and reassemble the spark plug. Then, return the mowing deck to your preferred level.