Things You'll Need
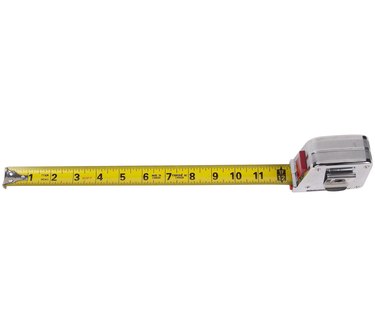
Tape measure
Drainpipe or drain tiles
Shovel
Gravel
Landscape fabric

Artificially lowering the water table was the primary method early European settlers used to drain areas with poor soil drainage for development and agriculture. This method is still used today by land managers and farmers to increase crop production in low-lying areas. These techniques can easily be adapted for the home garden. In some cases, lowering the water table is necessary to prevent standing water, which can cause root rot and suffocate plants. Sometimes, amending the soil with the addition of sand may help the drainage issue. If not, you can create a channel to lower the water.
Step 1
Find out whether or not lowering the water table on your property is permitted. Some areas may have regulations against certain management practices, especially if they involve wetlands. Check with your city hall and state natural resources agency.
Video of the Day
Step 2
Contact your utility company before any digging to make sure that your drainage channel will not damage any underground cables.
Step 3
Create a channel system to drain excess water. Purchase flexible drainpipes at a home improvement or garden center. Measure for the length of pipe that will be necessary to channel water to a desirable location, such as a storm drain.
Step 4
Dig a trench the length of the drainpipe. Gradually slope the trench so that water will drain adequately. Make sure the trench is deeper than the height of the drainpipe by about four to six inches.
Step 5
Line the trench with a layer of gravel about two inches deep. The gravel ensures the water will still be able to drain around the pipe. Position the drainpipe in the trench. Alternately, you can also use drain tiles. Drain tiles are lengths of perforated pipe.
Step 6
Cover any joints along the length of the drainpipe with landscape fabric. The fabric will prevent any soil or other debris from getting into the pipe and clogging it. This step is essential to prevent surface flooding should the drainpipe become clogged.
Step 7
Cover the trench with another layer of gravel about four inches thick in order to anchor the drainpipe in place and to prevent it from being dislodged.
Step 8
Hide the drainage trench with another layer of landscape fabric and topsoil if you wish to disguise it. Lay sod along the length of the trench for a quick solution.
Step 9
Create a landscape feature by topping the gravel with river rock to the drainage area. Line the flanks for the trench with larger stones. Water-loving plants such as marsh marigold or Japanese silver grass will create an attractive, colorful arrangement.
Tip
Check into renting a trench digger at a rental store to save your back, especially if your channel is long.
Warning
Always make sure the channel is not creating an issue elsewhere with flooding.
Do not skimp on the final gravel layer. Line the trench with the full four inches of gravel.
Video of the Day