Do you have a pile of ripped or ruined clothing just waiting to be mended? Use these three clever ideas to conquer your closet and creatively mend your own clothes. Mending not only saves money, it adds new life to your favorite wardrobe items. Using only a few simple skills, your stained or torn clothing can be easily repaired so they're ready to be worn again.
Video of the Day
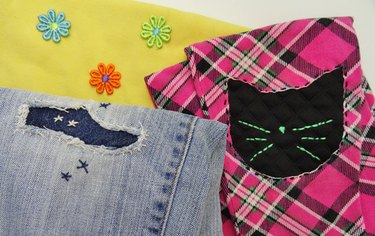
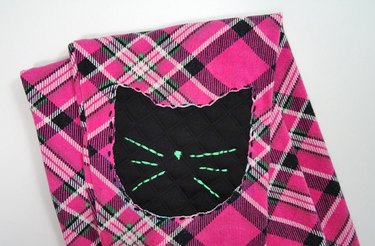
Reverse Appliqué Patches
A garment patch can be customized to any shape or size, which means it can cover tears and stains of any size.
Video of the Day
Use a stretchy knit fabric to repair a stained or torn tee or leggings. A woven denim or cotton fabric is ideal for jeans or pants.
Be creative with the patch shape — cut out a circle, oval, teddy bear or cat head complete with whiskers!
Things You'll Need
Damaged clothing item
Scrap fabric for the patch
Step 1
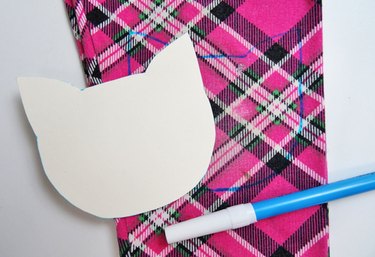
Draw your desired patch shape around the damaged area. It may be simpler to draw the shape on a piece of scrap of paper, cut it out and then trace it on the fabric.
Make sure the fabric scrap you'll use for the patch is larger than the shape.
Step 2
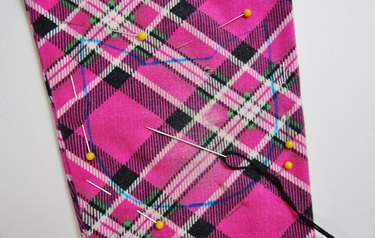
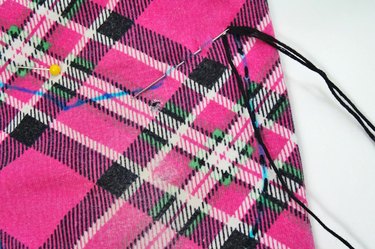
Place the fabric scrap under the fabric where you traced the shape. The right side of the scrap fabric should be facing the wrong side of the damaged garment, between the garment layers. Pin the fabrics together.
If you are mending something stretchy, make sure the fabric scrap stretches in same direction as your garment.
Step 3
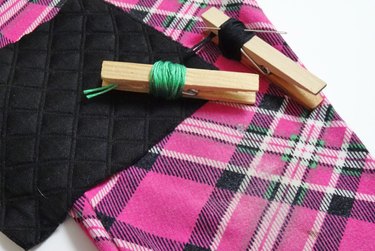
Thread the needle with embroidery floss. Make small stitches through both the scrap fabric and the garment, following your desired shape. Start and end your stitching with a knot hidden inside the garment.
Tip
Place a thick card or piece of plastic between garment fabric layers (ex: inside a pant leg) to make stitching easier.
Step 4
Carefully cut away the garment fabric inside the stitched area to reveal the scrap fabric. Be careful not to cut through the backing fabric.
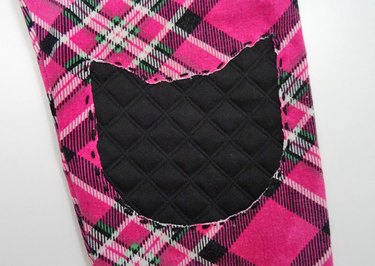
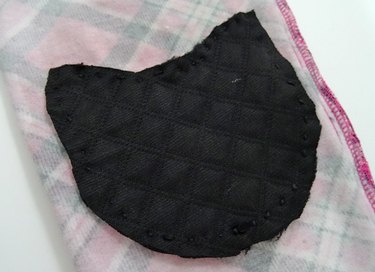
Step 5
Turn your garment inside out and trim any excess scrap fabric from the inside.
Step 6
If desired, embellish with more embroidery (like cats whiskers!).
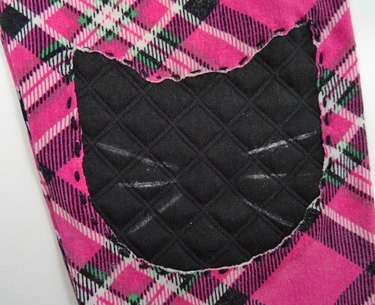
And done!
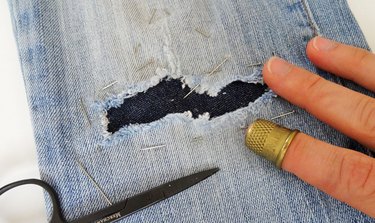
Visible Mending
Any torn garment, especially a pair of well-worn jeans, deserves a second chance. Create a like-new piece of clothing with some simple hand-stitching and a scrap of fabric.
Things You'll Need
Embroidery floss or thick thread
Sewing scissors
Thimble (optional)
Step 1
Flatten your garment so the original shape is preserved. Cut a fabric scrap to be larger than the tear so it covers it completely. Place the scrap fabric behind the tear and pin it in place.
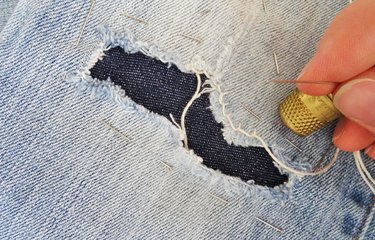
Step 2
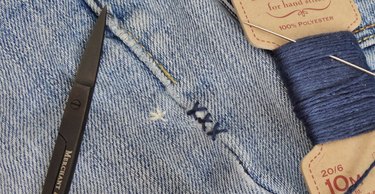
Thread your needle with embroidery floss. Stitch through and around the scrap fabric to secure it. Use a blanket stitch (as shown in the photo below), straight or another decorative stitch.
Step 3
For a decorative touch, add extra stitching like star shapes. Be creative!
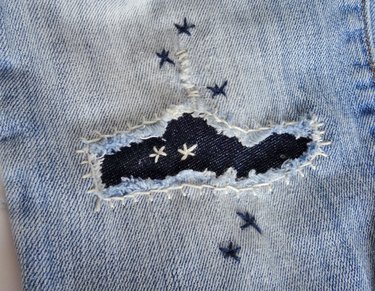
Step 4
Adding more stitching elsewhere on the garment will make your mend look more purposeful. These X shapes on the side-seam to add to the unique look of the jeans.
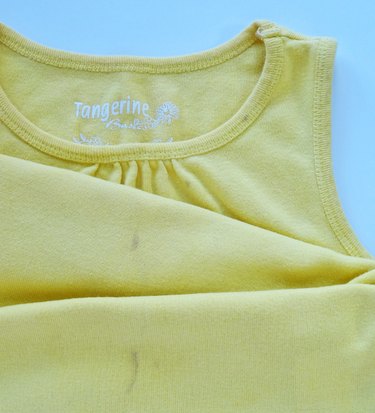
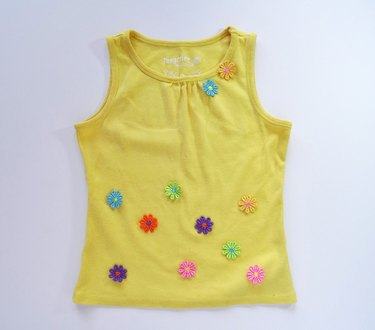
Stain Cover-Up
Shirts and tees bear the brunt of most food stains. For those stains that just won't come out, just cover them up with this simple idea.
Things You'll Need
Ribbon flowers, patches or other embellishments
Sewing needle
Thread
Straight pins
Fabric scissors
Step 1
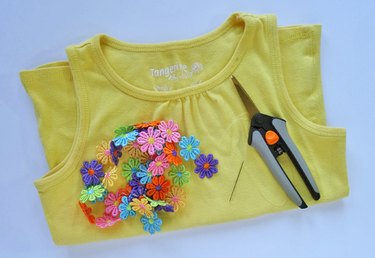
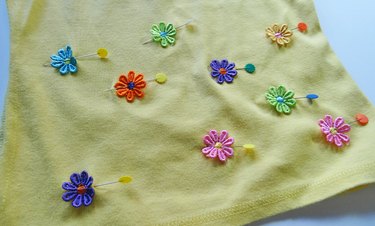
Position your embellishments over all the stains. Add additional embellishments as necessary to make sure your mending looks purposeful. Pin each one in place.
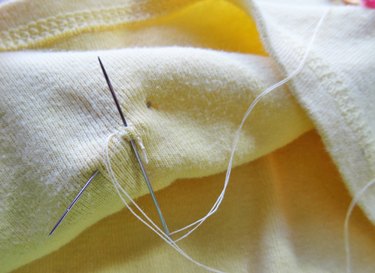
Step 2
Thread the needle and tie a knot at the end. Starting on the inside of the garment, hand-stitch an embellishment to your garment with a few stitches. End your stitching with a knot on the inside of the garment to hide the stitching.
Step 3
Repeat until all pinned embellishments are secure. Enjoy your stain-free garment!
Elevate your sewing skills with FREE online classes!
Enjoy step-by-step expert instruction as you create standout garments, accessories and home decor with FREE online sewing classes from Craftsy.