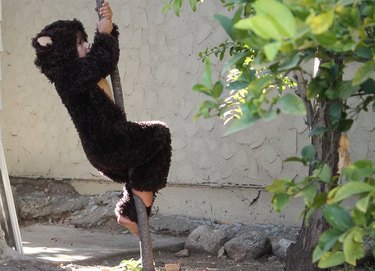
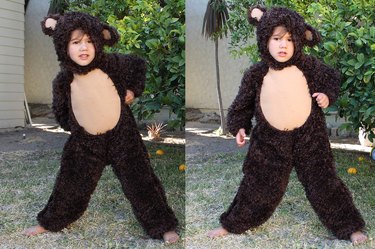
When it comes to easy DIY costume ideas for trick-or-treating, costume parties or your next Halloween party, you can't go wrong with a teddy bear costume. This animal costume is an adorable baby costume and also works for older children or even adults. It's easy to make if you need last-minute Halloween costume ideas.
Make your own bear costume for a child of any size using the printable pattern provided. All you need is a basic understanding of sewing, some furry fabric and a child to wear the costume. The pattern includes a hood with bear ears, but you can make this costume your own by attaching bear ears to a headband or wearing a bear mask instead.
Video of the Day
Video of the Day
By following this tutorial, you'll impress yourself with your costuming skills and melt the hearts of everyone who sees that round, furry bear face. You can even mix it up and use white and black fabric instead of brown and tan to make it a panda bear costume.
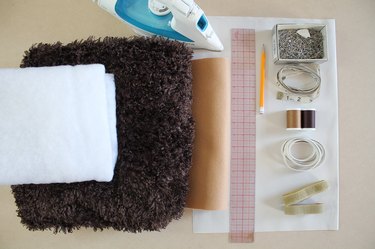
Things You'll Need
Tape measure
Printer
Pattern paper
Ruler
Pins
Scissors
2 yards brown fake fur or fleece (or the height of the child times two)
1/2-yard light brown felt
1/2-yard thin batting
All-purpose sewing thread in brown and light brown
Sewing machine with an all-purpose needle
Iron
1 yard of 1/4-inch elastic
1 yard of 1/2-inch sew-in hook-and-loop tape
Measure and cut the fabric
Measure around the chest of the child with a tape measure. Add 2 to 8 inches of ease to that measurement depending on the size or how loose-fitting you would like the costume. For example, a small toddler may only need 2 inches of ease, while a 7-year-old may need 6 inches of ease. Divide that total number by four to get the pattern width measurement.
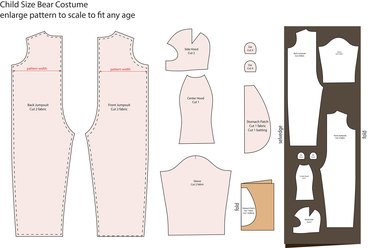
Print the template or pattern and enlarge it to scale until the pattern width measurement matches the width of the front jumpsuit. Compare the length of the sleeves and legs to the child and shorten or lengthen as needed.
For example, if the chest circumference is 20 inches plus 2 inches ease, then the pattern width would be 5 1/2 inches. If the chest circumference is 40 inches plus 8 inches ease, then the pattern width would be 12 inches. Print and enlarge the pattern to scale until the pattern width measurement matches the pattern width on the jumpsuit. In this case, the width of the pattern would be enlarged to 5 1/2 inches.
Pin the pattern pieces to the fabric as shown and cut out the amount indicated on the pattern.
Sew the front jumpsuit
Pin the two front jumpsuit pieces with the right sides of the fabric together. The right side of the fabric is the furry side. Sew a seam along the center front with a straight stitch 1/2 inch from the raw edge of the fabric. A standard stitch length of 2.5 will be used throughout the project. Trim the fake fur for less bulk at the seams.
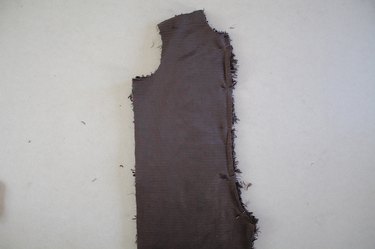
Prepare the stomach patch
Cut out a piece of batting using the stomach pattern piece. Trim the edges so that the batting is 1/4 inch smaller around all sides. Layer with as little or as much batting as desired.
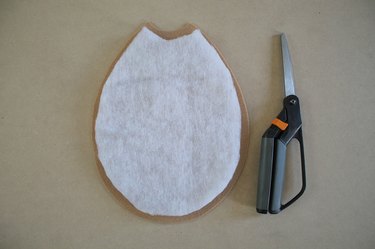
Sew the stomach patch
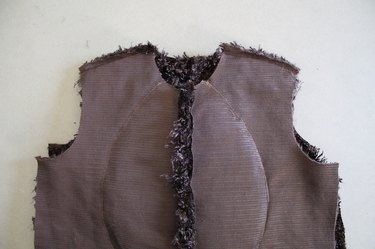
Place the stomach patch onto the outside of the front jumpsuit with the batting between the felt and fur. Align at the neck and center the piece over the jumpsuit. Topstitch on top of the stomach patch, close to the edge, through all layers.
To sew through the thick layers of fabric, place both hands on top of the fabric and press down as it gets close to the sewing needle. Sew slowly around the curve and use your hands to turn and guide the fabric as you sew.
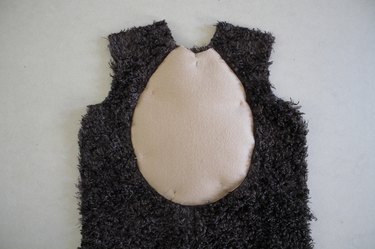
Sew the back
Pin the back jumpsuit together along the center back seam with the right sides together. Sew a seam 1/2 inch from the edge below the notch.
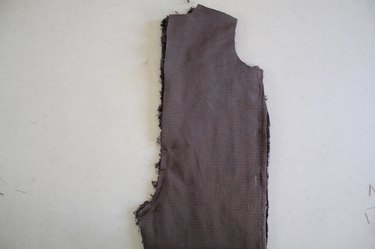
Add a closure
Cut a piece of hook-and-loop tape the length of the opening at center back. Fold the seam allowance under 1/2 inch and sew one side of the hook-and-loop tape onto the inside of the jumpsuit over the seam allowance, as shown.
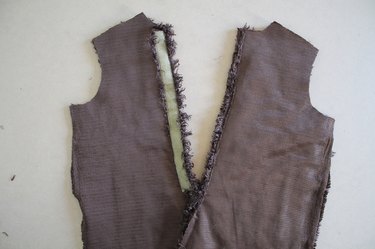
Sew the second piece of hook-and-loop tape onto the inside of the jumpsuit but allow it to extend past the folded edge. This will reduce bulk at the back of the jumpsuit.
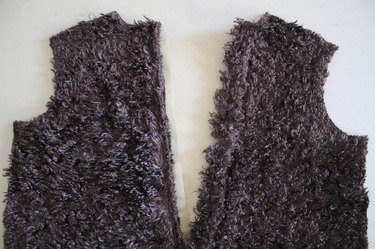
Sew the shoulder seam
Pin the right sides of the front and back jumpsuit together at the shoulders. Sew a seam 1/2 inch from the raw edge.
Prepare the bear costume collar
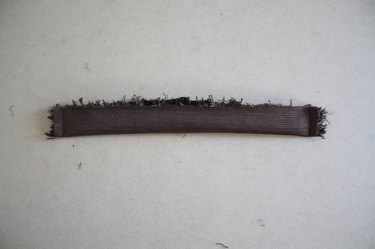
Fold the collar piece along the long side with the right sides together. Stitch a seam at both ends of the collar, 1/2 inch from the edge. Turn the collar right-side out.
Sew the collar
Pin the collar onto the right side of the jumpsuit at the neckline and align the raw edges. Sew a seam 1/2 inch from the raw edge. Turn the collar up and iron down the inside seam allowance with a low heat setting.
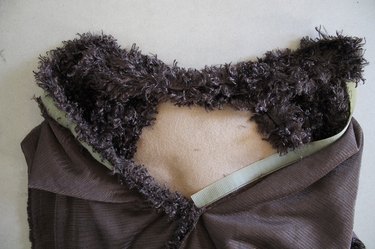
Sew in the sleeve
Lay the jumpsuit flat and pin the sleeve to the armhole. The sleeve should lay flat at the armpit and buckle at the shoulder of the armhole. Stitch a seam 1/2 inch from the edge. Repeat for the second sleeve.
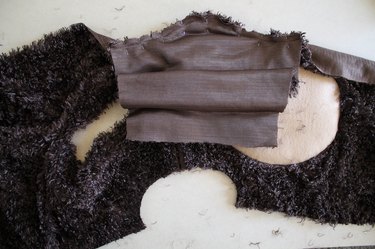
Hem the sleeves
Cut a piece of 1/4-inch elastic 2 inches smaller than the end of the sleeve.
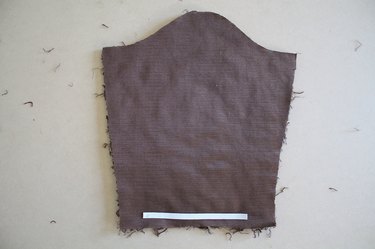
Fold up the bottom edge of the sleeve 1/2 inch and pin. Topstitch close to the raw edge of the hem.
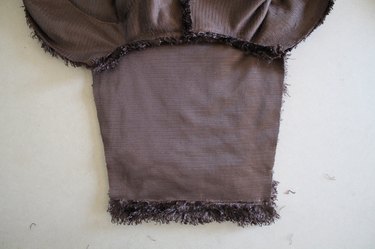
Secure a safety pin onto one end of the elastic. Use the safety pin to push and pull the elastic through the tunnel. Do not let the end of the elastic get hidden in the tunnel. Sew the elastic together at the ends with a straight stitch and backstitch a couple times to secure.
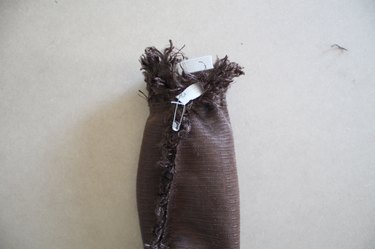
When sewn, allow the elastic to go completely into the tunnel. Stitch together the sleeve's side seam at the cuff to close the tunnel.
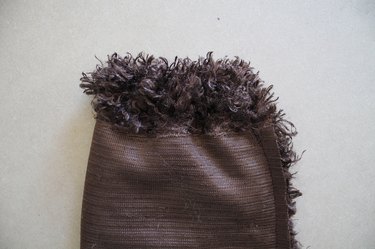
Sew the side seam
Lay the jumpsuit flat and pin the front and back pieces together at the side seam. Sew the side seam 1/2 inch from the edge, from the ankle to the wrist.
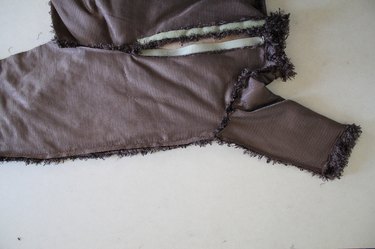
Hem the legs
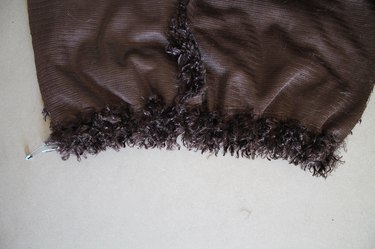
Cut a piece of 1/4-inch elastic 2 inches shorter than the width of the leg's hem. Fold the raw edge of the pants up 1/2 inch and topstitch it close to the raw edge. Place a safety pin on one end of the elastic and thread it through the tunnel just like the sleeve hem.
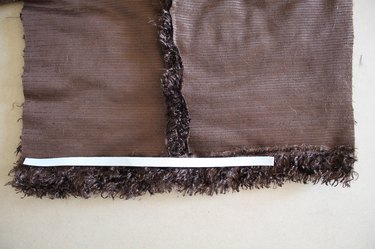
Pull the elastic through and sew it to the pants at each side seam.
Sew the inseam
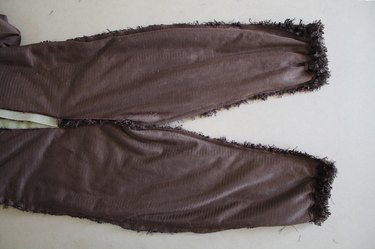
Lay the pants flat and pin the front and back leg of the pantsuit together at the inseam. Stitch the seam closed 1/2 inch from the edge.
Sew the bear costume ears together
Cut a piece of light brown felt approximately 1/2 inch smaller than the ear and topstitch it to two ear pieces.
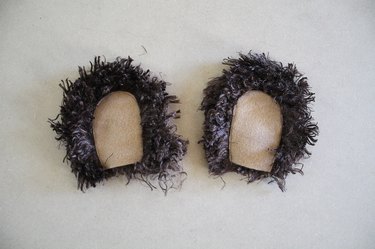
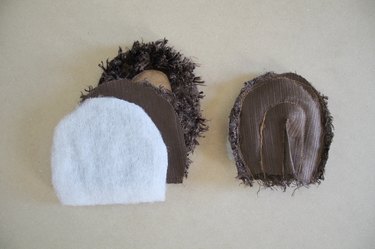
Place the front and back piece of the ear, right sides together, as shown. Add a piece of batting to the ear and place it on the wrong side of the ear, which is facing out. Sew the ears together through all three layers 1/4 inch from the edge. Turn the ears right-side out.
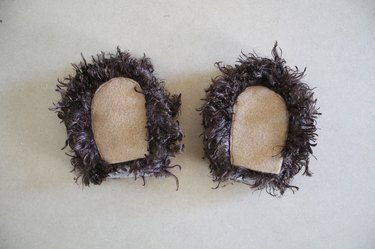
Sew the hood
Pin the ears to the dart on the side hood piece, as shown.
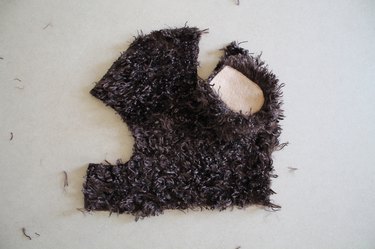
Fold the front of the hood over the ear and line up the raw edges of the dart with the raw edge of the ear.
Sew the dart together 1/4 inch from the edge. Repeat for the other side of the hood.
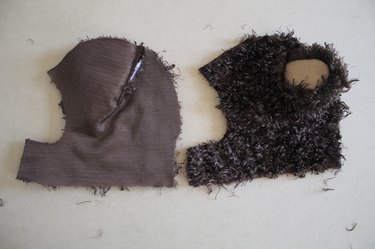
Pin the center piece of the hood to a side piece of the hood with the right sides together. Sew 1/2 inch from the edge. Repeat this step for the opposite side piece of the hood.
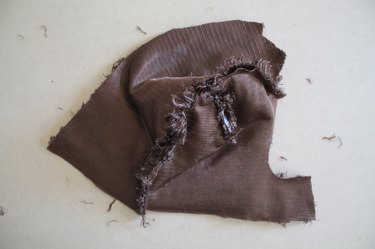
Finish the hood
Fold the raw edge of the hood along the bottom and the face opening 1/2 inch to the inside of the hood. Topstitch the hood close to the raw edge of the fabric to finish the edge.
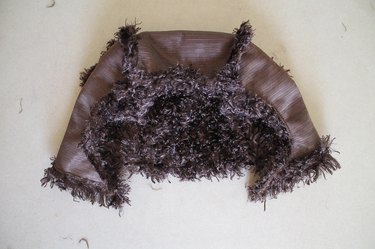
Cut a piece of elastic about the width of the front center piece of the hood. Stitch the elastic down at one end, backstitching it to the hood to secure.
With the sewing machine needle still lowered into the fabric and elastic, pull the elastic tight and sew over the stretched elastic. Trim the excess elastic.
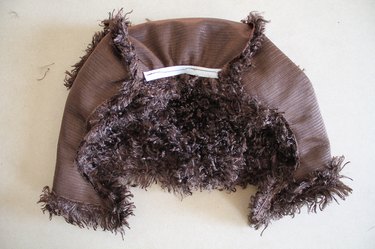
Add a piece of elastic to the back of the hood at the hem of the center piece, as shown. Repeat the previous step to secure the elastic to the bottom of the hood.
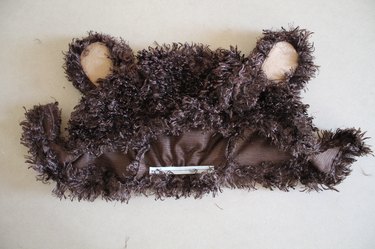
Add a square of hook-and-loop tape to the end of each chin strap. Stitch close to the edge of the hook-and-loop tape on all four sides. Add the opposite piece of hook-and-loop tape to the hood but allow it to extend past the hood's strap, just like the closure on the jumpsuit.
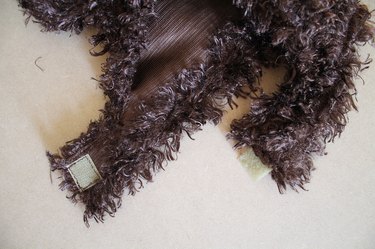
You have now finished the DIY Halloween costume, and the bear costume is ready to go!
