Projecting an image on the wall allows you to create detailed, proportionally accurate renditions of photographs and illustrations even without great artistic skill. Any type of projector that shows images accurately on a movie or projection screen will also work on a blank wall. Move furniture out of the room so you'll have plenty of space to set up the projector and blow up the image to the desired size for your mural.
Preparing the Projection Surface
Video of the Day
Before you project and trace the mural image or scenery, the wall must be completely clean. Paint it in the background color you desire for the mural. Dust the wall from top to bottom with a feather duster or static dust-removing cloth if the wall hasn't already been cleaned and painted for the mural project. Select a background or base color that dominates your desired scene; for instance, if the mural depicts a sailboat race, pick a sky-blue shade for the wall color. Painting the background color first is a must, because painting the backdrop around your foreground scenery may result in mistakes, forcing you to re-project or repaint some areas.
Video of the Day
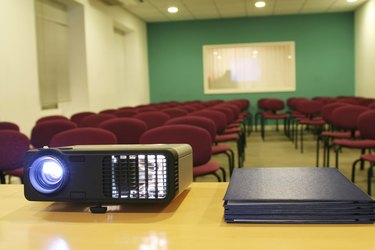
Picking the Projector
The perfect projector for the job is one you can access easily or inexpensively; for instance, borrow one from a community organization you belong to or rent it from an equipment rental shop. Opaque projectors and art projectors allow you to use actual photographs, magazine images, comic strips and even flat objects such as coins. These types of projectors have a chamber or projection area in which you place the object you wish to enlarge on the wall. Overhead projectors -- the type teachers use and draw on with grease pencils -- require clear transparency sheets for reproduction. You can also use a DVD projector if you wish to create a mural based on an image or still shot from a cartoon or movie.
Perfect Projection
Move everything out of the line between your project wall and the opposite end of the room, if you haven't done so already. Set the projector up on a chair or table 10 feet or so from the wall, or as far away as possible, and aim it toward the wall. For best results, the projector should be centered and pointing so its beam is perpendicular to the wall, rather than at an odd angle, which could distort the projection. Place your mural image in or on the projector; then plug in and turn on the projector. Adjust the size and clarity of the projected image using the controls on the projector itself, or by moving the projector forward or backward as necessary. Inspect the projected image from afar to ensure it is the size you need for the mural space.
Tracing and Preparing for Paint
Trace the outlines of all the projected imagery on the wall in chalk or with light pencil lines. Include the outlines of every key detail you wish to re-create on the mural, otherwise it may be difficult to paint the lines from memory. It may be difficult to cover every single detail or line, so simplify the work as much as possible. Think of the wall as a giant coloring book and your job at this point is to create the lines to fill in later.
The Painting Process
Once you've traced everything on the wall, go over the lines with an appropriate paint color and a thin paintbrush. Leave the projector on if you find it helpful, or turn it off so you can see the wall surface a bit better. Once your paint outlines are dry, fill them in with the desired paint colors. Add final details with artist brushes over the dry paint.