Things You'll Need
Computer
Microsoft Paint
Printer
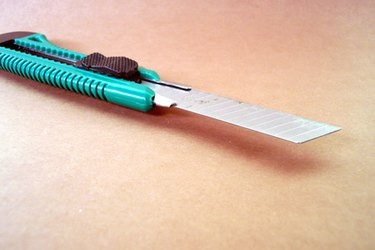
Utility knife

You can use Microsoft Paint to create stencils, using virtually any picture on your computer. Most people have Paint on their computer, since Microsoft puts it on Windows for free. Use pictures you find on the Internet or create digital copies of pictures with a scanner. Once you have used Paint to make the picture the right size, print it out and use the stencil as many times as necessary. If you damage the stencil later, you can use the same image file on your computer to make a new one.
Step 1
Click on the "Start" button or the Windows icon at the bottom left corner of the computer screen. Select "All Programs" or "Programs" then "Accessories" and click on the "Paint" icon.
Video of the Day
Step 2
Click on the "Image" link at the top of the window, then select "Attributes." Fill in the height and width boxes with a "1" and click "Ok." Click on "File" at the top of the window, then "Page Setup." Delete the number values in the four margin boxes. The computer will automatically fill in the smallest margin allowed. Click on the checked boxes next to "Vertical" and "Horizon" to remove the checks, then click "Ok."
Step 3
Copy the image you want to turn into a stencil. Right-click on the image in any program, then select "Copy." In Paint, click on "Edit" at the top of the window, then "Paste" to insert the image. If a box pops up and asks if you want to adjust the image's area, click on "Ok."
Step 4
Click on "File" and then "Print Preview" to see how the image will print on a page. You can now see how much of a printed page the image will take up. Once you are done viewing the print preview, click on "Close" at the top of the window. Select "Image" at the top of the window, then "Stretch/Skew." Type in different numerical values for the stretch portion "Horizontal" and "Vertical" text boxes to either shrink or expand the image. Make sure to type in the same number for both boxes, otherwise you will distort the image. Click "Ok" once you are done stretching the image.
Step 5
Open the image's print preview once more to make sure it is the size you desire. If you want to print the stencil, make sure the printer attached to your computer is turned on, then click "Print" to print the image. After the ink has dried on the paper, use a utility knife to cut out the image details and make a stencil.
Video of the Day