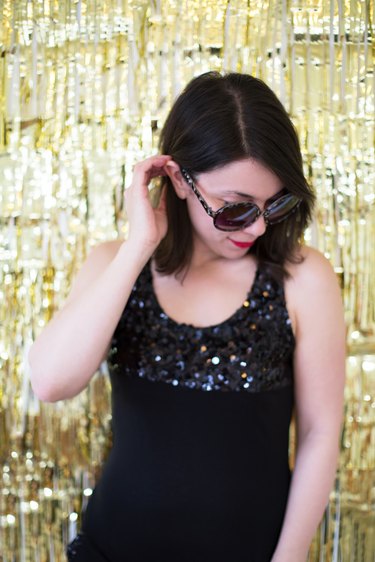
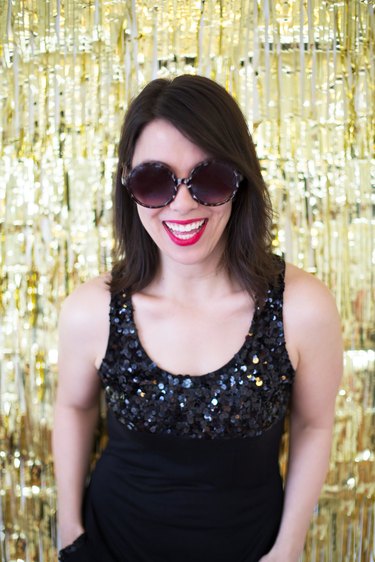
I love awards shows — the gowns, the speeches, the teleprompters that unexpectedly quit — I love it all. If you get into the festivities as much as I do, you'll appreciate how easy it is to set up a sparkly photo backdrop. You can make it in just about 30 minutes, and it'll take your viewing party to the next level. Give your guests the red carpet treatment and let them snap some photos while you're watching the stars do the same on TV!
Video of the Day
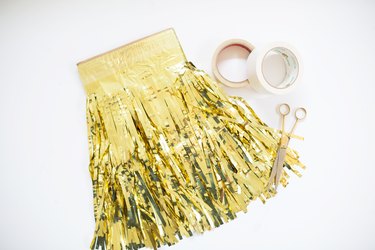
Things You'll Need
20-foot fringe garland like this one
Scissors
Masking tape
Duct tape
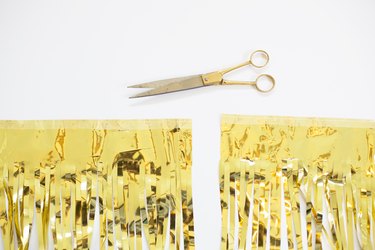
Step 1
Start by cutting lengths of gold fringe garland that are 5 feet each. You should be able to get four 5-foot sections.
Video of the Day
Tip
If you're having a particularly large party or would like your backdrop extra large, pick up two 20-foot garlands and cut five or six longer pieces, depending on how large you'd like it.
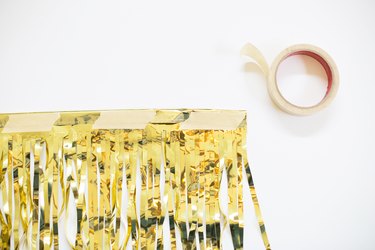
Step 2
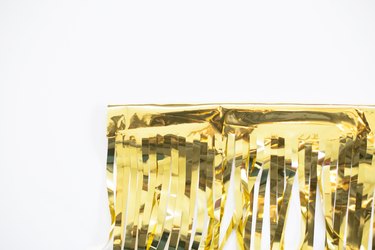
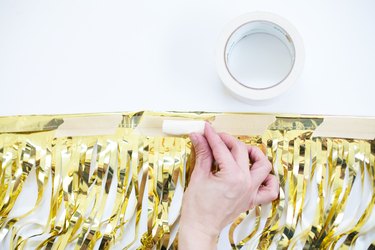
Give the fringe garland a finished top edge by folding the top band over on itself and securing with small pieces of masking tape. Do this across each 5-foot piece. This will be your back side, facing the wall.
Step 3
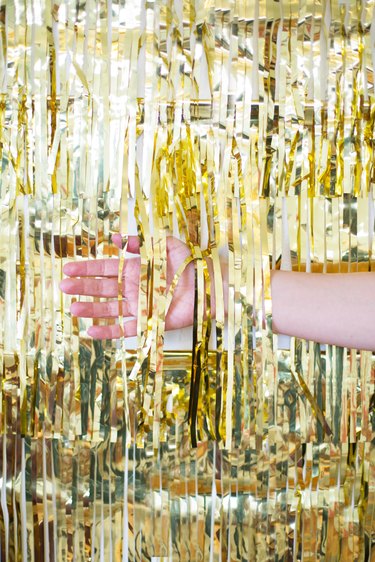
For each length of garland, cut about five pieces of duct tape, each about 2 inches long. Roll the pieces back on themselves so they're sticky on all sides. Place them along the top of the back side of the garland, each about 1 foot apart.
Step 4
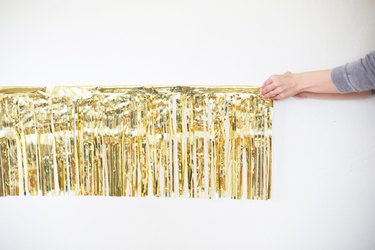
Hang the bottom row of your garland on a blank wall. Be sure that you step back to see that it's level.
Step 5
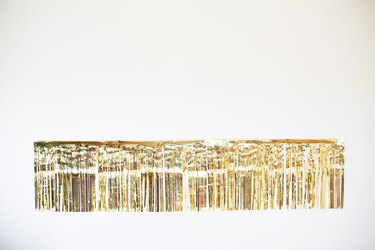
Repeat Steps 3 and 4 with the remaining lengths of garland, hanging each garland above the previous one so that the fringe overlaps by about 3 inches. Align the edges so that you end up with a solid block of gold.
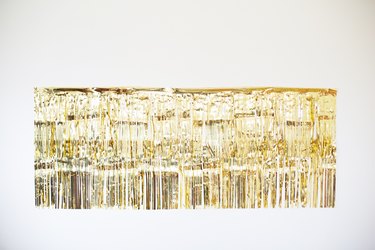
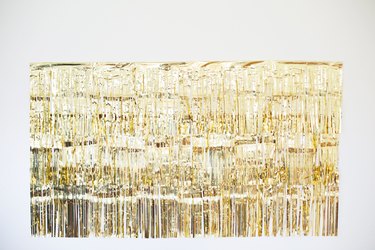
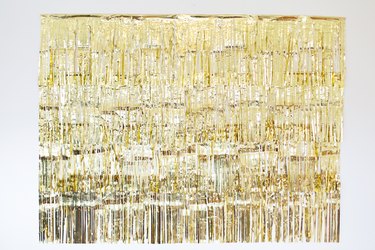
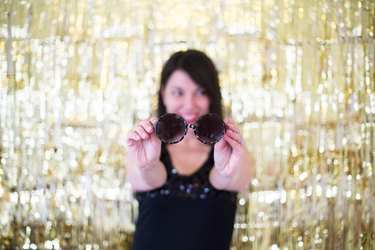
That's all there is to it! Set out a few props and snap photos of your guests in front of this beauty all night long. You could also use it as a backdrop for your snacks table, too. Either way, you're golden!