Granite countertops are both beautiful and hard working, offering you a solid surface on which to prep your food and to entertain your guests from. Despite the fact that granite is undeniably on-trend and one of the most luxurious products you can add to your kitchen, it does come with its fair share of maintenance requirements—namely the need to seal it at least once a year to prevent surface stains. Find out how to protect your granite countertops from damaging liquids with this tutorial, which shows you how to safely and properly seal the stone surface.
Video of the Day
Things You'll Need
Everyday granite surface cleaner spray
Paper towels
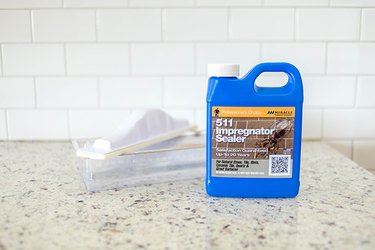
Liquid granite-sealer product
Plastic tray
Rubber gloves
Sponge or sealer product applicator
Clean white towel
Trash bags
Mineral spirits
Warning
Sealers are required for most porous, natural granites, but some countertop surfaces may not require sealant at all, such as commercial, man-made granites, quartzes, marbles, travertines, and soapstone countertops. Check with the manufacturer of your countertop for recommendations to ensure success.
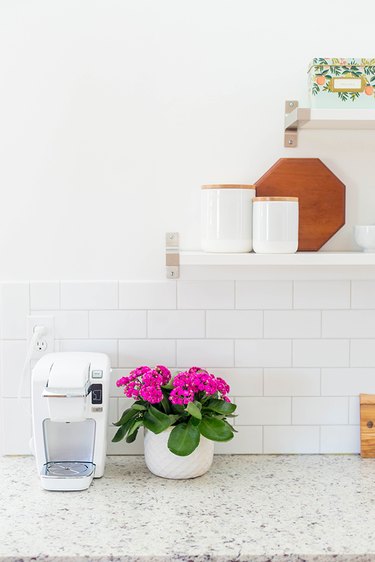
Step 1: Clear Your Countertops
Remove any appliances and kitchen accessories from the countertops. You'll want to have all of the granite exposed and cleared.
Video of the Day

Step 2: Wipe Down Counters With an Everyday Cleaner
Thoroughly clean your granite countertops with an everyday cleaner or spray before sealing. Make sure that any crumbs and lingering food spills are cleaned up entirely before proceeding.
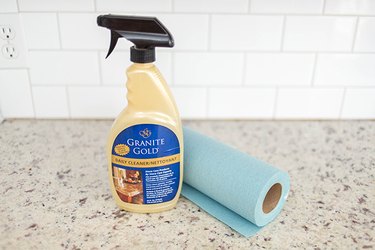
Step 3: Lay out the Sealer Supplies
Prepare by laying out all of your granite sealing materials before starting the project. Because this product is typically a potent chemical, it helps to have things like your tray, sealant applicator, rubber gloves, and paper towels (in case of spills) out and ready to go before starting.
Tip
Because of the strong smell associated with granite sealer, it may help to turn on fans and open windows for ventilation at this stage.
Warning
Be sure to keep pets and children away from the area while sealing your countertops due to the high strength of the chemical. It will dry to the touch within three to five hours, after which time your pets and kids can safely come back into the area with supervision.
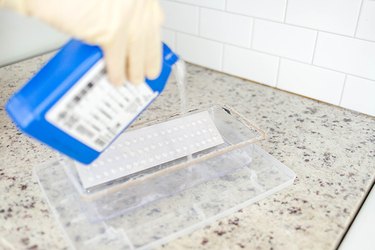
Step 4: Pour Sealer into a Plastic Tray
Put on rubber gloves, and then slowly pour just enough of the liquid granite sealer product into a plastic tray to cover the bottom of the tray by about 1/2 inch. You can always pour more product into the tray as needed throughout the process.
Tip
Many brands of granite sealers come with accompanying trays and applicators, which you can purchase as a set to make the process easier.
Warning
Because not all granite sealer products are the same, be sure to carefully review the instructions before starting the process.
Step 5: Apply the Sealer to the Counters
Dip the applicator or sponge into the granite sealer in the tray, and lightly press it against the side of the tray to get rid of the excess. Apply an even layer of the granite sealer product to the stone using a slow and steady back and forth motion. Run your applicator back over the surface to remove any bubbles or ridges in the sealer.
Tip
If your kitchen is large with several sections of stone to seal, work in small sections as opposed to sealing the entire granite surface at once.
Warning
Be aware that granite sealer is often very thin and liquid-like as opposed to a gel texture, so drips are common. If spills or drips occur on other surfaces such as wood or tile, wipe them up immediately with a clean paper towel.
Step 6: Ensure a Smooth Finish
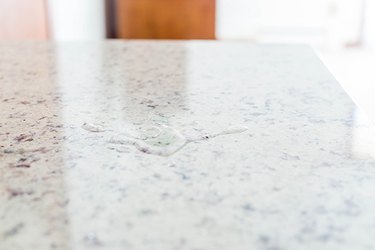
After applying the sealer to the first area of granite, lean down and inspect the stone in a reflective area. Check to make sure that the sealer smoothly coated the surface without bumps or ridges. If any ridges occurred, simply reapply the sealer to that area and repeat until smooth.
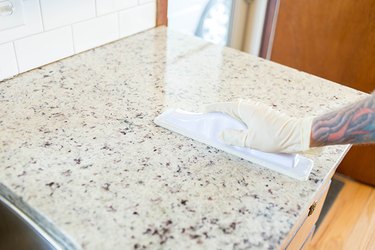
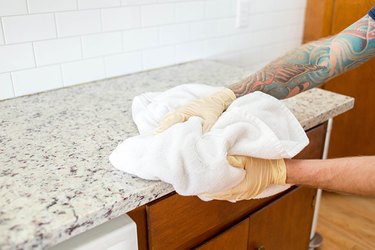
Step 7: Wipe Down the Counters
Allow the sealer to cure for three to five minutes, and then wipe the counters down with a clean, white towel. Repeat steps 4-7 on all areas of the granite, working in small sections at a time. When finished, dispose of any used sponges, applicators or paper towels in a trash bag. If you choose to reuse your sponge or applicator, you may clean it with mineral spirits.
Tip
Dry times may vary, so read the instructions for your particular sealer product carefully.
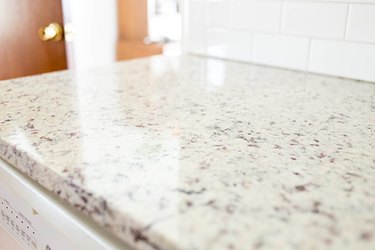
Step 8: Test for Proper Seal
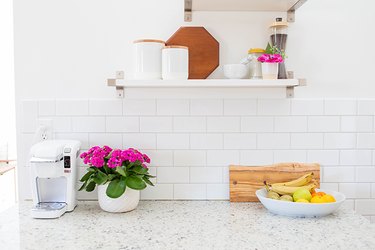
Once the entire granite surface has been sealed and wiped down, it will dry to the touch within three to five hours. Allow it to fully cure for 24 to 72 hours before placing appliances and accessories back on the counters.
You can check to make sure the granite sealer worked by sprinkling a bit of water on the counter. If it beads up without soaking into the granite, than you did the process correctly. In the end, your freshly sealed granite countertops will be impervious to liquid stains for at least six months to a year. Be prepared to repeat the process annually.