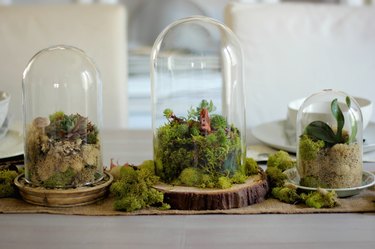
Glass cloche terrariums are not only appealing to the eye, but they also preserve a bit of nature in your home and serve as a simple, yet beautiful, piece of art. Closed terrariums are easy to care for, as they retain much of their own moisture and provide a warm environment with a consistent level of humidity. You won't have to water the terrariums unless you see that the walls are not misting up. Small growing plants that don't require a lot of light work best such as succulents, ferns, moss, even orchids.
What You'll Need:
Video of the Day
- Cloche
- Planter saucer, small shallow dish or desired platform
- Floral foam oasis
- Ruler
- Spoon
- Floral wire pins or paper clips
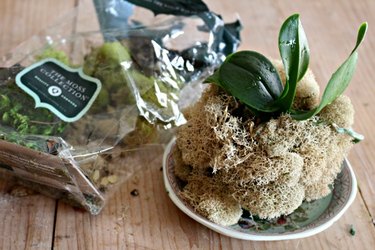
- Small plants (from a florist or nursery)
- Moss
- Tweezers
- Other small decorative items (optional)
Video of the Day
Step 1
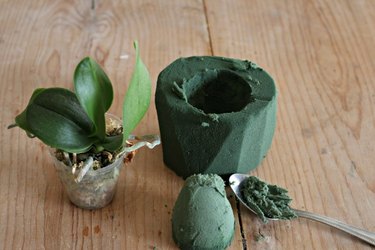
Measure the circumference of your cloche and cut the foam oasis about 3/4 inch (2 cm) smaller. Place the foam oasis into a container full of water and allow to soak until it sinks to the bottom. Dig out a hole on the oasis large enough to fit your plant, being careful not to pierce all the way through to the bottom.
Step 2

Insert your plant into the hole.
Step 3
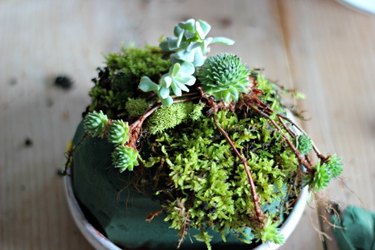
You can add various plants if you wish.
Step 4
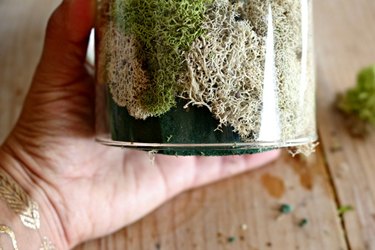
Using floral pins, attach enough moss around the oasis to cover it.
Step 5
Gently place the cloche over the oasis. The glass may push some of the moss upward, exposing some of the foam.
Step 6
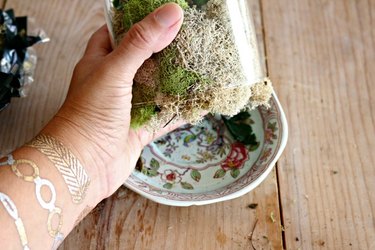
Simply pull down the moss with tweezers or insert more moss to fill in the empty spaces.
Step 7
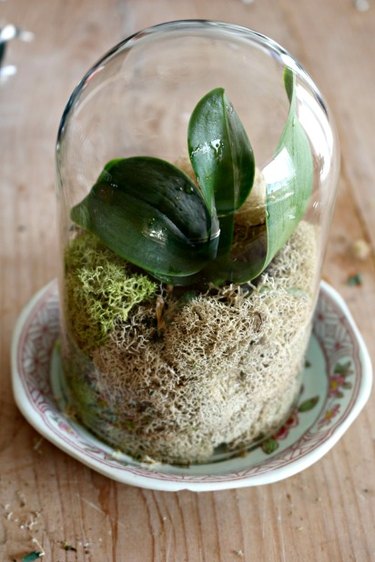
You can use any platform you wish. In this case, a small saucer was used.
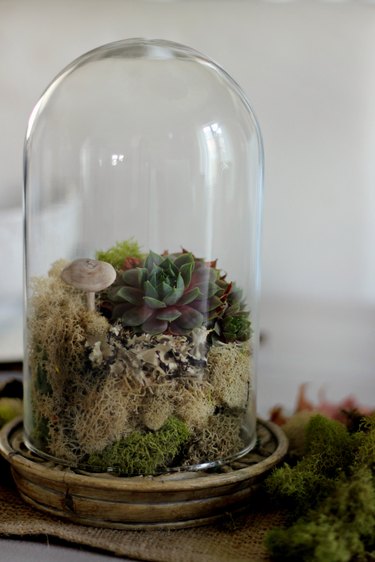
Step 8
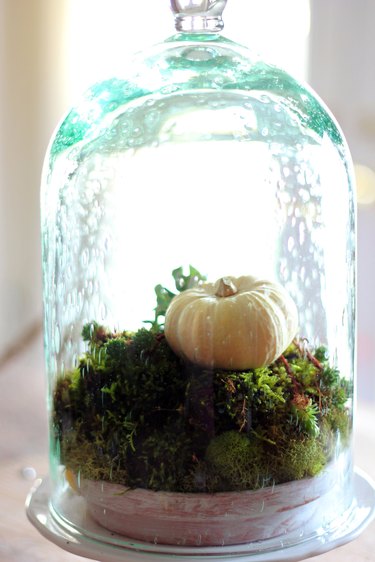
This particular terrarium rests on a planter saucer and features a small white pumpkin.
Step 9
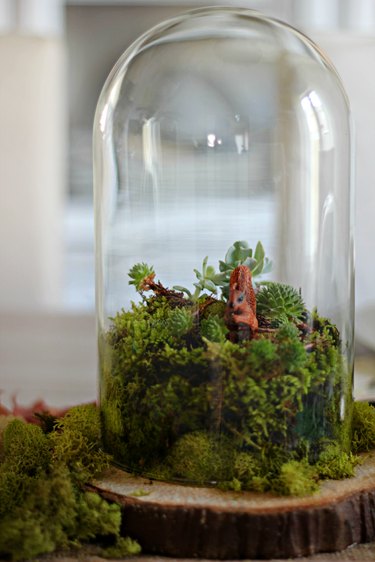
This particular terrarium was placed on a wood slice and a little toy squirrel was placed inside to add a little whimsy.
Finished Terrarium
Displayed alone or in a group, these pretty arrangements allow you to add a little nature to your decor or tablescape.