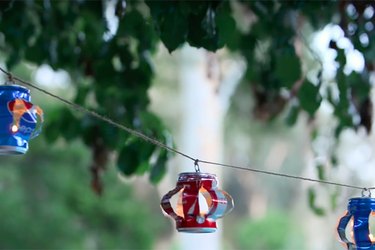
Looking for a way to jazz up an evening soiree and/or make more room in your recyclables bin and/or feel better about your Diet Dr. Pepper addiction? This easy tutorial shows you how to do all three by making a sweet string of lanterns out of upcycled soda cans. At eHow, we like to call that a win/win/win.
Video of the Day
Things You'll Need
5 or more empty soda cans (we used the mini 7.5-inch ones for extra cuteness)
Measuring tape
Sharpie pen
Ruler or other straight edge
Xacto knife or other sharp cutting tool
Work gloves
String or twine (length will vary according to the number of cans)
Tealights, real or flameless (one per can)
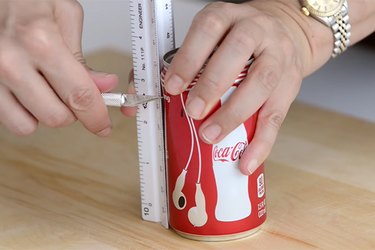
Step 1: Mark Can for Cuts
Wrap the measuring tape around the outside of the can. Depending on the size of the can, mark off roughly even intervals. For a regular 20-ounce can, intervals of about 1 1/3 inches will result in six cuts. For the mini cans we used, 1-inch intervals gave us seven cuts.

Step 2: Cut Can at Marked Intervals
Using your ruler to guide you, cut vertical slices from top to bottom at each mark, leaving the same amount of space at the top and bottom with each slit.
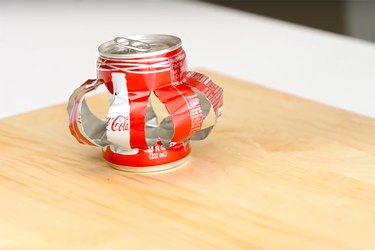
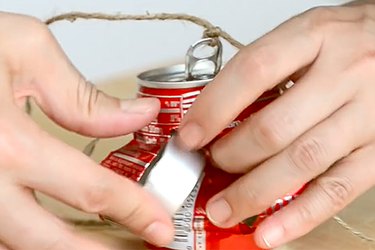
Step 3: Crush Can
Wearing gloves, push down on the top of the can to collapse. Do this as gently as possible so as not to tear the aluminum.

Step 4: Shape the Strips to Create Lantern Shape
Still wearing gloves, gently pull out each strip and shape into a bowed-out curve. Repeat until you achieve the full lantern shape.
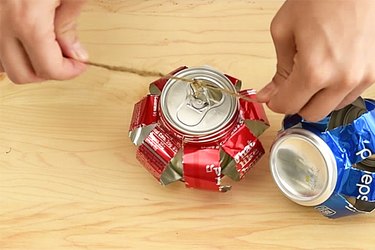
Step 5: Tie the Twine to Create a String of Lanterns
Once you've finished creating lanterns from all the cans, tie them at regular intervals to your twine, leaving enough space at each end to enable you to hang the string.
Step 6: Insert Candles into Can Lanterns
Place a votive candle inside each of the lanterns. This is easier to do if you push in one of the strips to create a larger space for the candle to pass through. After the candle is inside, reshape the lantern.
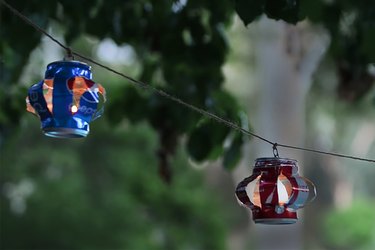
Step 7: Hang, Light, and Enjoy!
Carefully attach the ends of your lantern string to a wall, posts, or other structure. Once secure, light the candles.