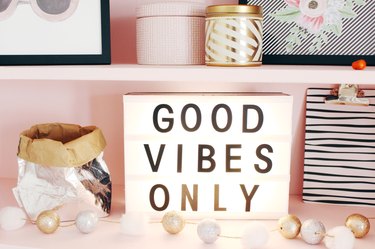
Cinema lightboxes aren't just for announcing movie showtimes anymore: with a little ingenuity, you can make your own mini version that can sit on a shelf in your home. Using simple supplies like craft plastic, letter stickers and battery-operated LED lights, you'll create a stylish black-and-white marquee with words that'll help keep your space nice and calm. And when you're ready to say more than "good vibes only," stay cool. This lightbox is laid-back, man, and the letters can be switched out according to your mood. Cool.
Video of the Day
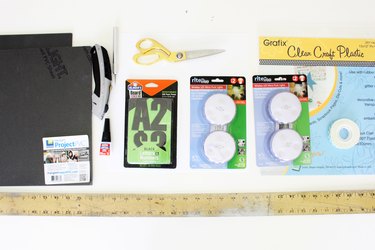
Things You'll Need
Clear craft plastic
Black PVC board or illustration board
Letter stickers
X-Acto knife or box cutter
Paper slicer
Hot glue and gun
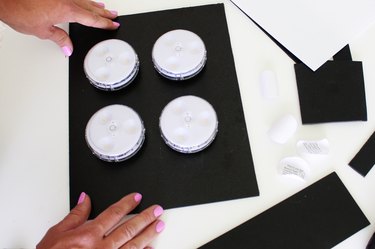
Battery operated LED lights
Ruler (preferably a square)
1/8-inch foam double sided tape
Step 1: Make a Lightbox Frame
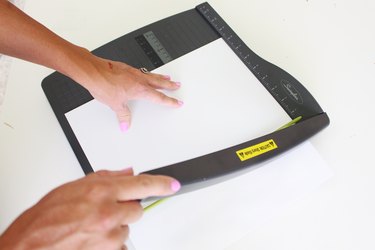
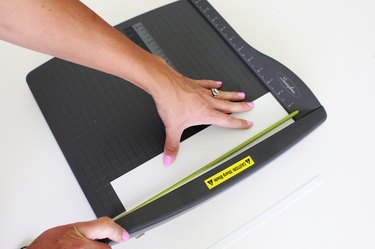
This lightbox is the size of U.S. letter paper (8.5 inches x 11 inches), so first cut your black board to this size using a box cutter or craft knife.
Video of the Day
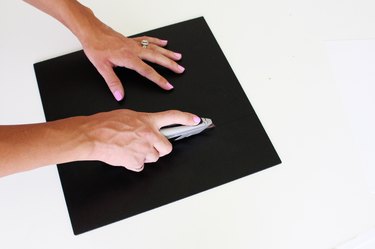
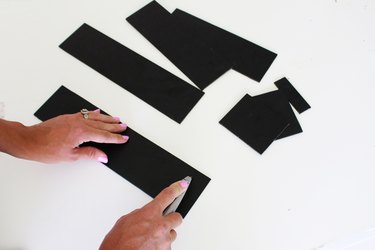
Cut the four sides. Two should measure 8.5 inches x 3 inches. Another two should measure 11 inches x 3 inches.
Step 2: Place Your Lights
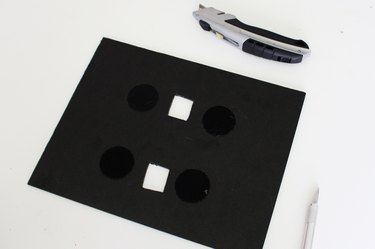
Decide where you'll attach your lights to the 8.5-inches x 11-inches piece. When you've chosen the locations, hold the white plastic above the lights while they are lit. If there are any noticeable black spots between the lights, place them closer together.
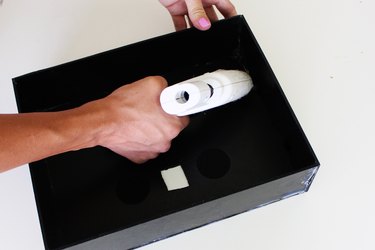
If your lights are removable (via a piece of Velcro or a similar adhesive), then you can attach the velcro now. If not, make a mark between the lights where a hole can be cut. Then, cut the hole. After the project is done, you can reach your finger into the box here to turn on the lights.
Attach all the sides of the black board using a hot glue gun.
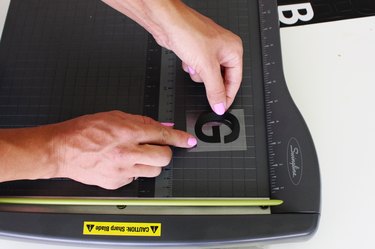
Step 3: Make Letter Cards
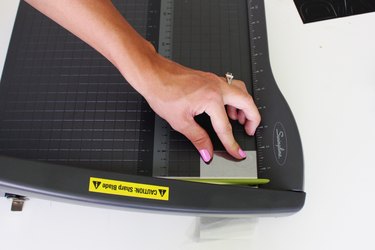
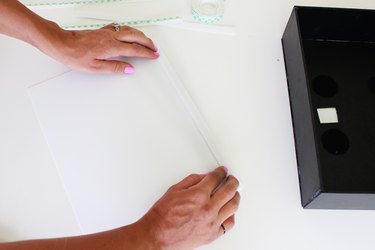
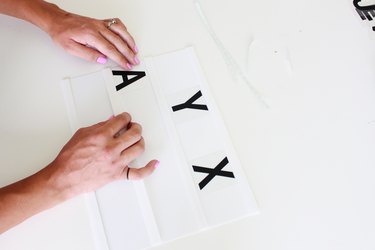
Cut a piece of your clear craft plastic into small cards that measure 2.5 inches x 3 inches.
Place desired letter stickers right in the middle of these pieces. You can use a grid mat or your slicer for a guide. The stickers used here are 2 inches tall.
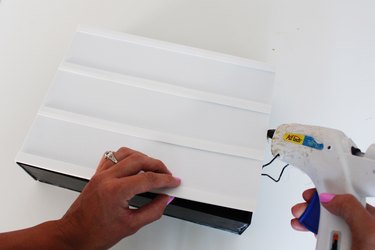
Step 4: Make the Front of the Lightbox
This front white piece will need to be slightly larger than 8.5 inches x 11 inches so that it fully covers the sides. If you'd like, place your completed back piece on top of your white plastic and mark it so you know where to cut.
Cut four pieces that measure the width of the front piece (probably about 11 1/4 inches by 1/4 inch).
Apply your 1/8-inch, double-sided foam tape to these pieces. If you can only find 1/4-inch tape, that is fine, just cut it in half. On two of the 11 1/4 inches x 1/4 inch pieces, place your tape right down the middle. On the other two, place the tape along one edge.
Tip
Be sure to place the foam tape along the whole length of these pieces because any gaps will show when the light is on.
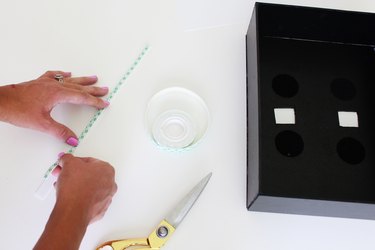
The two pieces that have the tape along the edge will go on the top and bottom of the lightbox. Place these first.
To place the other two pieces with the tape in the middle exactly right, use one of your letter cards as a guide.
Step 5: Attach the Front
Remember to firmly attach your lights! Then attach this front piece to the black box with hot glue.
Step 6: Illuminate Good Vibes
Now it's time to fill your lightbox. Spell out "good vibes only," or a phrase of your liking, and the lightbox is ready for display! Show it off in your home, feature it in your parties or use it as a photo prop!
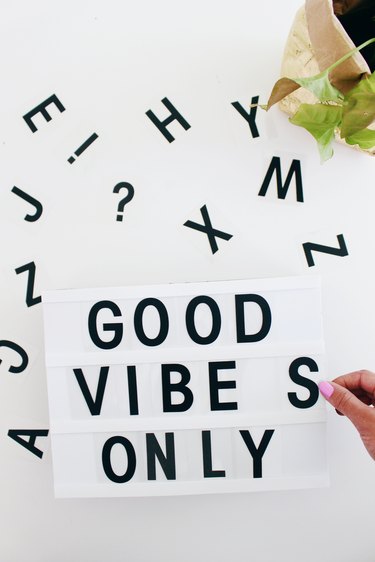
Lit or unlit, this lightbox is a fun and unique decor item to keep around — and the words can be endlessly switched out to suit your mood!