Snail mail is not as common as it used to be, which makes getting the unexpected letter in the mail exciting. Make your letters even more of a surprise by decorating your envelopes with liners. There's nothing like opening up a plain envelope to glimpse a bright pop of color!
Things You'll Need
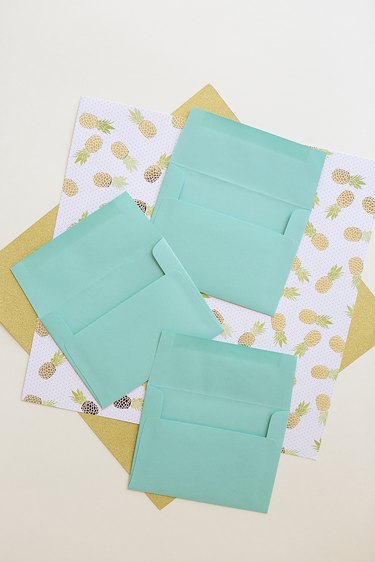
Envelopes
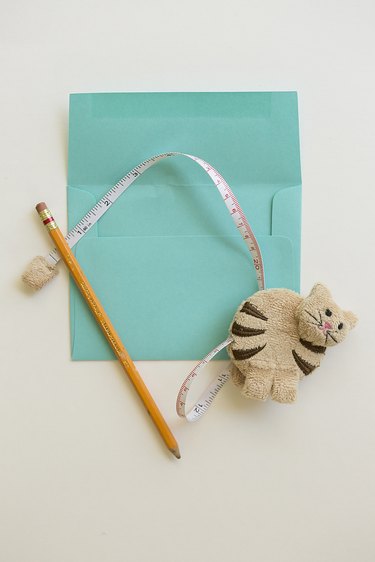
Pencil
Scissors or paper cutter
Ruler or tape measure
Sheets of patterned paper (one sheet will fit two envelopes)
Glue
Step 1: Cut the Paper for the Liners
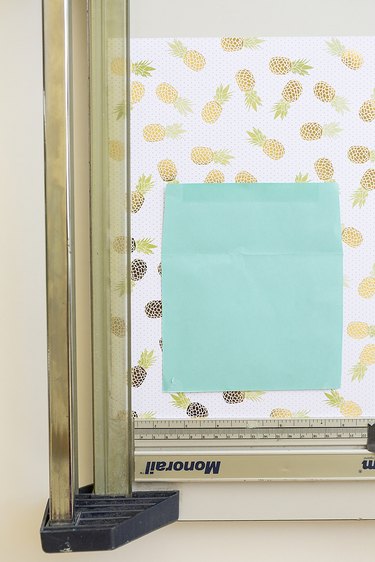
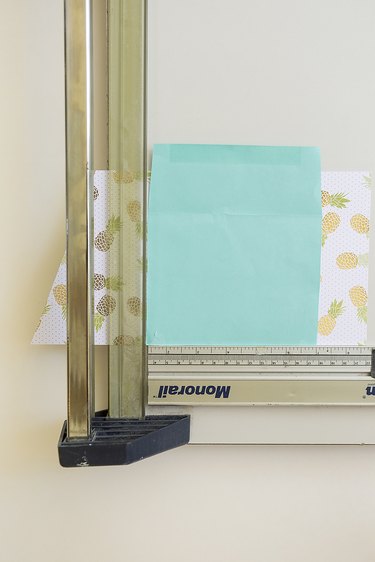
There are two different ways you can trace out your envelope liners. The first is by using a pencil to trace the full envelope onto the liner paper as seen below. Use a ruler or tape measure to make your lines as straight as possible. Then, cut the traced shape out of your paper, using scissors or a paper cutter. I suggest using a paper cutter to ensure your cuts are even and straight.
Video of the Day
The second option is to carefully open one of your envelopes up. Then cut the sides off so you are left with a perfect envelope guide to trace from. Place your liner paper and envelope guide on your paper cutter and simply cut following the shape of the envelope.
Step 2: Attach the Envelope Liners
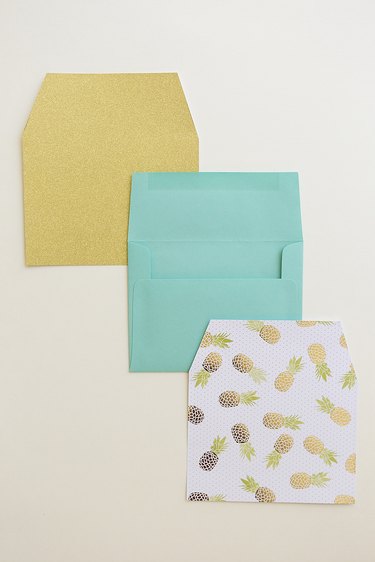
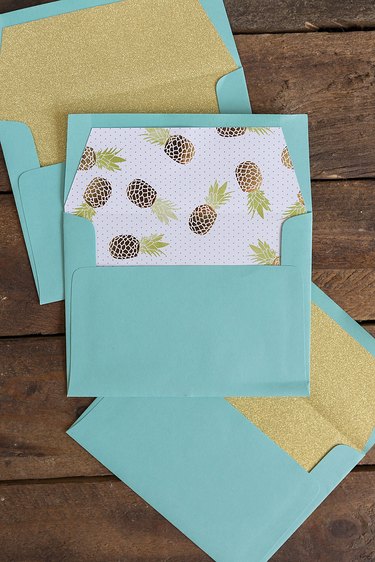
Once your liner paper is cut, you should be left with single pieces of paper that resemble the shape of your envelope. If your liner paper is too large carefully remove a little off the sides with a pair of scissors. To attach your envelope liners, apply glue to the back of your liner paper and carefully slide the paper inside your envelopes.
Tip
Using a glue stick, rather than double sided tape, to apply your envelope liners will prevent any bumps or ripples in your paper, leaving a clean finish.
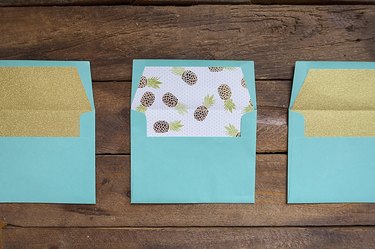
Step 3: Finish The Envelope Liners
After gluing your envelope liners inside, simply fold the top flap of the envelope down to create a crease. Now, you're finished and just created envelopes for half the price of those found at a stationery store! Envelope liners are the perfect addition to wedding and party invites or simply sent in a surprise letter to a friend.
Video of the Day