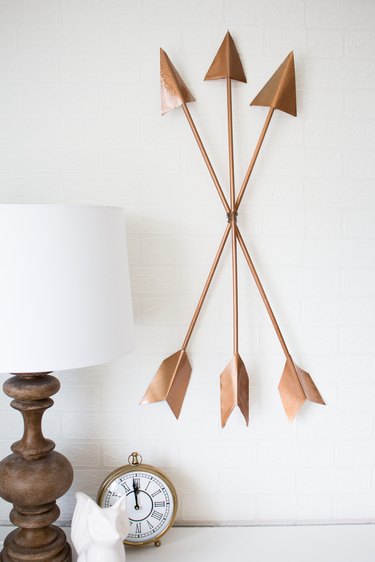
Arrows have been associated with many symbols ranging from love (as with Cupid's bow and arrow), to swiftness, power, flight and direction. Crossing arrows together can also be a symbol of strength and friendship — where one single arrow can easily be broken, a bundle of arrows is more difficult to break. Whatever meaning they have for you, these DIY arrows are sure to be a stylish and modern addition to your wall decor.

Video of the Day
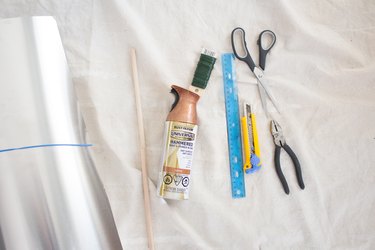
Things You'll Need
Tip
Arrows and fletching measure approximately 5 inches and dowels measure 2 1/2 feet.
Step 1
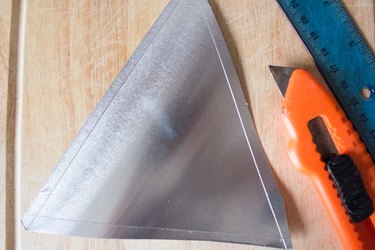
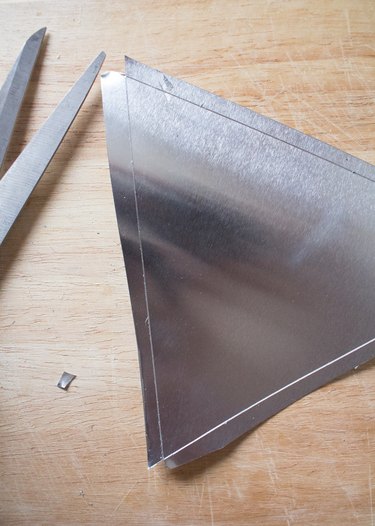
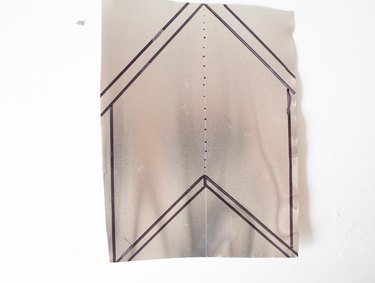
Download, print and cut out the arrow template. Use the template to trace a triangle onto the aluminum sheet, and then use snipping shears or scissors to cut it out. Use your ruler and utility knife to score around the triangle, about 1/4 inch from the edges.
Video of the Day
Step 2
In each corner, cut "notches" at each point where the lines meet.
Step 3
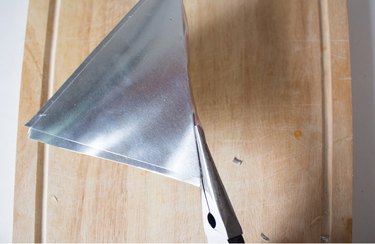
Using pliers, fold the scored lines back towards the back of the triangle.
Step 4
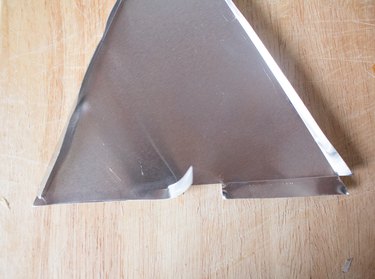
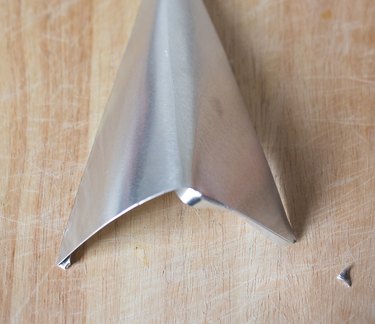
Cut a slit large enough for the dowel to feed through at the bottom edge of the triangle. Bend the flap upward.
Step 5
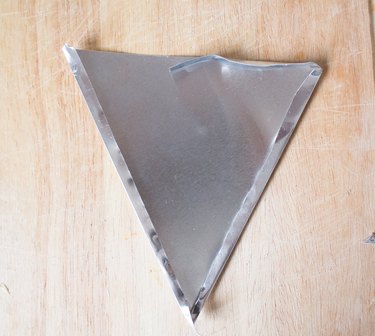
Gently bend the triangle vertically through the center so it curves.
Step 6
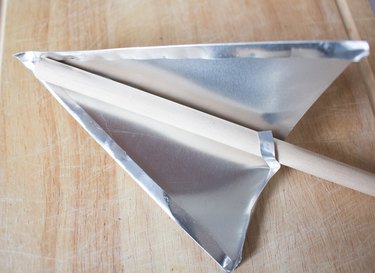
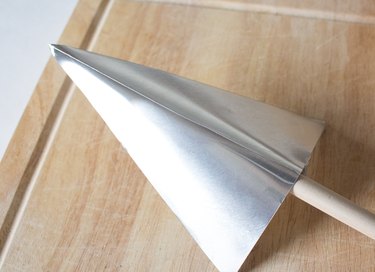
Using a hot glue gun, lift the flap you made in Step 4 and place a generous amount of hot glue on the top portion of a wooden dowel. Stick the dowel onto the underside of the triangle and close the flap over it.
Step 7
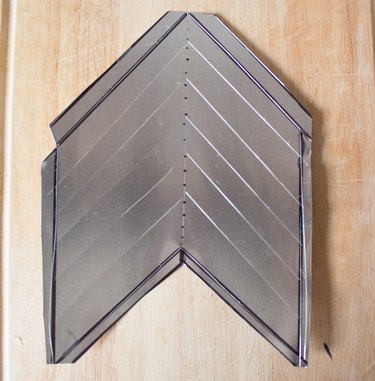
Download the fletching template here. Trace around the template with a pencil onto the aluminum sheet, and cut out the fletching with scissors or snipping shears. With your utility knife, score the outline and several diagonal lines on either side that meet in the center.
NOTE: Lines drawn with a marker for photography/tutorial purposes only.
Step 8
Using pliers, fold the edges of the fletching back.

Step 9
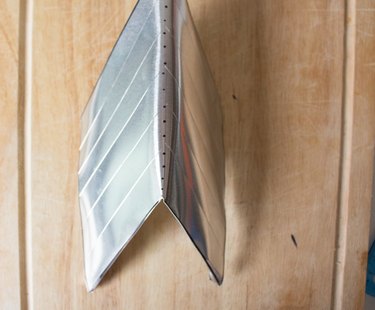
Bend the fletching in the middle, towards the back, to give it dimension.
Step 10
Use generous amounts of hot glue to attach the other end of the dowel to the fletching.

Step 11
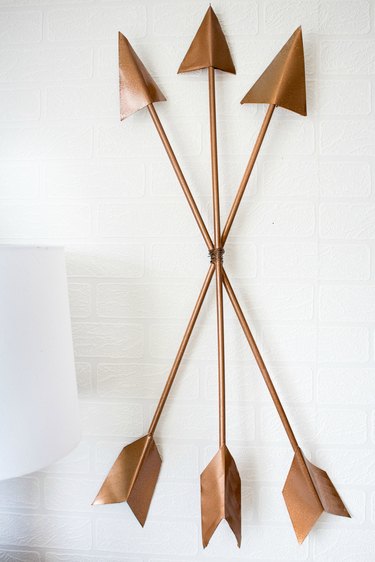
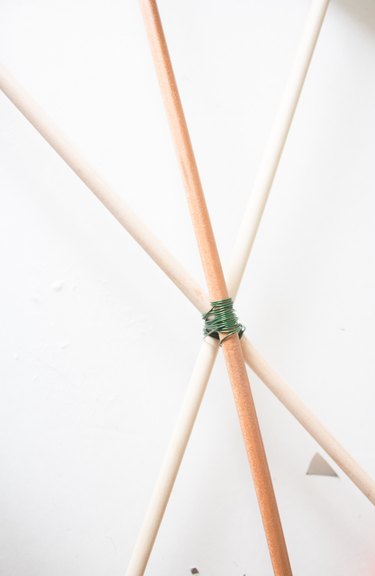
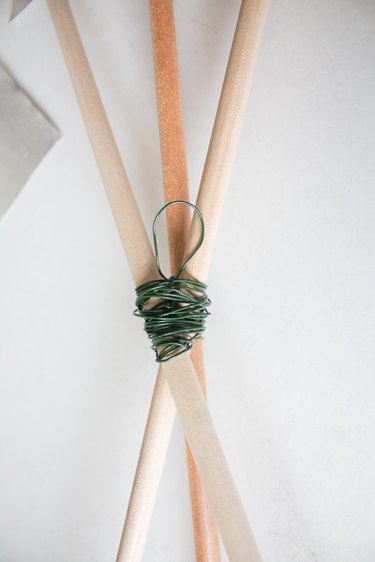
Repeat Steps 1 through 11 to make two additional arrows and fletchings. Place three arrows together and separate them to your desired distance. Wrap wire around the three dowels to secure them together.
Step 12
Use a piece of wire to make a loop for hanging.
Step 13
Spray paint the three joined arrows using gold or copper spray paint and allow to dry before hanging.