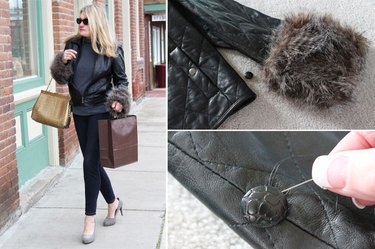
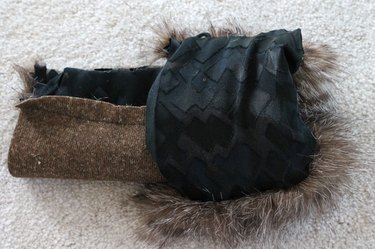
Ooh la la! You'll look like a million bucks wearing a pair of removable faux fur cuffs that you made yourself. No need to make separate cuffs for all your coats and jackets, just make one pair and switch 'em out. Staying toasty warm never looked so good.
Things You'll Need
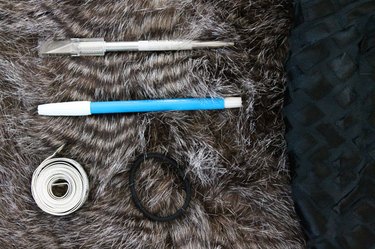
Measuring tape
Washable marking pen
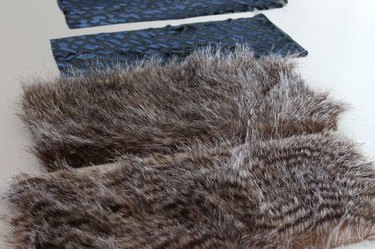
1/4 yard of faux fur
1/4 yard of lining fabric
Razor blade
Sharp scissors
Iron and ironing board
Pins
Sewing machine
Hair elastic
Needle and thread
2 buttons
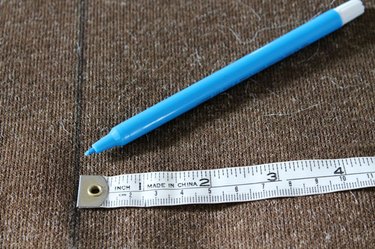
Step 1
Use the measuring tape and the washable marking pen to measure and mark two 14-by-7-inch rectangles on the back of the faux fur piece.
Video of the Day
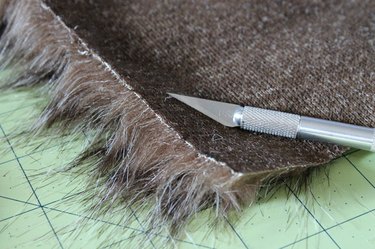
Step 2
Cut along the lines from the back of the faux fur pieces using the razor blade. Be careful to just cut the backing and not the hairs of the faux fur. Using the razor blade instead of scissors will keep the hairs of the fur intact and prevent your workspace from becoming a hairy mess.
Step 3
Now cut two 14 1/2-by-7-inch rectangles of the lining fabric with sharp scissors.
Step 4
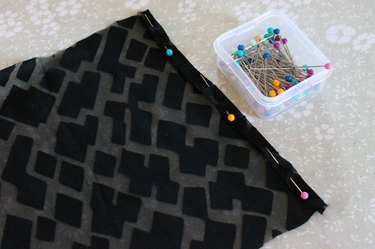
Press 1/4 inch under on the short ends of your lining fabric. Do this twice to hide the raw edges.

Step 5
Pin the pressed edges in place.
Step 6
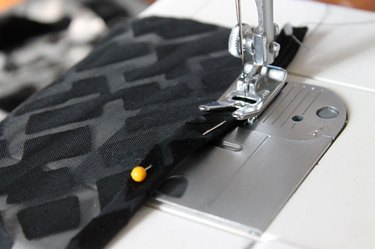
Sew the pressed edges in place. Be sure to remove the pins as you sew.
Step 7
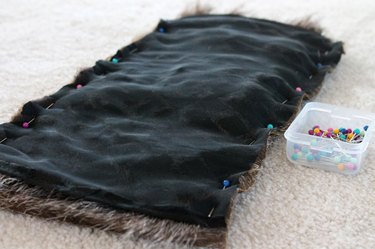
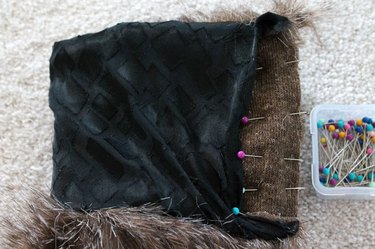
Place the right side of the faux fur piece and the right side of the lining piece together. Pin along the long edges, tucking in the fur as you pin.
Step 8
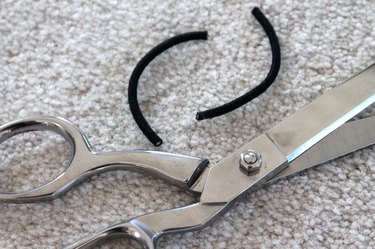
Cut the hair elastic in half.
Step 9
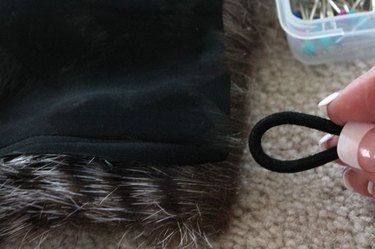
Fold the hair elastic in half and place it between the faux fur piece and the lining piece 2 inches in from the short edge on the "top" long edge of the cuff.
Tip
You can tell which is the top of the fur by brushing the nap of the fur downward.
Step 10
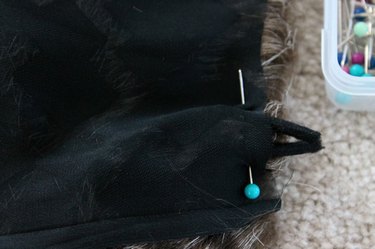
Pin the hair elastic in place between the faux fur piece and the lining piece.
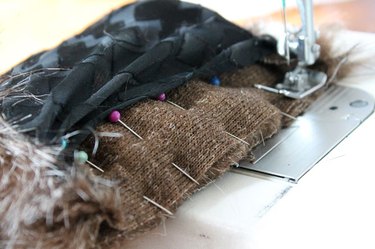
Step 11
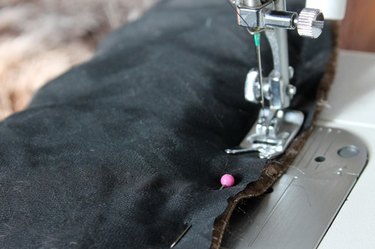
Sew along the pin line with a 1/4-inch seam allowance. Sew right over the elastic. Remove the pins as you sew.
Step 12
Turn the cuff right-side out.
Step 13
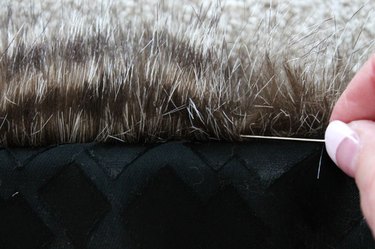
Use a straight pin to pull out any hairs that have gotten caught in the seam.
Step 14
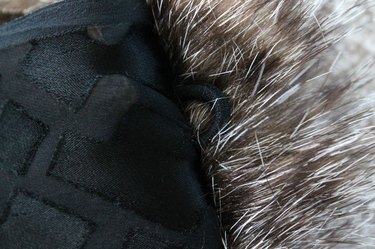
The hair elastic is now a button loop.
Step 15
With the right sides of the fur together, fold the cuffs in half to match up the short edges. Fold back the lining and pin the short edges of the fur piece together.
Step 16
Sew the short edges of the fur piece together with a 1/4-inch seam. Be sure to remove the pins as you sew.
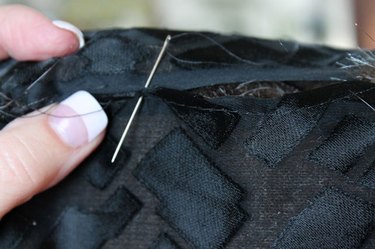
Step 17
Pull the hemmed short edges of the lining pieces together to cover the fur seam and hand stitch them together. Repeat this process with the other cuff.
Step 18
Turn the cuffs right-side out and place them over the bottom of the sleeves with the cuff seam matching the sleeve seam. Mark the placement of the button on the sleeve using the button loop on the cuff as a guide.
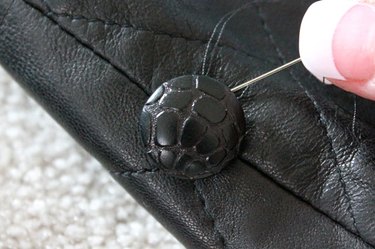
Step 19
Hand sew buttons to the underside of the sleeves on the coats and jackets that you'd like to wear with the cuffs.
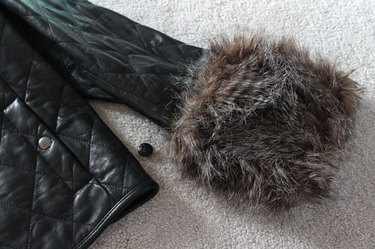
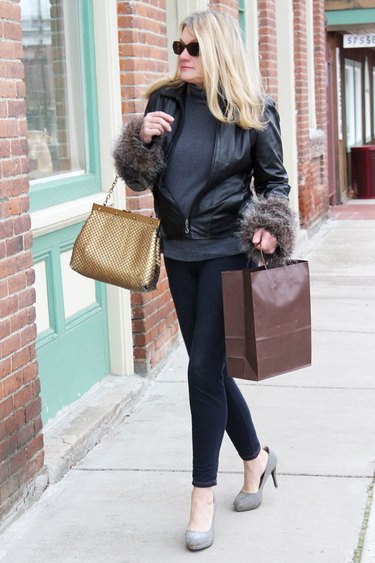
Attach the cuffs to your jacket or coat and off you go, looking MAH-velous!
Video of the Day