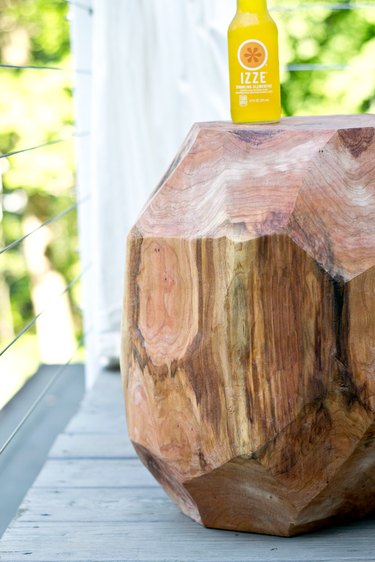
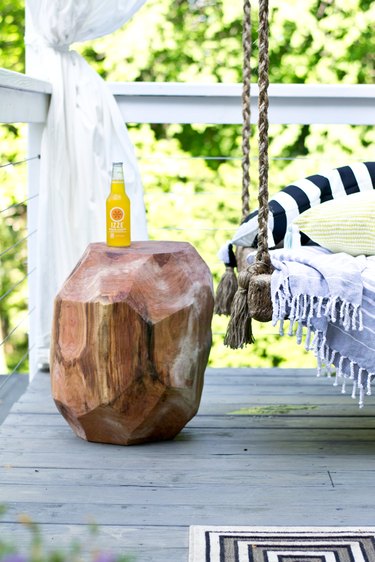
Side tables are a beautiful and functional addition to your outdoor space to hold a drink, potted plant or even extra guests, in a pinch. Making one from a fallen tree works well because it is durable, easily moldable and most likely free. Using a free-form pattern, such as a faceted geometric shape, is worry free too, because it doesn't require any precision or symmetry. If you're comfortable using a chain saw, this project can easily be completed in a weekend.
Video of the Day
Things You'll Need
Tree log approximately 24 inches to 30 inches long (finished table height will be approximately 18 inches)
Chain saw
Safety glasses
Hearing protection
Gloves
Tape
Marker
Ruler
Extra boards (two-by-sixes) to create a level platform and raise the log slightly off of the ground
Handheld belt sander
80-grit sandpaper
Cloth
Waterproof sealer
Paintbrush
Step 1: Cut the Log
Cut a 24- to 30-inch section of a tree. You want it to be longer than the finished height of the table, because you'll trim it.
Video of the Day

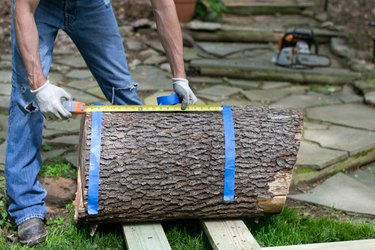
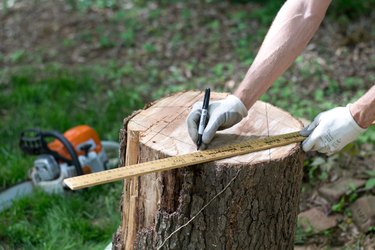
Step 2: Measure and Mark the Height
Using measuring tape and tape, mark the finished height of the table, such as 18 inches, which is a standard seat height. This measurement is flexible based on your preferences.
To get a straight line when sawing, place the log on two level boards (such as two-by-sixes), center the log on the boards and make it as straight as possible. Measure and mark two dots on the center of the boards below. Connect the tape between the two dots, carrying the tape over the log. From that line, measure down 18 inches for the second cut line, and place a piece of tape. Because the overall shape is free-form, absolute precision isn't essential, but the table should be fairly level.
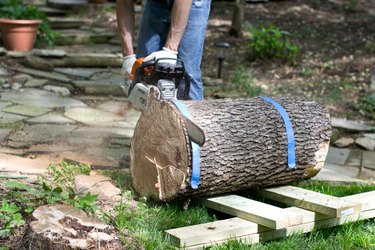
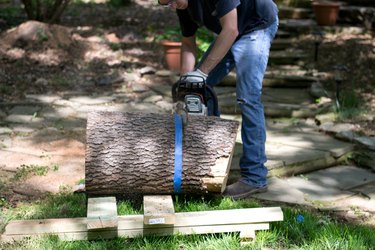
Step 3: Trim the Rough End
Place the log on a steady surface, such as a platform of two-by-sixes. Raising it off of the ground will allow you to cut all the way through the log. Work over grass or a similar surface that won't be damaged while using the chain saw. Then, trim off the end of the log marked by tape.
Step 4: Trim the Other End
Trim the log to 18 inches.
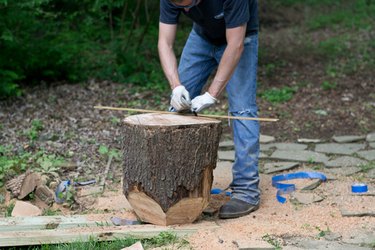
Step 5: Draw a Template for the First Cuts
On the top of the log, draw angles for the top surface. This is approximate and free-form. Draw seven to eight lines, overlapping them a few inches from the edge of the log. Vary the length and distance from the edge. The center section should be 10 to 14 inches in diameter.
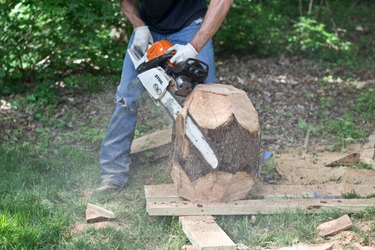
Step 6: Cut the Top
Follow the guidelines and cut at an angle. The cuts should be different lengths and thicknesses.

Step 7: Cut the Bottom
Flip the log over and repeat Steps 5 and 6.

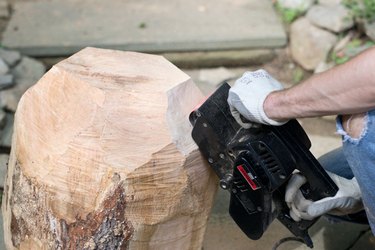
Step 8: Cut the Center Facets
Vary the length and size of the center facets. Tip it, step back and look as you go to see how the shapes interact. You will most likely want to go back and adjust the angles.
Step 9: Sand the Individual Facets
Using a handheld belt sander, sand the individual facets with 80-grit sandpaper.
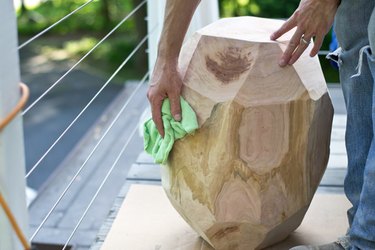
Step 10: Wipe the Dust Off
With a cloth, wipe off any dust.
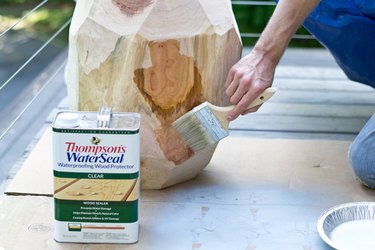
Step 11: Apply Waterproof Sealer
Protect the wood with a waterproof sealer. Apply thinly with a brush, and let it dry for two days. Because sealers vary, follow the specific instructions provided with the sealant.
When done, use your new end table in your outdoor space to hold a drink or a favorite potted plant.