Things You'll Need
Butcher paper
Pencil
Scissors
Miter saw
Handheld rotary saw
Circular saw
Gloves
Goggles
Tip
Sponsored tip: Need tools for your project? Check out RentalHQ and get connected with local businesses that’ll help you rent the equipment and tools you need.
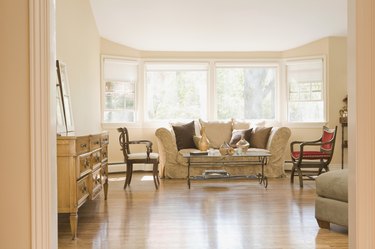
Laminate floors are a choice for many homeowners seeking a hardwood flooring option less expensive than real wood and easy enough for a novice do-it-yourself remodeler. Rectangular or square rooms have a straightforward process when installing the laminate interlocking boards. However, a bay window adds a new dimension that requires proper cutting. Taking the time to make a pattern and using the right equipment makes this job less difficult.
Step 1
Draw a pattern of the bay window floor corners. Use a roll of butcher paper laid out across the window floor. Trace the pattern out and cut the paper to get a proper fit.
Video of the Day
Step 2
Look at the the layout of the laminate already installed or how you intend to install it. The pattern may go parallel to the end wall or perpendicular to it. Take note of this early in the planning.
Step 3
Lay the laminate out on the floor. Lock enough boards in place to lay the pattern over them. Tape the pattern to the edges with painter's tape and trace the pattern.
Step 4
Unlock the boards before cutting.
Step 5
Get the type of saw that is best. A miter saw cuts distinct angles over small distances like the plank width. A handheld rotary or jigsaw is effective for irregular corners or rounded edges. A larger circular saw is effective for longer cuts along the length of a board. Use goggles and gloves when cutting.
Step 6
Cut each piece with the appropriate saw, starting with the left side of the window. Make sure the interlocking tongue and grooves are in line with the rest of the floor.
Miters have an angle setter. Use a protractor to measure the angle and set the saw degree. Place the board in position against the back fence, bringing the board to the saw line.
Move a handheld saw along the traced line to create the detail shapes.
Push the board through the circular saw blade along the traced cutting line.
Step 7
Check each board as you cut to make sure it properly fits. You will also need to measure the length of the board to attach it to other flooring in the room prior to installation. Once one board is complete and properly fits, move on to the next or make adjustments, if necessary.
Tip
Leave 1/8-inch on the wall edges to allow laminate floors to expand during hot days.
Video of the Day