Things You'll Need
Utility knife
6-inch putty knife
Hammer
Pry bar
Drywall
Keyhole saw
Tape measure
1-by-2-inch board
Saw
Construction adhesive
Drywall screws
Drill
Phillips driving bit
4-inch putty knife
Window screen
Scissors
Sanding sponge
Prime
Paint
Finishing nails
Pneumatic nail gun
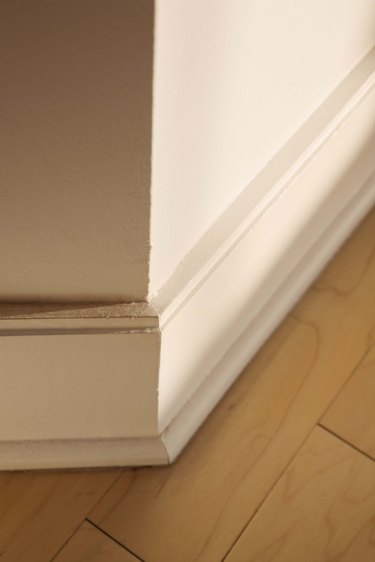
When the lower portion of a wall becomes damaged, the baseboard may get in the way of you completing a successful patch job. In this case, you need to remove the baseboard to gain better access to the drywall. This does not mean you need to replace your baseboard. If you remove the baseboard slowly and carefully, you will be able to put the same piece back on the wall once the damaged area has been patched.
Step 1
Cut along the baseboard's top edge, where it meets the wall, with a utility knife. Insert a 6-inch putty knife between the wall and the baseboard. Tap the putty knife's handle with a hammer to gently push it deeper behind the baseboard.
Video of the Day
Step 2
Insert a pry bar between the baseboard and the putty knife. Gently pull the baseboard forward, away from the wall. Slide the putty knife down the baseboard and repeat this step. Continue until you remove the baseboard from the wall.
Step 3
Cut a piece of drywall slightly larger than the hole being patched. Cut the drywall with a utility knife. The cuts do not need to be perfectly straight. Set the patch over the damaged drywall. Draw an arrow on the patch to indicate the top edge. Trace around the patch with a pencil. Cut through the wall, following the tracing, with a keyhole saw.
Step 4
Measure the opening's height and add 3 inches. Transfer this measurement twice to a 1-by-2-inch board. Cut the board to length with a saw. You will have two boards slightly larger than the opening.
Step 5
Place a dab of construction adhesive on both boards' top and bottom edges. Insert one board into the opening, centered on the right-hand side. Press the board against the back of the drywall. Drive drywall screws through the drywall and into the board's top and bottom edges. Repeat this step with the second board on the opening's left-hand side.
Step 6
Set the drywall patch into the opening and press it against the two boards you installed in Step 5. Secure the patch to both boards with two or three drywall screws.
Step 7
Use a 4-inch putty knife to apply an even layer of drywall compound over the entire patch. Cut a piece of window screen to roughly the same size as the patch. Lay the screen over the drywall compound and run the 4-inch putty knife over the screen to push it into place.
Step 8
Apply more drywall compound over the screen using a 6-inch putty knife. Smooth the drywall compound as much as possible and allow it to dry. Apply a third layer of drywall compound with the 6-inch putty knife if necessary.
Step 9
Sand the drywall compound smooth with a sanding sponge. Prime and paint the patched area to match the surrounding wall.
Step 10
Place the baseboard back in the space you had removed it from. Drive finishing nails through the baseboard and into the wall's base plate to hold it in place.
Video of the Day