Things You'll Need
Compressed air
Toothpick
Sponge or rag
Light-tack masking tape
Cotton swabs
Denatured alcohol
Clear epoxy gel
Adhesive syringe
Plastic scraper or old credit card
Epoxy-based resin
Epoxy hardener
Plastic plate
Knife applicator
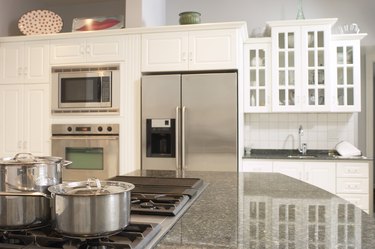
Granite adds a distinctive look in many places in the home when used as countertops, backsplashes, floors, shower walls or mantels. Most uses warrant installing a smooth, unscarred surface, but natural stone does come with imperfections. Small holes that leave a noticeable blemish in the granite surface, known as pitting, is an issue many homeowners face. Trapped food particles, soap or dust collect in the pits and make the defects stand out. Fixing the pits restores the surface to a smooth and flawless surface.
Clear Epoxy
Step 1
Aim a stream of air from a can of compressed air at the pits to blow out loose dust and debris. Scrape food particles or bits of soap out of the pits with a sharp wood toothpick. Wet a sponge or rag and wipe the pitted area and the surrounding surface. Dry the granite with a soft rag.
Video of the Day
Step 2
Lay strips of light-tack masking tape around the pits to protect the unaffected granite. Dip a cotton swab into denatured alcohol and swab the pit to remove oils, grease and debris that will interrupt adhesion.
Step 3
Draw clear epoxy gel into an adhesive syringe. Place the tip of the syringe over the pit and drip a drop of epoxy into the pit.
Step 4
Hold a plastic scraper or old credit card at a low angle to the granite surface with the edge touching the granite and immediately move it across the pit to pick up excess epoxy.
Step 5
Rub the area around the pit with a denatured alcohol-soaked cotton swab to clean epoxy from the surface around the pit. Remove the masking tape and allow the epoxy to set for one to two hours.
Colored Resins
Step 1
Pick bits of food and debris out of the pit with a pointed toothpick. Blow a stream of compressed air into the pitted area to remove dust and loose debris. Wipe the granite surface with a damp rag or sponge and dry with a soft cloth.
Step 2
Dampen a cotton swab with denatured alcohol and clean the pit and surrounding area. Place strips of light-tack masking tape around the pitted area.
Step 3
Mix a matching-color epoxy-based resin with an epoxy-hardening agent on a disposable plastic plate. Dip a toothpick or knife applicator into the resin and press the resin into the pit.
Step 4
Dip a rag into denatured alcohol and rub the top of the resin to smooth it. Remove the strips of masking tape. Let the resin harden and set for two to three hours.
Tip
Clear epoxy allows the color of the granite to show through the patch. Colored resin is often difficult to match to the existing granite, making the repair more noticeable than clear epoxy filler.
Warning
Clean excess filler off the granite surface immediately.
Video of the Day