Things You'll Need
Chisel
Mop
Oxygen bleach
Grout brush
Tiles
Mortar
Grout
Spray gun
Bonding agent
Surface coating
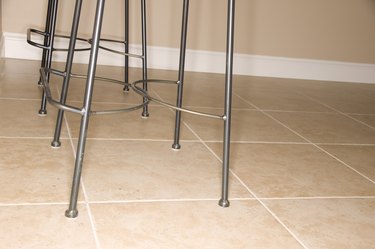
If you have historic tile that you want to save, or you are in love with your current tile flooring, you can refurbish a tile floor in disrepair instead of going to the effort and expense of a new floor. Refurbishment is a much more green alternative as well as there is no demolition to dispose of. Refurbishing your old ceramic tile floor can bring back the sheen and character of the original tile.
Step 1
Check for any tiles that are slightly chipped. Try to keep as many tiles as possible in their original location to preserve your flooring if you have historic tiles. Consult a floor specialist to compose a colored mixture to help blend in a patch with the damaged tile. The specialist can match an epoxy with colored enamel that you can apply to the chipped area to make it look like part of the original tile.
Video of the Day
Step 2
Remove any tiles that have large chips or have noticeable deterioration. Use a small chisel and gently remove any damaged or loose tiles. Purchase replacement tiles as close to the originals as possible, or use any tiles reserved from the original installation.
Step 3
Clean your existing grout lines. Mop a solution of oxygen bleach onto the floor. Oxygen bleach is a powder that you mix with water that soaks into the grout line to effectively remove stains. Let the mixture set for up to one hour. Reapply if any stains are still present. Use a scrub brush to clean any remaining residue in the grout lines.
Step 4
Apply a layer of mortar to the area of the floor where you need to reinstall tiles. Lay the tiles in the same pattern as the existing tile floors. Use spacers to keep the tiles spaced evenly from each other.
Step 5
Rub grout over the tiles and work the grout into the crevices between the tiles. Use the same color grout as the rest of the flooring. Clean any grout from the surface of the tiles.
Step 6
Spray a bonding agent onto the ceramic floor. This helps the new coating adhere better to the tiles.
Step 7
Activate the surface coating according to the manufacturer's instructions. You may need to wait up to 30 minutes before you can spray on the coating. Spray the required number of coats of surface coating to the ceramic tile, moving the spray gun slowly from the left to the right. Coatings are available that can change the look of tile to another color, that mimic the look of stone, or are clear and simple renew the sheen of the original tile.
Step 8
Allow the coating to dry and cure according to manufacturer instructions before using the tiled area.
Video of the Day