Things You'll Need
Tape measure
Pencil
Drill bit
Power drill
Hole-saw drill bit kit
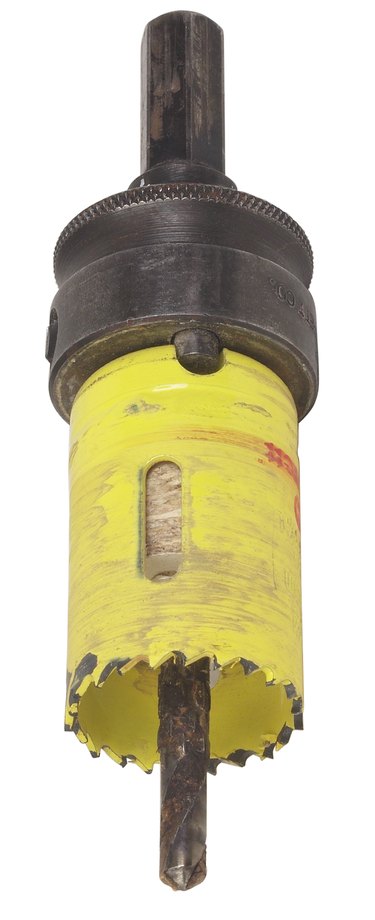
Any new shower installation requires drilling through the shower wall for the faucet and showerhead to access the plumbing pipes. The size of the holes depends on the size of the fixtures you choose. You will need separate holes for the tub spout, faucet handles, showerhead and extra features such as hand-held sprayers and multiple showerheads. Power drill hole saw bits are available in all sizes, cutting perfect circles through the shower easy. Use bi-metal hole saw bits for fiberglass showers and carbide bits for tile.
Step 1
Measure the centers of the shower faucet valve body from the subfloor to the center height of the valve body and the side centers from the shower back wall with a tape measure. Measure the remaining plumbing valves, pipes and shower arm that protrude through the shower walls.
Video of the Day
Step 2
Refer to the specific shower faucet installation instructions for correct plumbing hole dimensions. Cutting incorrect dimension holes prevents the shower faucet trim from covering the plumbing holes, which may result in leaks.
Step 3
Transfer the measurements to the shower unit plumbing walls and mark with a pencil. For multipiece shower units, place the shower panel against the plumbing wall to verify the location of the plumbing holes.
Step 4
Check the measurements taken again for accuracy because a misaligned mark will result in the plumbing holes not aligning with the plumbing pipes and fixtures.
Step 5
Equip a power drill with a drill bit 1/8-inch smaller than the pilot bit on the hole-saw drill bit. Hole saw bits feature a round blade to cut the desired size hole, as well as a pilot bit in the center that cuts through the wall first to help steady the blade.
Step 6
Drill pilot holes into the center of the marks in the shower unit plumbing wall. This provides a guide for the hole saw bit, preventing the hole-saw pilot bit from scratching and damaging the shower unit finish.
Step 7
Insert a properly sized hole-saw drill bit into a power drill.
Step 8
Drill the holes in the shower unit walls according to the specific installation instructions for each faucet component to be installed. If using a multipiece shower unit, lay the shower panel on a flat working surface to aid in proper hole drilling.
Step 9
Run the drill at low speed, applying light pressure to the drill to cut the proper plumbing holes. Hold the drill plumb and level to prevent the hole-saw drill bit from binding, slipping and damaging the shower unit or panel surface.
Step 10
Place the panel against the plumbing wall to check for proper plumbing hole alignment and fit if installing a shower with multiple panels. If installing a single shower unit, the holes are drilled with the shower already in place, so this step is not needed.
Video of the Day