Things You'll Need
Stud finder
Tape measure
Drill and ½-inch drill bit
½-inch-diameter vinyl tubing
Utility knife
Foam insulation canisters, vermiculite or perlite
Rags
Drywall compound
Putty knife
Dust mask
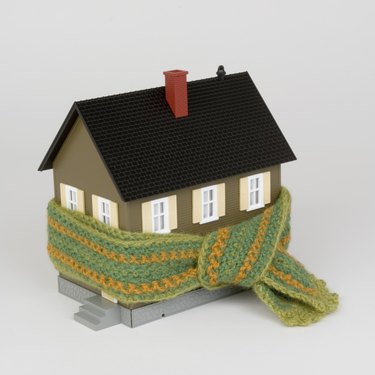
Homeowners and contractors choose pour-in insulation for its ease of use. Unlike sheet and batt insulation, pour-in insulation is applied by pouring it into wall spaces through holes cut in the walls. Pour-in insulation is suitable for stand-alone insulation or for topping off and filling cracks in existing insulation. Don't confuse pour-in insulation with spray-in aerosol foam insulation. Both types require you to cut holes in an existing wall surface to reach the hollow areas behind the drywall and between the wall studs.
Spray-In Foam Insulation
Step 1
Drill equidistant holes in a row up each hollow section of the wall you want to insulate, starting 3 feet above the ground. Use a stud finder and tape measure if necessary to determine the center of each hollow section, marking the spots with a pencil. Your second hole will be directly above the second one at 6 feet, and so on.
Video of the Day
Step 2
Cut a length of vinyl tubing as long as the height of your wall, using a utility knife.
Step 3
Insert one end of the tubing through the hole closest to the ground. Press the foam canister's nozzle against the other end of tubing and press the nozzle's button to dispense foam. Hold the button down for 10 seconds. Let the foam expand up the wall. It should reach the second hole within several minutes.
Step 4
Stuff a rag into the bottom hole to prevent foam from leaking out.
Step 5
Continue the insulating process. Insert the tubing through each hole, from the lowest to the highest, spray foam and plug the hole with a rag.
Step 6
Plug the holes with drywall compound from bottom to top after you finish the insulation process. Spread the compound smooth, using a putty knife.
Pour-In Vermiculite or Perlite Insulation
Step 1
Use a stud finder to determine the hollow sections of your wall.
Step 2
Cut a 2-inch wide rectangle out of the top of each hollow wall section. Make the rectangle's length equal to the distance between beams.
Step 3
Pour the vermiculite or perlite insulation into the hole, either directly from the bag or using a small shovel or pouring tool. Continue pouring in the insulation until the wall section is full. Wait 24 hours for the insulation to settle, then top it off with enough insulation to fill the wall. Commercial insulation installers often "blow" the material via a wide hose poked in the hole at the top of the wall, saving time and making less mess.
Step 4
Plug the holes with drywall compound from bottom to top after you finish the insulation process. Use a putty knife to smooth out the compound.
Tip
For best results, store the foam canisters at 70 degrees Fahrenheit or higher before using them.
Warning
Wear a dust mask to protect your lungs when installing vermiculite or perlite insulation.
Compressed foam spray can release HCFCs into the environment. To reduce pollution, hire a professional contractor to install the insulation or choose a more eco-friendly material.
Do not install vermiculite or perlite insulation unless you are certain that your wall has an effective vapor barrier installed. Most spray foam insulation doesn't require a vapor barrier, as the foam is already moisture resistant.
Check with a licensed contractor before cutting holes in walls with existing vermiculite insulation. Vermiculite installed before 1990 may contain asbestos.
Video of the Day
- Mason Contractors Association of America; Pour It in or Pump It in?; Tom Inglesby; January 2003
- Urethane Insulation: Pour Foam Insulation – An Effective Way to Insulate Your Home
- Ask the Builder; Foam Insulation; Tim Carter
- Everguard Home Insulation: Wall Insulation
- Natural Resources Canada: Insulation
- U.S. Department of Energy: The R-Value of Insulation
- Environmental Protection Agency: Q & A Regarding Vermiculite Insulation