Things You'll Need
Credit card (optional)
Cotton swab, paintbrush or toothpick (optional)
Nothing ruins a project faster than glue bubbles forming under the paper. Glue bubbles can destroy not only the aesthetic appeal of a project, but can sometimes impair the function as well. Paper crafters want their projects to look professional and neat. Glue is a useful medium--except for its tendency to cause paper to wrinkle. These deformations can be avoided by taking preventative steps to avoid bubbles. Using the proper glue application techniques will make a difference in the finished result.
Step 1
Apply the correct amount of glue. Do not apply more glue than is needed to adhere the item to the project. Apply a small amount of glue first and then apply more, if necessary. Excess amounts of glue won't make the item adhere more strongly, but it will lead to the formation of air bubbles.
Video of the Day
Step 2
Apply the glue in an open-ended line to avoid glue clumping under the surface of the paper. Do not apply glue in the shape of a circle; this will increase the likelihood of a glue or air bubble forming under the paper. Apply the glue in the shape of an "S" to allow the glue and air space to spread out under the surface of the paper.
Step 3
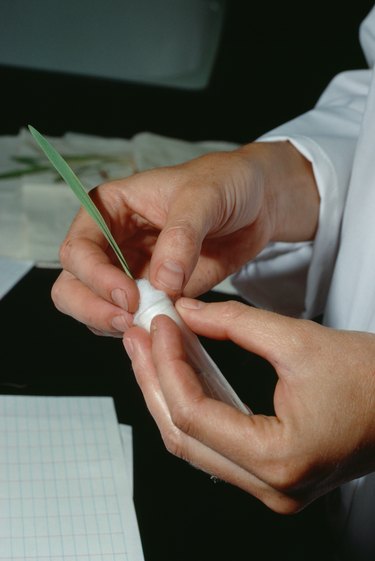
Spread the glue thinly and evenly over the surface. Do not squeeze a large amount of glue directly onto the surface of the item being glued. Do not apply the glue in clumps. Apply the glue to another tool, such as a paintbrush, cotton swab, toothpick or your fingers. Spread the glue evenly over the surface using one of these tools.
Step 4
Lay down only one edge of the item to be affixed at a time. Slowly allow the rest of the item to fall flat to the glue surface. Observe the item to determine whether bubbles have formed as the item is slowly attached to the surface, one edge at a time. If bubbles are observed in the paper, gently lift that part up and begin the process again. Do not drop the entire item onto the surface of the glue at once. This will create bubbles in the glue.
Step 5
Smooth the surface of the item immediately after applying glue. Slide your fingers or a hard, flat and smooth item, such as credit card, over the surface in order to remove any bubbles that may have formed.
Tip
There are many different types of glue that are appropriate for different projects. Use the correct glue for the project to avoid bubbles.
Video of the Day