Things You'll Need
Drawing materials
Wooden base
Wooden rods with square section
PVA glue or wood glue
Masking tape
Craft knife
Tongue depressors or craft sticks
Scenic grass or fake fur
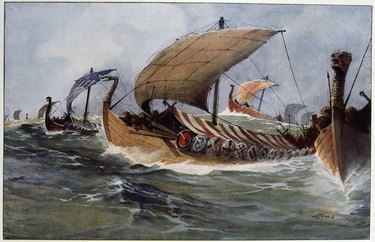
During the Viking Age, which lasted from the 8th to 11th centuries, Vikings spread out from Scandinavia, colonizing England, Scotland, Ireland, Iceland, France and what would become Russia and Ukraine. Architecture in the Viking world was diverse, with local variations in house types, but one common Viking building was the longhouse, a long, rectangular building with a pitched roof. Building a model longhouse is a fun way to teach kids about the history of the early Middle Ages.
Step 1
Sketch out a plan of your house. A smaller house, such as the townhouses found in York, will be a rectangular building with a door in one of its short ends. A larger building would be proportionally longer. Doors can be in the long or short ends.
Video of the Day
Step 2
Build a frame for your longhouse. This will consist of square-section wooden posts set upright at intervals on the base. You may want to use a craft knife to cut a groove into your base to hold the posts, then glue them in position with PVA or wood glue. The uprights in Viking buildings were sometimes set directly into the earth or into a flat beam called a sill-beam. You can space these as close or as far apart as you like; the distance in Viking houses varied. You may need to hold the beams in place with masking tape while the glue dries.
Step 3
Place transverse beams across the uprights on each side. Your house should now look like a rectangular box with no lid. Choose where you want the doors to be, and place short pieces of wood between the uprights to form doors. These short pieces at the top of the door are called lintels. You may also want to set beams across the interior of the building to help keep it rigid.
Step 4
Cut the rounded ends off craft sticks or tongue depressors and glue them horizontally to the uprights using PVA glue.
Step 5
Glue three or four pairs of square rods at an angle to create the pitch of the roof. Glue one pair into position at each end of the building, with the rest in the middle. These will create the shape of the roof. Glue craft sticks across the short ends of the roof, trimming them to fit.
Step 6
Glue beams between the angled pieces to give you a frame for your roof -- a long central beam across the top, then shorter ones filling the spaces on the sides. Use the same beams as the uprights for the central beam, and cut-down craft sticks for the smaller pieces.
Step 7
Thatch your roof. Viking houses were roofed with dried straw from one of a variety of different plants, with wooden shingles or even with turf. You can use scenic grass, used by model railroad hobbyists, or teddy bear fur soaked in thinned PVA glue. Brushed straight and glued in place, this can represent thatching made from straw.
Tip
To give your house an extra Viking flourish, extend the beams that make up the gable, carving them into decorative curves or animal heads.
Video of the Day