How to Make Candied Sweet Potatoes With a Glaze That Sets
Two common failure modes account for many disappointing pans of candied sweet potatoes, and they rarely come from the same mistake. Either the potatoes turn to mush somewhere between the pot and the oven, or the glaze stays thin and pools around the dish instead of clinging to the pieces. This guide treats those as two separate problems with two separate checkpoints, so you catch each one before it ruins the other.
What follows is one fully specified recipe built around a par-cook step and a glaze test that make the result repeatable, troubleshooting for the failures this method is designed to prevent, and a make-ahead plan that won't crack your bakeware.
Recipe snapshot
Video of the Day
- Yield: Serves 8, about 6 cups
- Equipment: 9x13-inch metal or ceramic baking dish, greased with 1 tablespoon softened butter
- Total time: About 1 hour 10 minutes as tested (15 minutes active prep, 10 minutes par-cook, 7 minutes glaze, 25 to 30 minutes bake, 10 minutes rest), not counting the time it takes the water to come to a boil
Ingredients:
- 3 lbs sweet potatoes, peeled and cut into 1.5-inch chunks
- 2 quarts water, plus 1 tablespoon salt, for boiling
- 4 tablespoons unsalted butter
- 3/4 cup packed brown sugar
- 1/4 cup orange juice
- 1/2 teaspoon ground cinnamon
- 1/4 teaspoon salt, for the glaze
- 1 tablespoon butter, for greasing the dish
These quantities and times are the specifications this recipe was tested with. Your stove, oven, and potatoes will shift them slightly, which is why each step below leans on a visual or physical cue rather than the clock alone.
Video of the Day
Step 1: Choose potatoes that hold their shape
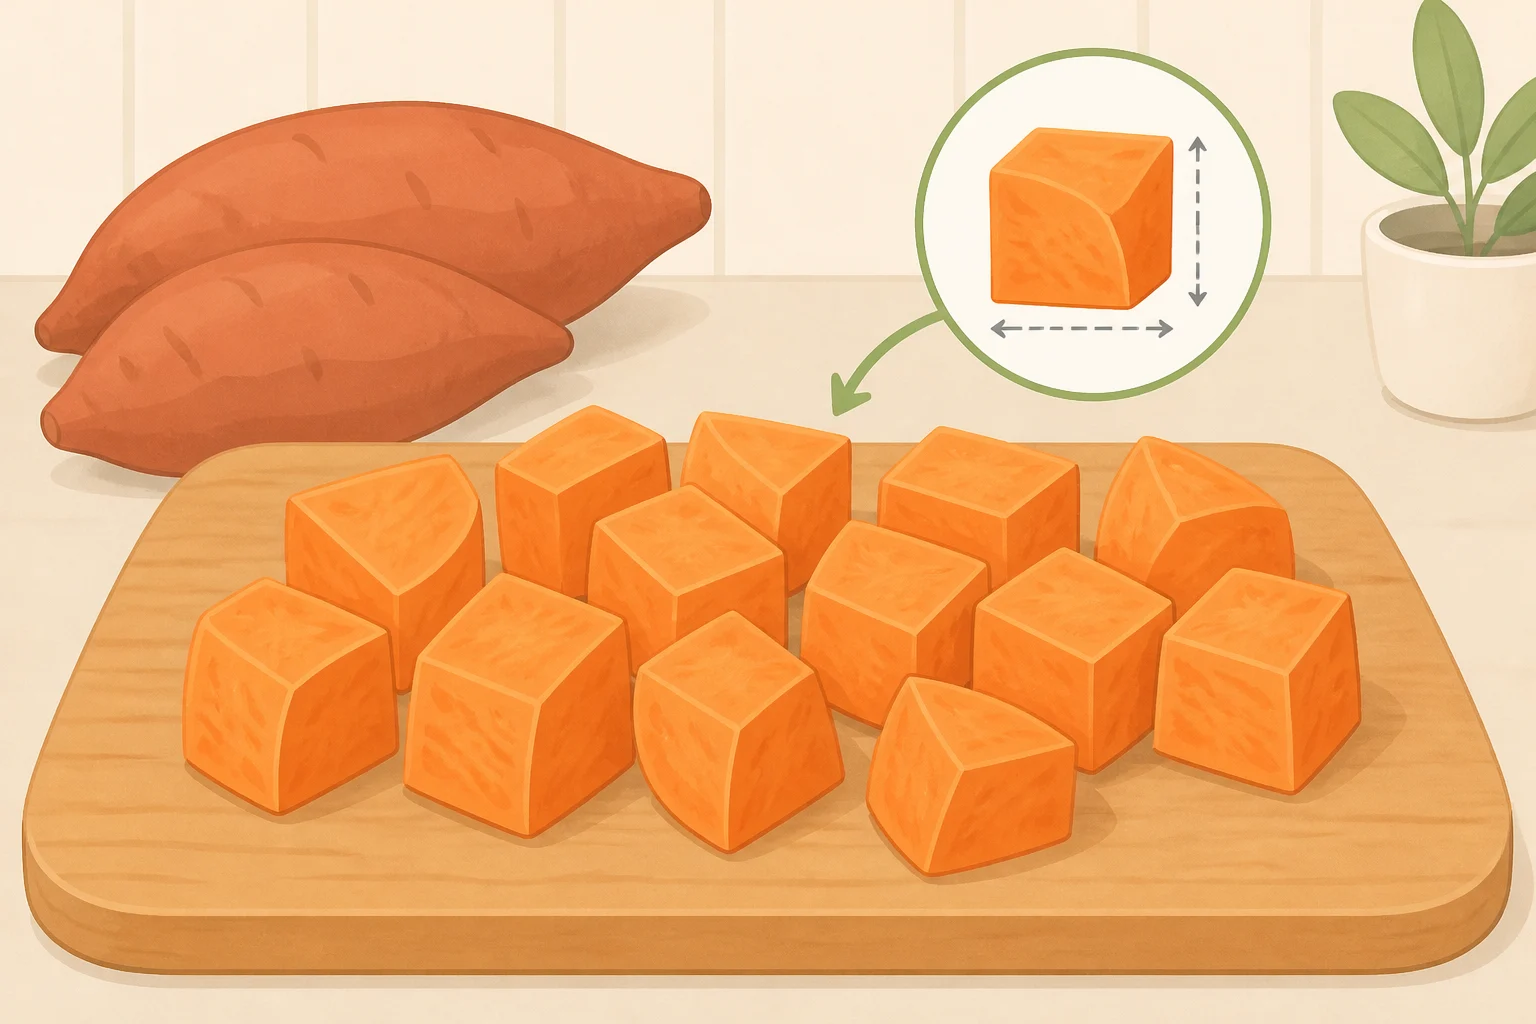
Pick firm, medium-sized sweet potatoes with smooth skin, no soft spots or sprouting. Orange-fleshed varieties such as Beauregard or Covington are a common choice in U.S. supermarkets, per NC SweetPotatoes.
Peel the potatoes and cut them into even 1.5-inch chunks. Uniform sizing matters more than it seems: mismatched pieces cook at different rates, so some turn mushy while others stay raw in the center.
In testing, potatoes that had sat in storage longer sometimes needed a few extra minutes in the pot. That's part of why the times below are ranges, not fixed numbers. Judge doneness by texture and the cues in each step, not the clock.
Step 2: Par-cook until the knife meets resistance
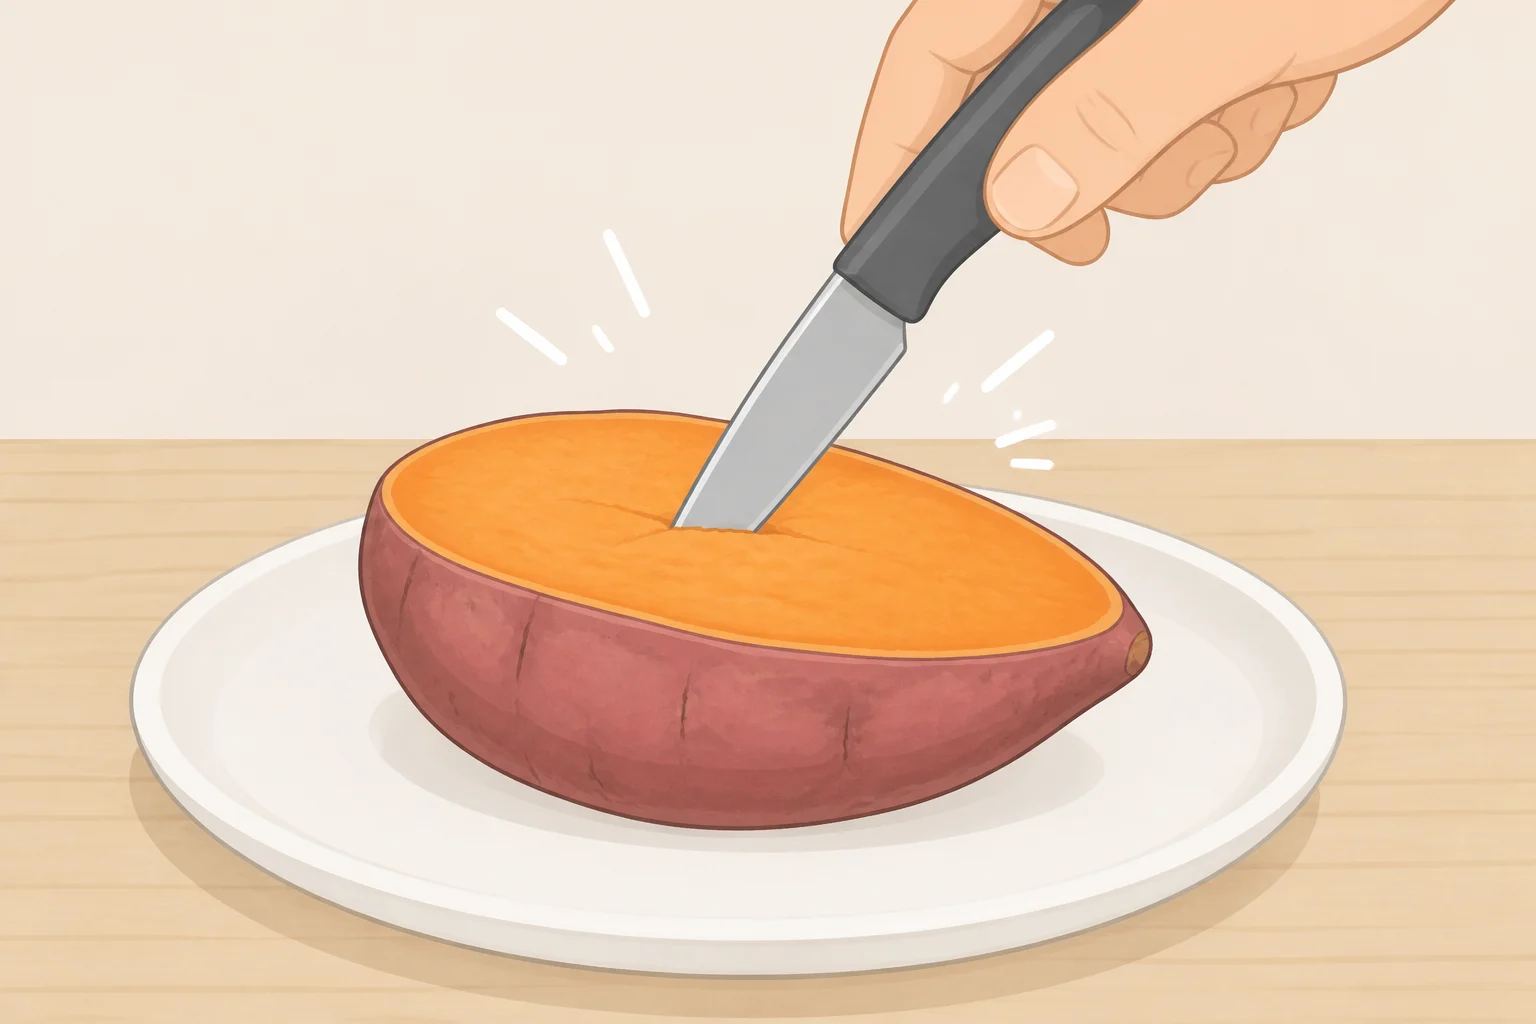
Bring 2 quarts of water with 1 tablespoon salt to a boil. Add the potato chunks and cook for 8 to 10 minutes, checking with a knife: it should enter the center with noticeable resistance, and the pieces should not bend or break when lifted.
If a piece is already falling apart on the spoon, pull the batch now rather than cooking further, and handle everything gently from here on.
Checking doneness here, before the glaze and oven get involved, catches a failure that's hard to spot later: a caramelized exterior hiding a raw center. It costs one extra pot for a checkpoint you can act on before the dish goes anywhere near the oven.
Drain the potatoes thoroughly and let them sit uncovered for 5 minutes. In testing, three pounds of potatoes shed more surface water after draining than expected, and skipping this rest let some of that moisture carry into the glaze once combined, thinning it more than it should have been.
Step 3: Build and test the glaze
Combine the butter, brown sugar, orange juice, cinnamon, and salt in a saucepan over medium-low heat. Stir until the sugar dissolves, then swirl the pan instead of stirring it. Avoid scraping any sugar that dries on the sides of the pan back into the mixture; doing so can introduce crystals and push the glaze toward a grainy texture.
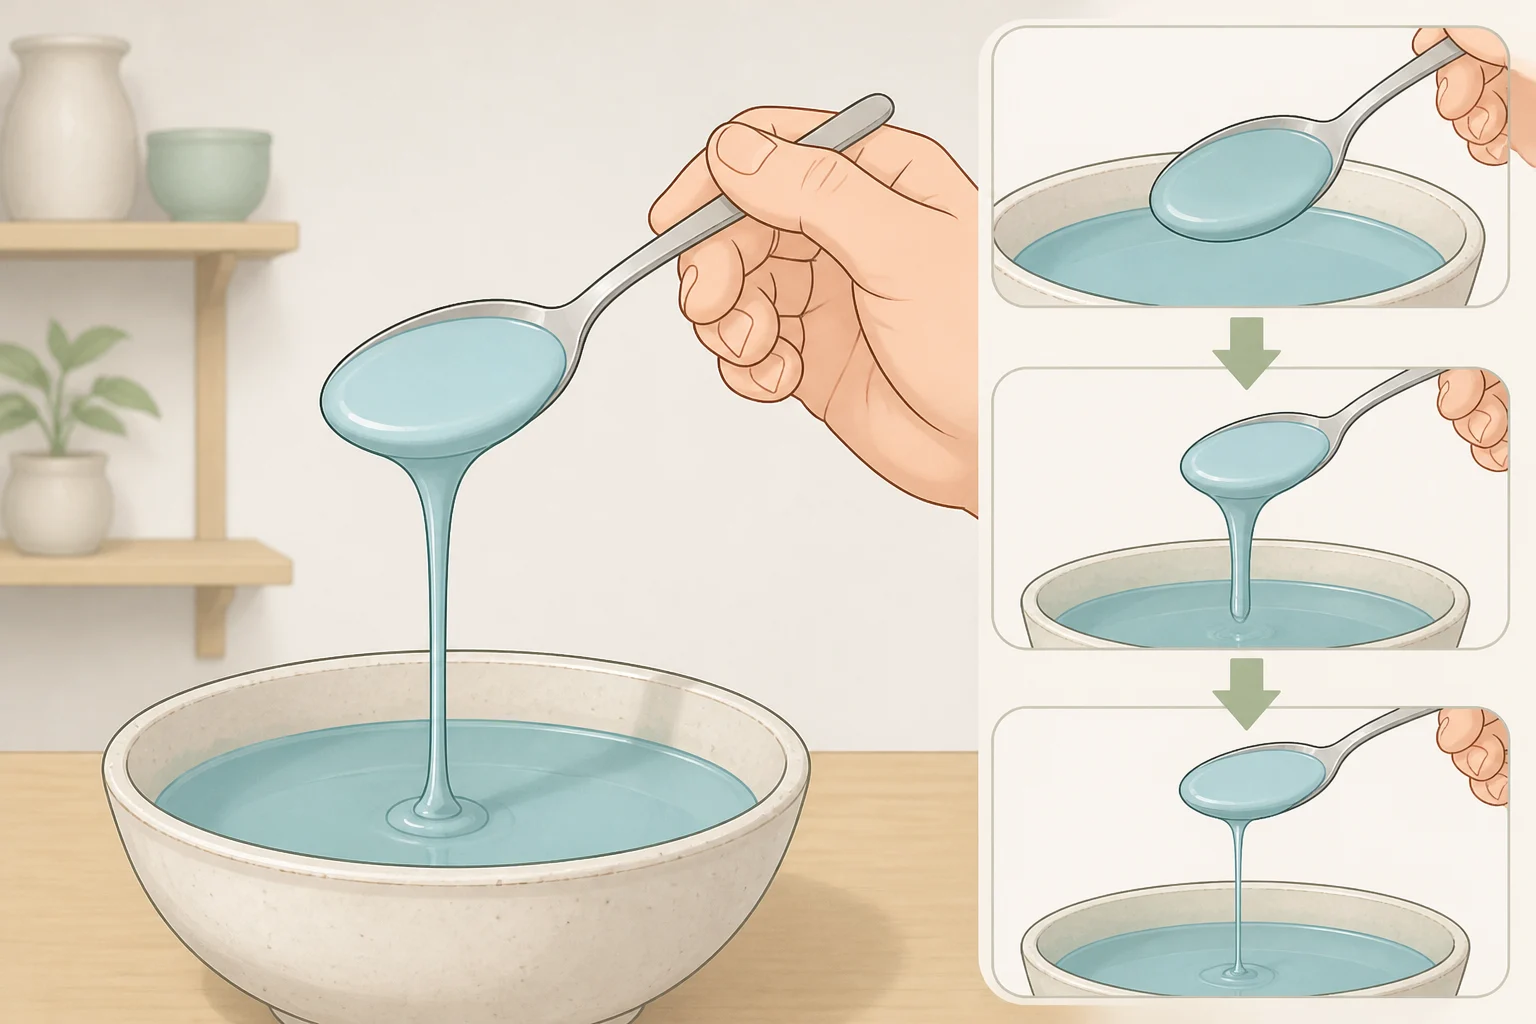
In testing, the glaze was usually ready after 5 to 7 minutes of gentle simmering. Dip a spoon in and check how it comes back out: a glaze that's ready coats the spoon in a layer that falls back into the pan slowly, as a single sheet, rather than running off in thin drips. Treat that as the real benchmark, not the timer. Pan size and burner strength both change how fast a glaze thickens, so two cooks following the same recipe can hit that stage a minute or two apart.
Taste the glaze before it goes anywhere near the potatoes. This is the easiest point to adjust sweetness or spice; once it's poured into the dish, correcting it means more time in the oven, which risks overcooking the potatoes underneath.
The spoon test only confirms the glaze is ready to leave the saucepan, not that the finished dish will set. In testing, the glaze typically loosened partway through baking as the potatoes released their own moisture, then tightened back up as that moisture cooked off and the dish rested. If the glaze looks thin mid-bake, that's usually the normal process, not a mistake. Check again after the rest in step 4 before deciding anything needs fixing.
Keep the glaze warm and pourable for step 4. If it cools and thickens while you finish step 2, rewarm it over low heat for a minute before pouring.
Step 4: Combine and bake
In testing, three pounds of chunks fit a standard 9x13-inch dish in a single layer without crowding. If your dish runs shallow, split the batch across two pans instead of stacking pieces two deep; crowded, stacked potatoes trap steam and block caramelization instead of browning.
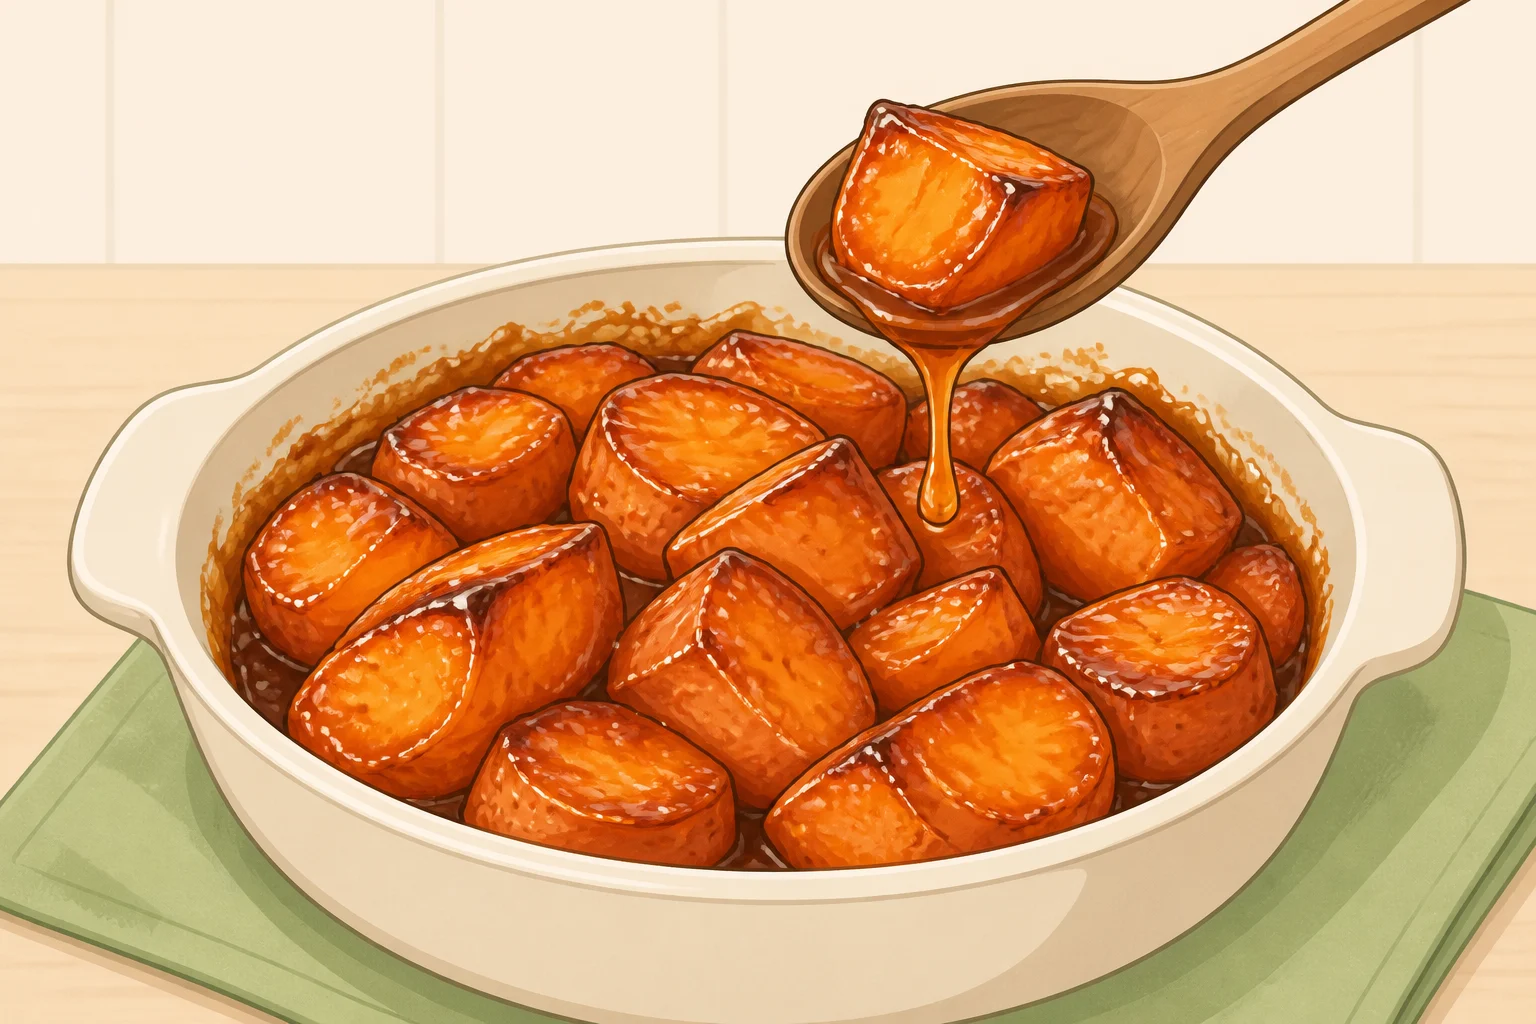
Arrange the drained, still-warm potatoes in the buttered dish and pour the warm glaze evenly over them. Bake uncovered at 375°F for 25 to 30 minutes. Baste once, around the halfway point, spooning the pan juices over the top rather than stirring the potatoes, so the softened pieces stay intact. These times assume both the potatoes and glaze go into the oven warm, not cold from the refrigerator; step 6 covers the make-ahead version.
The glaze is visually done when it reduces and thickens around the edges and the potatoes pick up a light caramelized sheen. That caramelization is a sign the glaze is behaving, not a separate confirmation that the potatoes are tender; that was already settled by the knife check in step 2. Some thin liquid pooling at the bottom during baking is normal at this stage; it keeps thickening as the dish rests.
Let it sit 5 to 10 minutes before serving. The finished glaze should cling to the potatoes as a thick, spoonable syrup that moves slowly when you tilt the dish, not one that runs straight to the edges. Resist the urge to extend the bake just to dry the pan completely; that overcooks the potatoes without improving the glaze.
Step 5: Troubleshoot five common failures
Potatoes falling apart. This traces back to step 2. Pull the pieces the moment a knife meets resistance, and handle them gently when transferring to the baking dish.
Glaze stays thin after a 10-minute rest. Usually the sugar-to-liquid ratio was slightly off, or the dish was covered during baking and trapped steam that diluted the syrup. Next time, simmer the glaze a minute or two longer in step 3, until it clearly passes the spoon-coating test before it meets the potatoes. If the dish is already assembled, pour off just the liquid into a small saucepan, reduce it over medium heat for 2 to 3 minutes, and pour it back over the potatoes.
Glaze turns grainy. This can happen when sugar crystals get scraped back into the mixture from the pan's sides, or when the glaze simmers too hard for too long. Leave that pan-side residue alone and pull the glaze as soon as it passes the spoon test. Once a glaze crystallizes, it's hard to smooth back out, so this one is easier to prevent than to fix.
Glaze scorches or tastes burnt. Either the pan ran too hot or the glaze simmered well past the clinging stage. Pull it the moment it passes the spoon test; extra time on the heat after that can push it toward scorching.
Potatoes still firm after the glaze has browned. This usually means the par-cook in step 2 ran short, or the oven is running cool. Cover the dish loosely with foil, add 2 tablespoons of water or orange juice to loosen the glaze, and continue baking at 350°F in 5-minute increments, checking with a knife each time, until the potatoes give easily.
Step 6: Make ahead without cracking your bakeware
Par-cook the potatoes from step 2 and prepare the glaze from step 3 up to a day ahead. In testing, both held up well refrigerated separately and covered.
Don't move a refrigerator-cold glass or ceramic dish straight into a hot oven. A sudden jump in temperature is a common way bakeware cracks, so if you're assembling ahead, check your dish's manufacturer guidelines before deciding whether it's rated for that kind of swing.
The simplest way around the problem is to skip holding the assembled dish cold altogether. On serving day, rewarm the glaze first, over low heat, until it's fluid again, which took 3 to 5 minutes in testing; add a teaspoon of water if it's thickened in the fridge. Combine the rewarmed glaze with the potatoes and bake right away, rather than letting the cooked potatoes sit out at room temperature while something else finishes. Bake per step 4, leaning on the same tenderness and glaze-clinging cues rather than assuming the dish finishes in exactly the same window as a same-day batch.
Refrigerate leftovers in an airtight container and plan to eat them within a few days for the best texture. Reheat covered at 300°F for 15 to 20 minutes, a timing that worked well in testing, adding 1 to 2 tablespoons of water if the glaze has tightened. In testing, the microwave left the glaze hot while the potatoes stayed cool in spots, so the oven is the better bet for reheating this dish.
Scaling up for a crowd
You can double the recipe across two pans, keeping the same depth as a single batch: a second 9x13-inch dish handles the overflow rather than stacking the potatoes deeper in one. Oven time isn't guaranteed to hold at double volume, so check each pan against the same visual cues from step 4 instead of assuming it matches the original 25-to-30-minute window.
If a double batch of glaze crowds the saucepan, make it in two separate batches instead of one large pot, and judge each by the same spoon test from step 3 rather than assuming it behaves identically to a single batch. Oven racks can run warmer or cooler depending on position, so if both pans bake at once, check each one separately for doneness instead of assuming they finish together.
Conclusion
Once the spoon test and the knife check feel like second nature, the hardest part of this method is already behind you. Scaling up mostly means repeating those two checks more times: keep the potato depth consistent across however many pans the batch needs, test each batch of glaze on its own rather than assuming it matches the first, and let texture, not the clock, decide when each component is ready.