How to organize a chest freezer: an 8-bin blueprint
A chest freezer doesn't run out of space nearly as often as it runs out of structure. Food sinks, gets buried under the next grocery run, and turns up months later wearing a coat of frost. Anyone searching for chest freezer organization ideas that don't involve buying a bigger appliance is really looking for the same fix: learning how to organize a chest freezer means solving the burial problem before it starts, not after the freezer is already packed.
This guide uses eight stackable bins, arranged in two rows of four, as a working example, not a rule. Split between food used often and food used rarely, that layout means nothing has to be dug out from under more than one other bin, provided the bins actually fit the freezer and the layout gets followed. Frozen food is best kept at or below 0°F (-18°C), the benchmark PrepTables sets for keeping frozen food safe. In a chest freezer, being able to stack contents isn't a nice-to-have, it's non-negotiable, according to PrepTables, because the same depth that gives these freezers their capacity is what buries food if nothing is planned around retrieval.
Eight bins isn't a magic number, just a convenient split into two rows of four. This guide walks through four steps: checking fit before buying, resetting the freezer before anything goes back in, laying bins out in a plan that solves the lift-everything-to-reach-anything problem, and building the habits that keep it from sliding back into a pile. Guidance for smaller and larger freezers runs at the end, so the method scales without losing its structure.
Step 1: Test the fit before buying chest freezer storage bins
Video of the Day
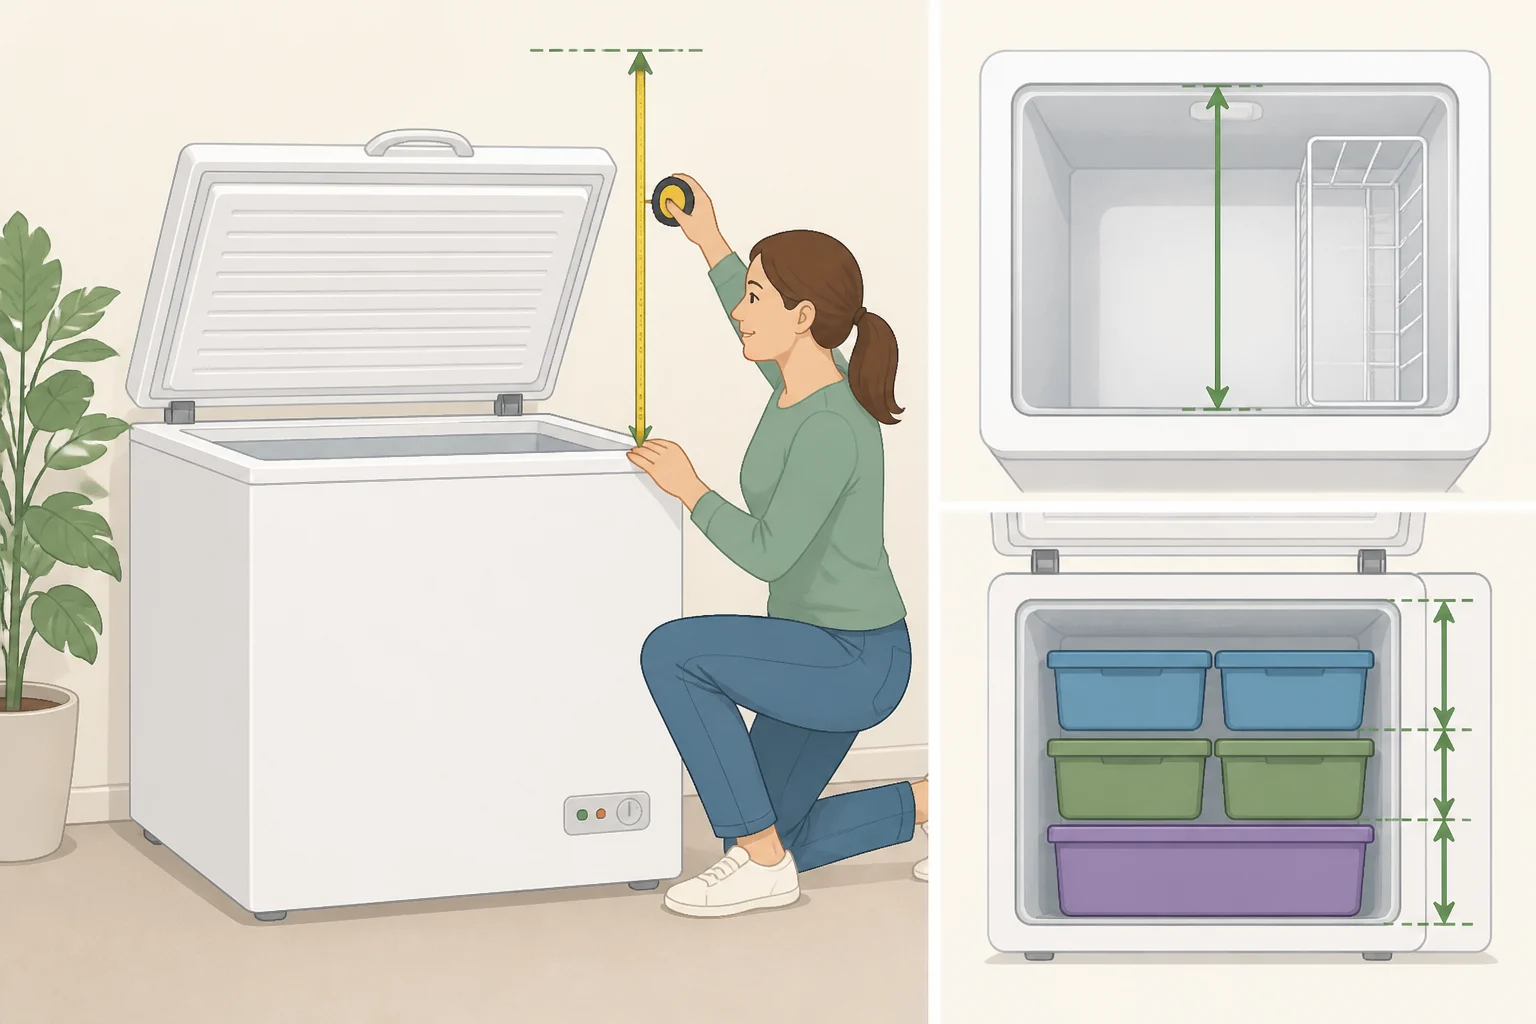
The best bins for organizing a chest freezer are the ones that fit the unit already sitting in the garage, not the set with the most reviews. Start by measuring the freezer's usable interior footprint, length, width, and depth, taken at the floor rather than at the opening. Compare that measurement against the bins' exterior dimensions, not the capacity printed on the box.
Check lid clearance as its own measurement. A bin stacked on top of another needs enough headroom to clear the closed lid. Measure with the lid shut before ordering anything, not after the bins show up, and follow any clearance or stacking instructions in the freezer's own manual, since hinge and lid geometry vary by model.
Material matters as much as size. Not every container marketed as general storage is built for sustained sub-zero use, so check the product listing for a manufacturer freezer-safe rating rather than judging by look and feel. Stackable freezer storage containers designed for this job are usually labeled that way; if the listing doesn't say it, don't assume it applies.
Run a lift test before locking in a layout. Fill one bin to a realistic weight, then confirm it comes out using only its own handles, without shifting a neighboring bin first. If a fully loaded bin is too heavy to lift safely on its own, split that category across two shallower bins instead of packing one deep one. That test is the foundation for the plan in Step 3, and it's also the moment to notice if the freezer can't safely support two full bins stacked in the same spot.
If the freezer has a factory-installed wire basket hanging near the top opening, consider using it for one of the eight zones. A basket lifts out clean without disturbing whatever's stacked below it, which is worth weighing for whatever category gets opened almost daily.
Video of the Day
Step 2: Reset the freezer before loading anything in
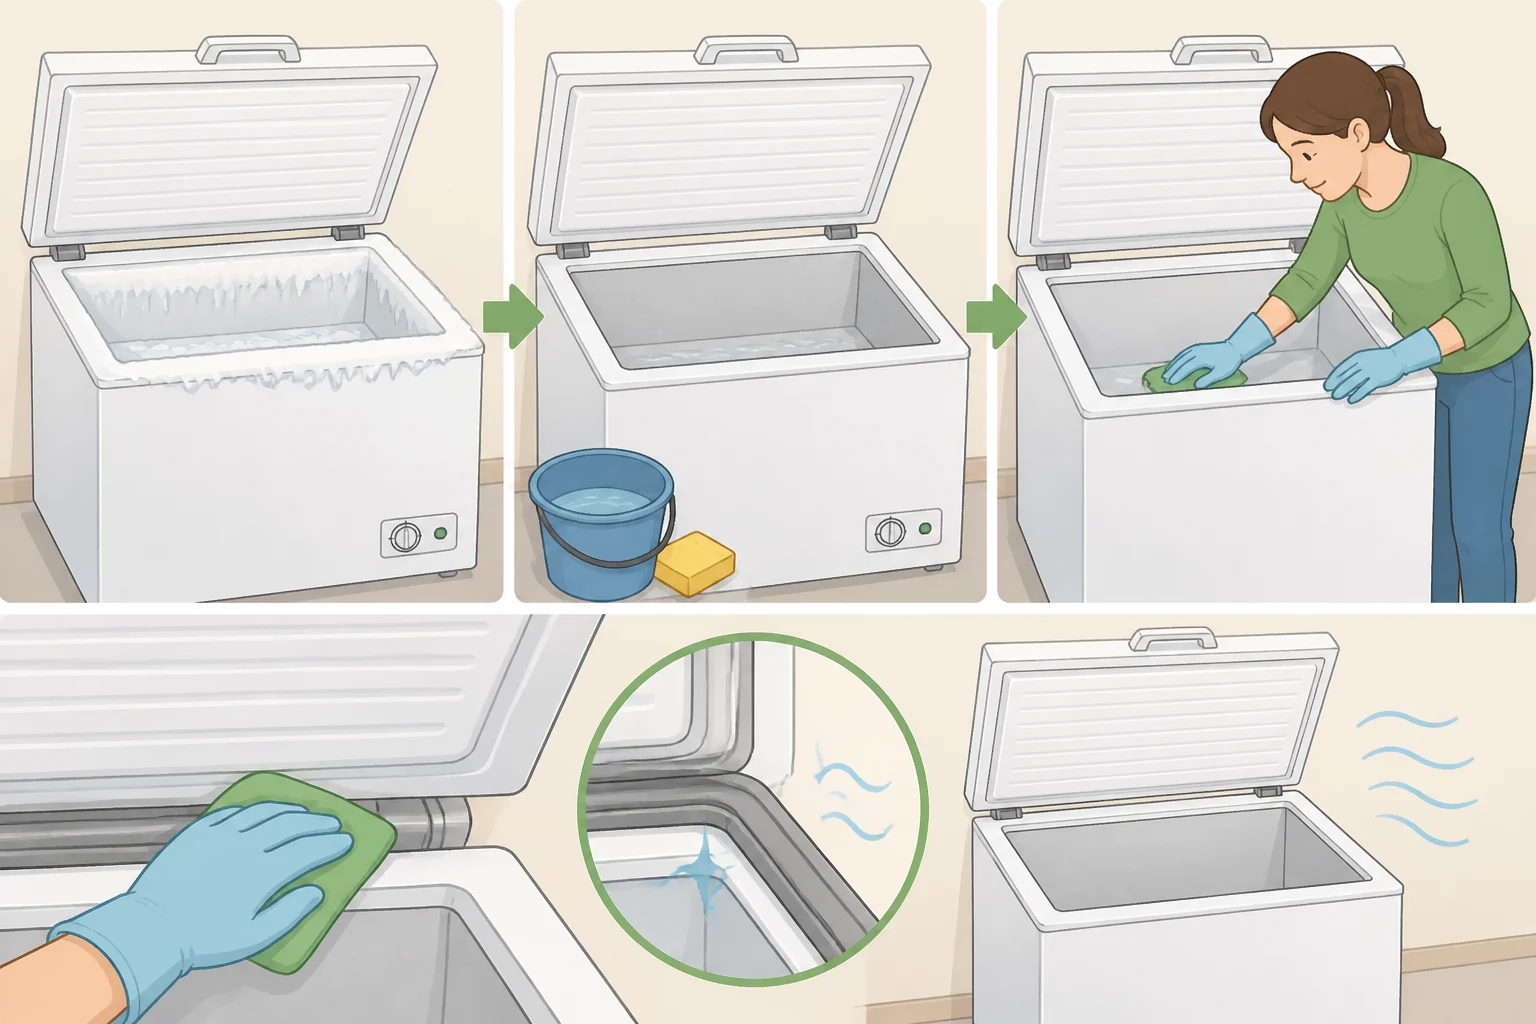
Do this once, before a single bin goes back in. It's a different job from the weekly habits in Step 4.
Confirm the freezer actually holds at or below 0°F using an appliance thermometer placed inside, rather than trusting the thermostat dial alone. Keeping food at or below that temperature is what keeps it safe, per PrepTables, and it's worth checking that the unit actually reaches that number before anything gets loaded back in.
Defrost now if frost has built up past roughly a quarter inch. PrepTables cites that thickness as the trigger for a commercial freezer defrost. That guidance is written for commercial units, so treat the quarter-inch mark as a useful reference for a home freezer rather than a formal home-appliance standard, and check the freezer's own manual if one came with it.
Clean the interior and the lid gasket next. PrepTables describes a solution of one tablespoon of unscented bleach per gallon of water, or a food-safe sanitizer already on hand, as one option. Because this is a food-contact surface, check the freezer manufacturer's own cleaning instructions and the sanitizer's label for the right dilution, rinse, and contact time before using either one. Prop the lid open afterward and let everything air-dry completely before anything goes back in.
Retire the cardboard boxes during this reset. Cardboard soaks up moisture in a freezer like a sponge and turns soggy and weak over time, and damp cardboard can become a breeding ground for bacteria and mold, per PrepTables. Washable, see-through bins avoid that particular failure mode, though they still need regular cleaning to stay that way.
Step 3: How to organize a chest freezer in an 8-bin layout
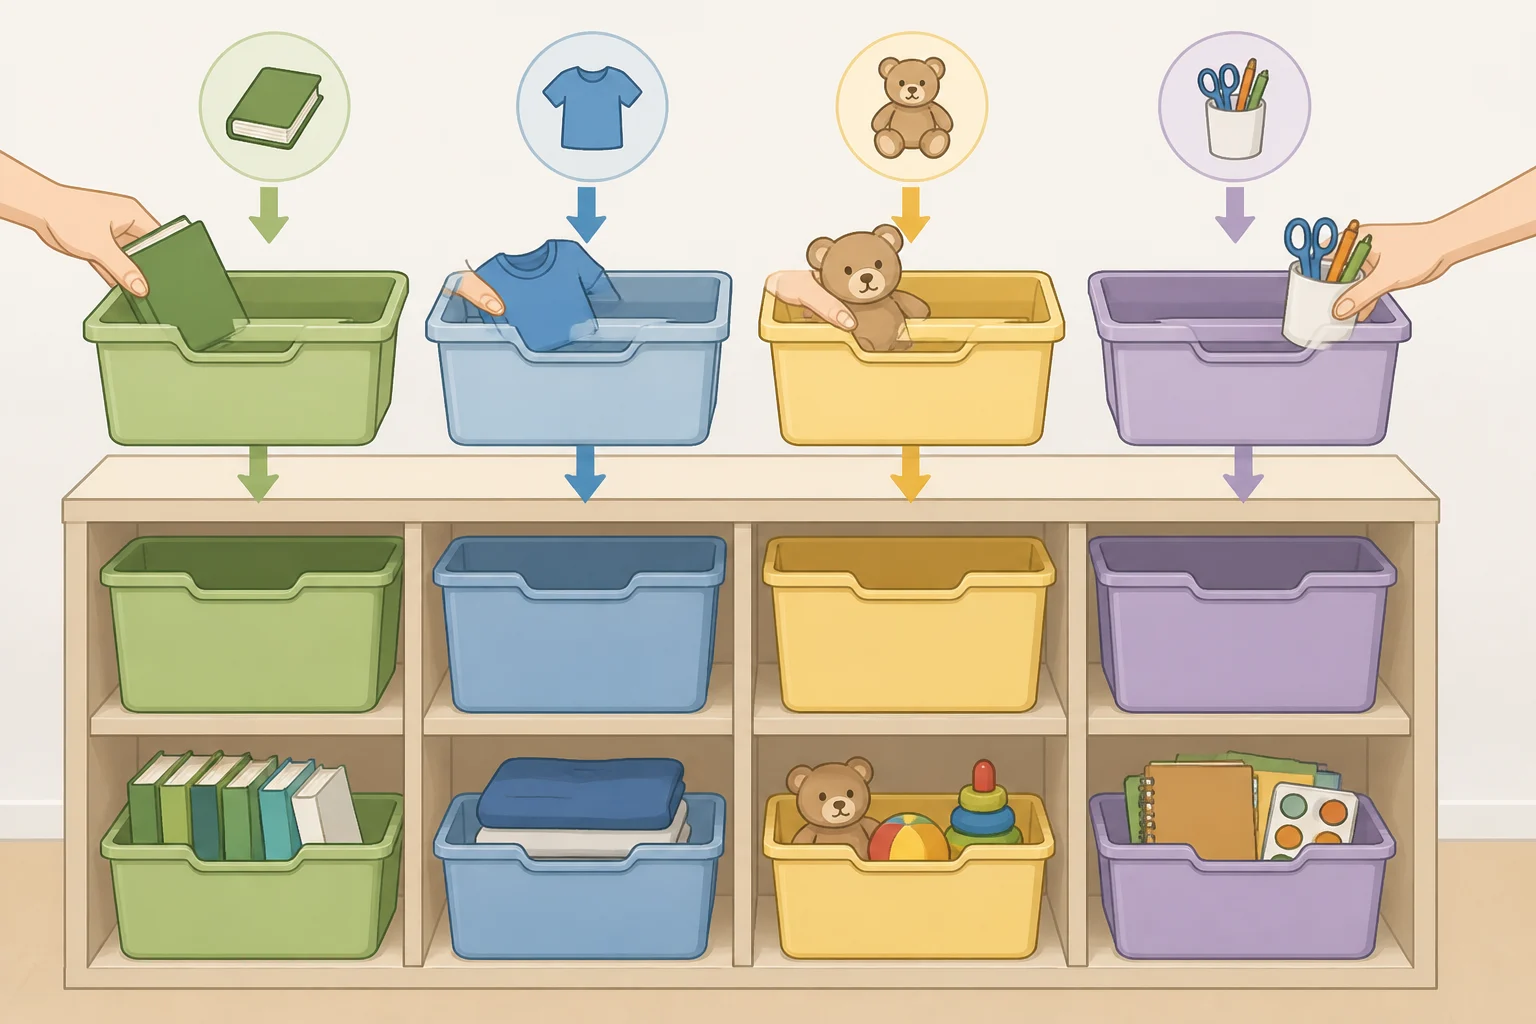
Picture four columns of bins sitting side by side across the freezer floor, facing the open lid. Each column holds two bins stacked directly on top of each other, one on the floor, one balanced above it, so the whole set runs four wide and two high, not four separate slots each holding a single bin. The table below assigns one category to the floor bin in each column and a different category to the bin stacked above it.
| Column | Top bin (high-use, accessed often) | Bottom bin (low-use, accessed rarely) |
|---|---|---|
| A | Ready-to-heat meals (leftovers, soups) | Raw proteins (whole cuts, poultry) |
| B | Grab-and-go snacks (waffles, ice pops) | Vegetables (frozen produce, blanched garden veg) |
| C | Bread and baked goods | Fruit (berries, smoothie packs) |
| D | Breakfast items (sausage, egg products) | Meal-prep components (stock, sauces, portioned dough) |
The retrieval rule is what makes this work: to reach a floor bin, lift only the bin stacked on top of it in that same column, then set it aside and put it back when finished. No column runs higher than two bins, and reaching one column never means touching a bin in a different column.
If the lift test from Step 1 showed two full bins can't stack safely under the closed lid, this particular grid isn't the right fit yet. A few adjustments keep the same retrieval principle without forcing a stack that doesn't work:
- Run one shallow layer of bins across the floor and add a removable basket above it for the highest-use category, instead of stacking a second bin.
- Switch to fewer, wider bins if the freezer's floor dimensions allow, so each column covers more ground without adding height.
- Use category bags or a divider tray for irregular items, like a large roast or a holiday turkey, that don't fit any bin's shape.
None of these change the underlying goal: reach anything with one lift, not a whole pile.
Sort categories into the top row by how often the lid needs to open for them, not by what kind of food it is. If snacks get pulled out three times a week and bread once a month, snacks earn the top spot even though both are less perishable than the raw meat sitting at the bottom.
Raw proteins sit at the bottom of their column here, echoing the raw-meats-on-bottom setup PrepTables describes in commercial kitchens. Keep raw protein packages sealed and leak-resistant, and follow the freezer manufacturer's guidance or standard food-safety practice for preventing cross-contamination between raw and ready-to-eat items.
Never rest a heavy bin on a soft product. Bread and baked goods stay in the top row only, with nothing stacked above them, per PrepTables.
Leave visible air space around the bins instead of packing the freezer wall to wall. Circulating cold air is tied to more consistent temperatures across the unit, according to PrepTables, though the guidance doesn't specify an exact clearance, so treat this as "don't overstuff" rather than a measured gap.
Reserve a small, empty corner, not one of the eight assigned bins, for anything that doesn't have a category yet, and set a deadline for it, such as the next grocery trip: used, moved into its real zone, or cleared out. A bin doing double duty as both overflow and the fastest-moving zone tends to serve neither job well.
PrepTables describes a simpler version of the same idea already used in commercial kitchens: raw meats on the bottom, a stack of vegetables above that, finished dishes in a shallow bin at the very top for quick grabs. This eight-bin layout applies that same top-to-bottom logic across four columns instead of one.
Step 4: Build the habits that keep the layout working
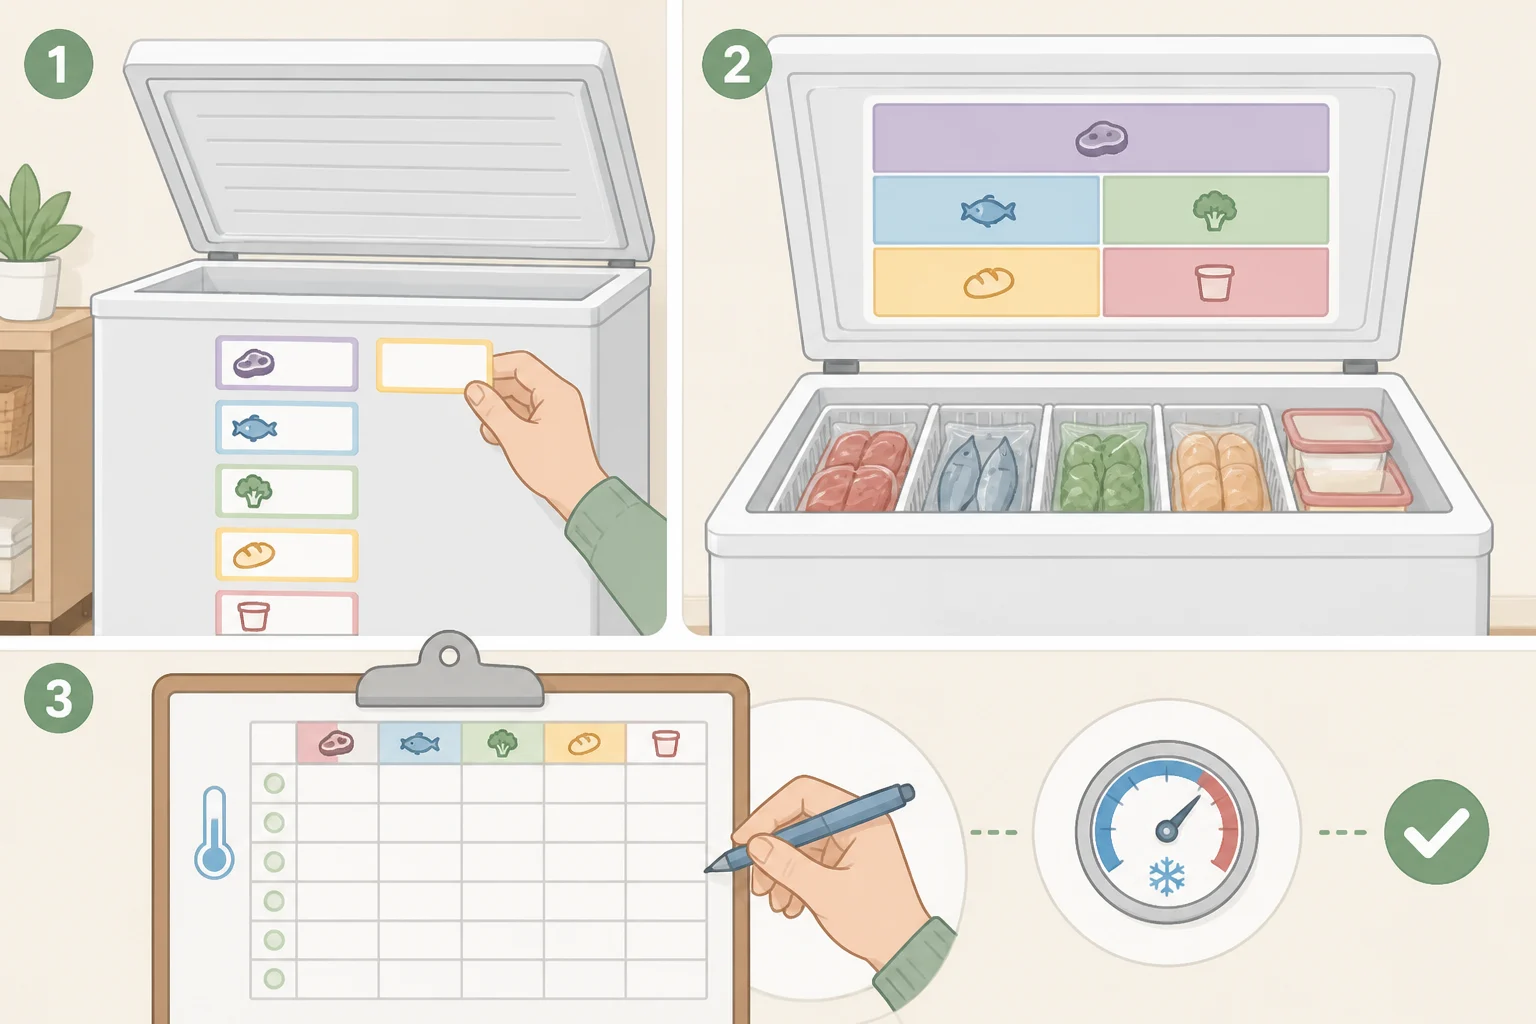
A layout only holds up if the habits around it do too, starting with labeling.
Label every package with three things: item name, freeze date, and use-by date, the same three-part protocol PrepTables runs in its own labeling system. Held at 0°F, frozen food stays safe, per PrepTables; the use-by date on the label works more as a quality marker than a safety cutoff, since taste and texture can shift the longer something sits in storage.
Practice FIFO on purpose. When restocking a bin, physically move older items to the top or front of it rather than counting on memory to sort it out later, a habit PrepTables frames as a deliberate strategy rather than something that happens on its own. New product goes to the bottom or back every time.
Build a compact lid map. PrepTables recommends a simple laminated diagram posted on the lid, listing each zone and where it lives. Applied to the eight-bin layout, that means each column letter, its top and bottom category, and how often that bin gets opened, matching the table in Step 3.
Keep a temperature log next to the map. PrepTables treats a posted temp log as standard practice, turning a one-time check into an ongoing record instead of a guess.
PrepTables frames all of this as a one-page standard operating procedure: labeling protocol, FIFO rule, a zone map, and a lid check, done in about five minutes a week. That five-minute figure comes from PrepTables; the five-step sequence below is this guide's own version of it, adapted to the eight-bin layout: confirm the lid sealed tight after the last time it was opened, scan for any package missing a label, check the overflow corner against its deadline, confirm FIFO was followed on anything restocked, and glance at the temperature log. Run through it in order and the layout stays matched to the map instead of drifting back into a pile.
Adjust the layout after your first restock cycle
The eight-bin count and four-column grid above are a starting point, not a fixed spec. A few adjustments cover most real-world freezers without abandoning the one-lift rule.
For a smaller freezer, drop to three columns, six bins, by merging bread with fruit in one column and meal-prep components with vegetables in another. The two-row, one-lift rule still applies exactly as written; only the count changes.
For a larger freezer, or a season that throws off the usual inventory, hunting season or a big garden harvest, swap a lower-frequency zone, meal-prep components is the easiest candidate, for the seasonal category temporarily rather than adding a ninth bin. A ninth bin may require a different footprint or stacking arrangement than the freezer has room for, so remeasure before adding one. Anyone working out how to organize a deep freezer with an odd shape or a smaller interior can use the same fix: keep the columns paired, and adjust the count rather than the structure.
Once real grocery habits run through the layout, watch which bins actually get opened. If one bin empties every week while its neighbor barely moves, that's a signal to swap which category sits on top, not a flaw in the layout itself; reassign the top spot to whatever's driving the lid open, then update the map. If a category keeps landing in the overflow corner instead of clearing out by its deadline, merge two low-use zones into one column and free up a slot for whatever's actually growing.
The four-column structure tends to hold regardless of which eight categories fill it, so there's rarely a need to redesign the whole layout, just a column. What matters is that any item comes out with one lift, not a whole pile, whether that takes six bins, eight, or ten.