Dollar Tree DIY portable organizer: 12 compartments for $13
A TikTok creator turned six wine bottle holders, two three-compartment trays, and a roll of gel tape into a 12-compartment storage unit, no cutting or drilling required. Apartment Therapy covered the build yesterday, pricing this Dollar Tree DIY portable organizer at about $13. The appeal is straightforward: a dozen separate compartments without a power tool or a custom-cut piece anywhere in sight. What the video doesn't settle is how the thing holds up once it's actually loaded with stuff.
The project comes from creator GPSCREATIONSdesigns, who pulled six clear acrylic wine bottle holders, two clear three-compartment storage trays, and one roll of reusable double-sided gel tape off Dollar Tree shelves (Apartment Therapy, yesterday). The caption sells the payoff hard: "That is it. In just a few minutes you can build a portable organizer that keeps everything neat and within reach" (Apartment Therapy, yesterday). It's a clean example of a Dollar Tree storage hack, though the advertised price and the "portable" label both deserve a second look before a store run turns into an afternoon project.
This guide covers the parts list, the assembly sequence, and what's worth checking before trusting this DIY Dollar Tree organizer with daily use, plus where it fits best. A light desk organizer and a bathroom catch-all are not the same assignment, and the difference matters more than the $13 price tag suggests.
What you need for this Dollar Tree wine bottle holder organizer
Video of the Day
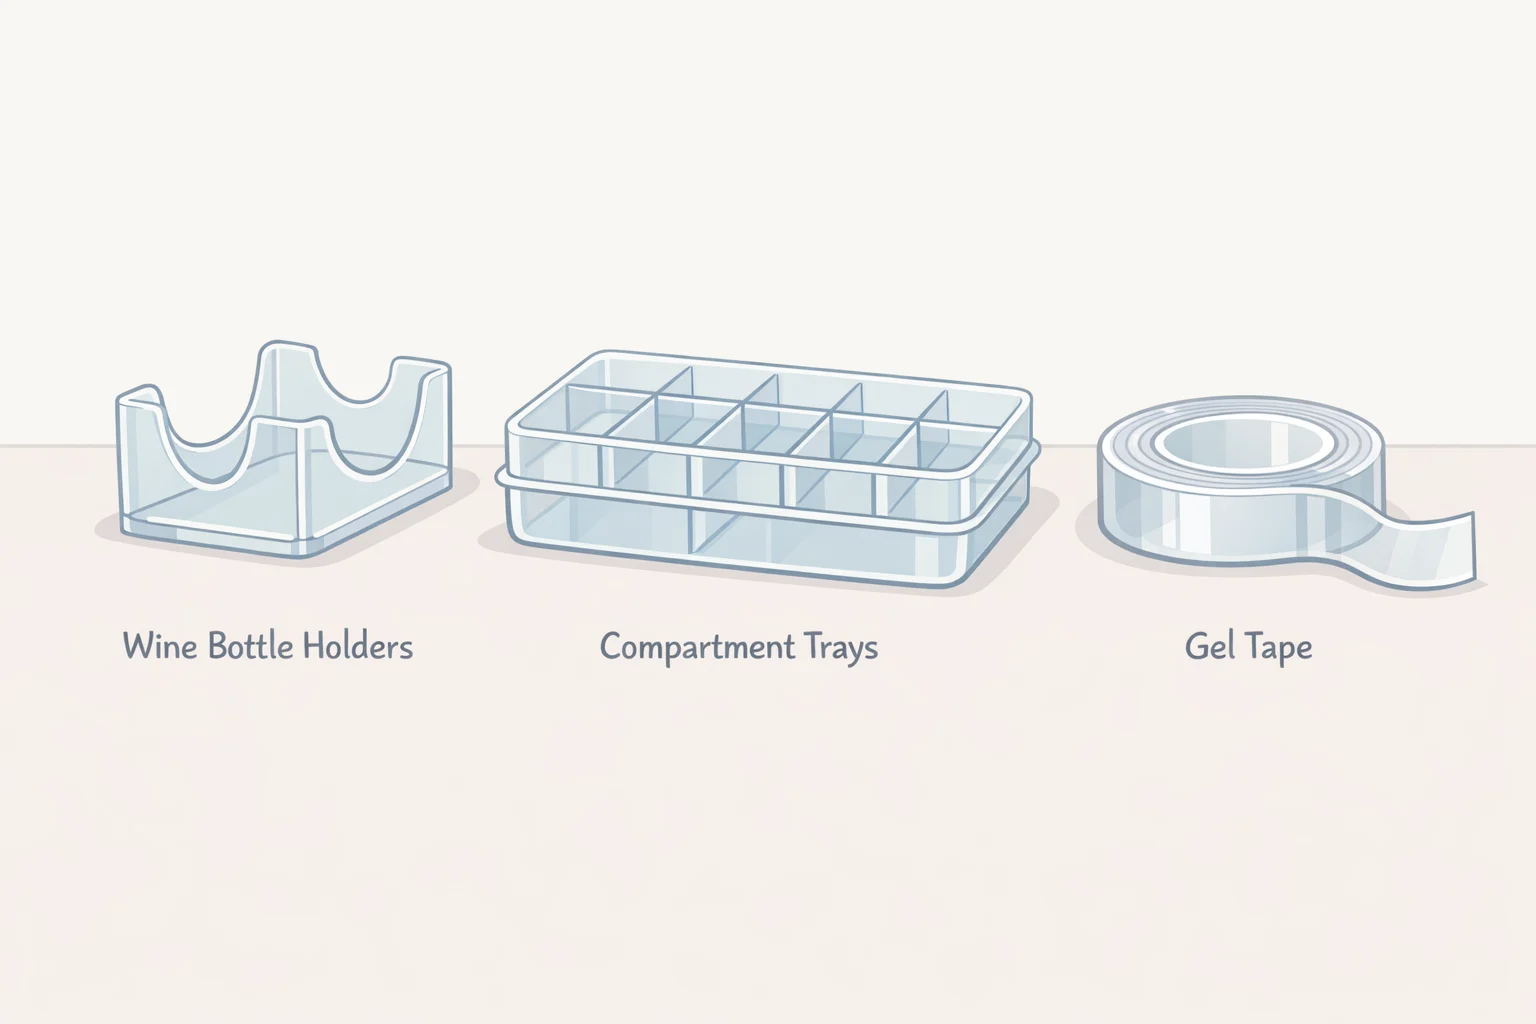
The materials list is short, and every piece comes from one store:
- 6 clear acrylic wine bottle holders
- 2 clear three-compartment storage trays
- 1 roll of reusable double-sided gel tape
Nine pieces total, all from the same Dollar Tree run (Apartment Therapy, yesterday). Calling this a Dollar Tree wine bottle holder organizer is accurate in the most literal sense: the wine holders form the base structure, and the trays simply rest on top of them.
Apartment Therapy priced the finished build at about $13, with a note that prices were accurate only at the time of publishing (Apartment Therapy, yesterday). That's a reasonable ballpark, not a guarantee. Dollar Tree inventory and pricing shift by region and by shipment, so totaling an actual cart at checkout is the more reliable way to confirm cost.
The gel tape is described as reusable, which matters if the layout ever needs rebuilding later (Apartment Therapy, yesterday). How many times it can be pulled up and reapplied before it loses grip isn't addressed in the reporting, so that's worth testing at home on a low-stakes surface rather than assuming it behaves like a permanent bond.
Before you shop
A few minutes of prep in the store saves a wasted trip home:
- Measure the intended surface. No product dimensions for the wine holders or trays are reported, so there's no way to confirm the finished footprint without a tape measure.
- Confirm all six holders and both trays match in style and size. Mismatched pieces throw off the grid before the tape ever goes on.
- Inspect each piece for cracks, warped edges, or rough seams, especially with clearance stock, which tends to sit longer on shelves.
- Decide upfront whether the organizer stays put on one surface or gets moved around while loaded. That decision affects how carefully the top trays need to sit once assembled.
Video of the Day
Assembling this DIY Dollar Tree organizer
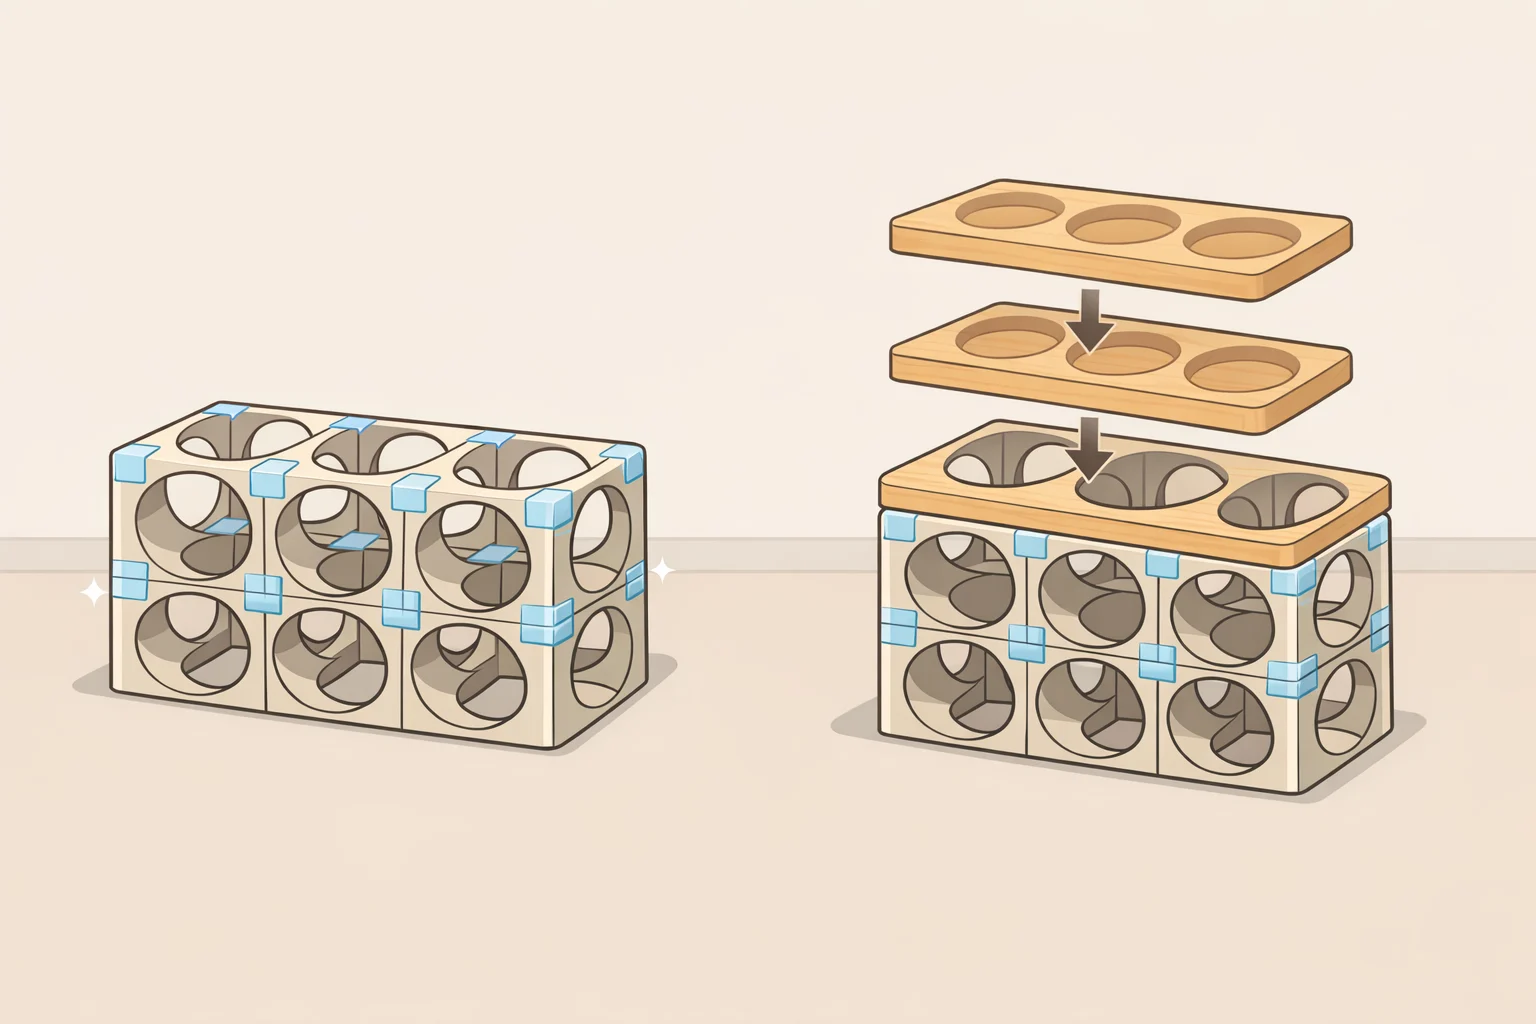
According to Apartment Therapy, the creator arranges the six wine holders into a three-by-two grid, joins them with gel tape, sets the two trays on top, and finishes the whole thing in a few minutes (Apartment Therapy, yesterday). That's the entire process as demonstrated, and it's genuinely that fast.
Reproducing it carefully, with a couple of additions the report doesn't mention, looks like this:
- Wipe down the contact surfaces and let them dry completely. Dust or moisture weakens the gel tape's bond, so start clean rather than finding out mid-build that a piece won't stick.
- Lay out the six holders in a three-by-two grid on a flat surface before taping anything. Confirm the grid is square and the edges line up; it's easier to nudge loose pieces into place now than after they're stuck together.
- Apply the gel tape along the touching edges and press the holders into one connected base (Apartment Therapy, yesterday). Firm, even pressure along each seam beats one quick press in the middle.
- Set the two three-compartment trays on top of the joined base (Apartment Therapy, yesterday). The trays rest on top rather than fasten down, so this step builds a stacked structure, not a fully secured one.
The result: six larger lower cubbies from the wine holders and six smaller upper compartments from the trays, 12 storage zones total (Apartment Therapy, yesterday). The report doesn't mention any curing period for the tape, so it's worth giving the base a few quiet minutes before loading it up and putting that bond to work.
Check the fit and stability before daily use
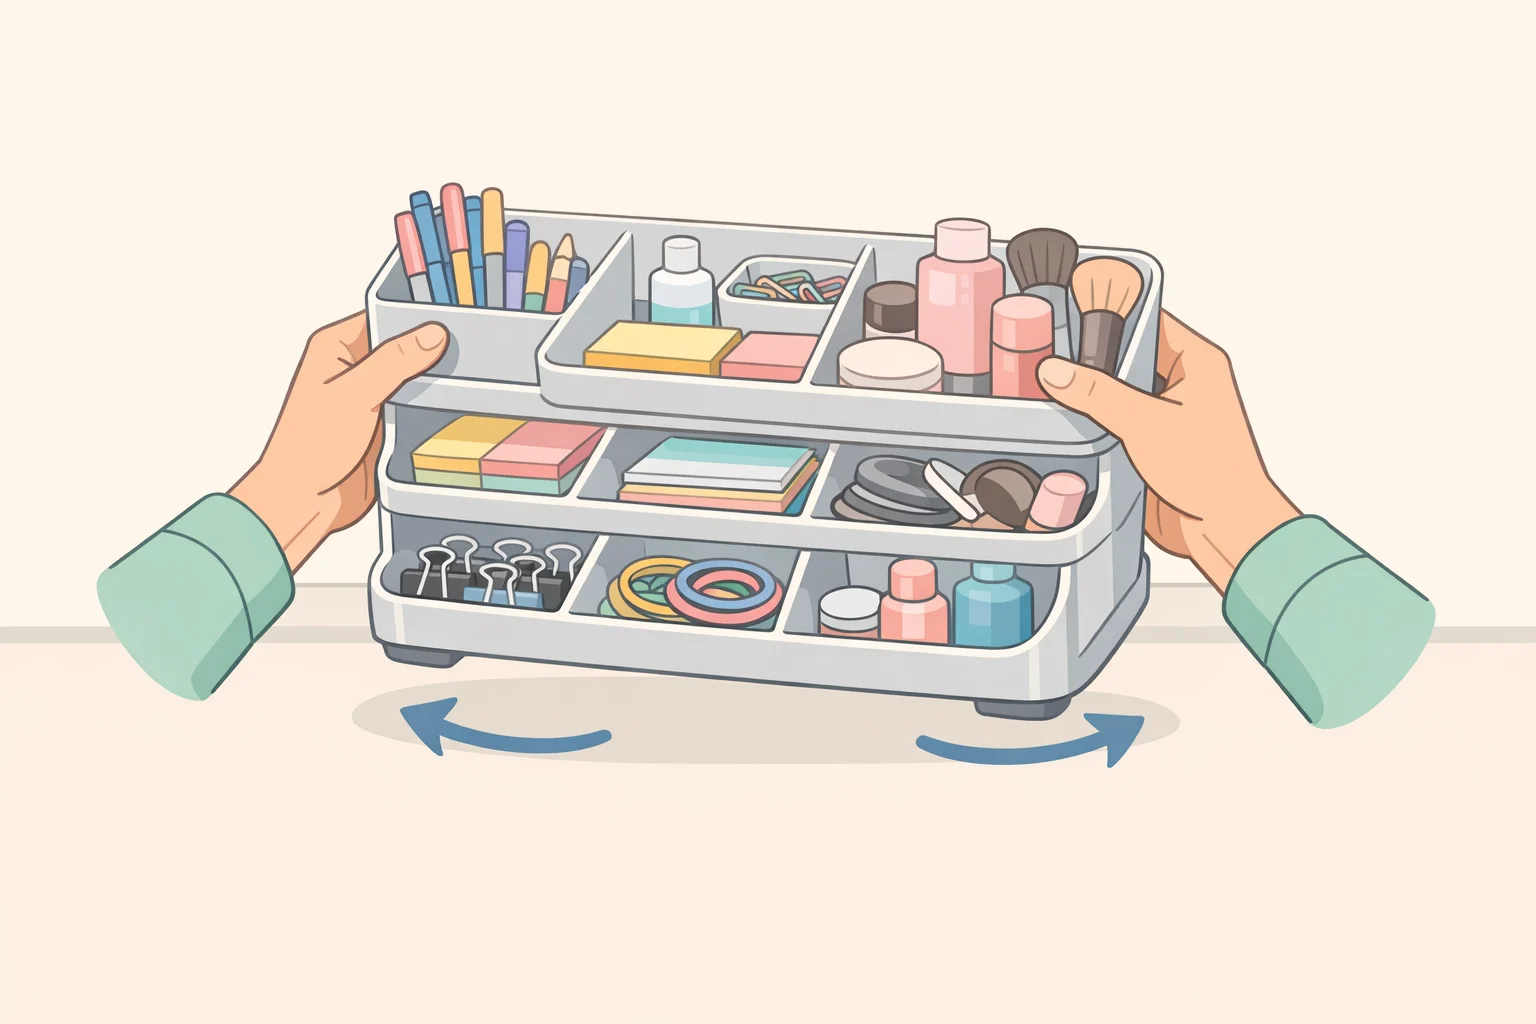
The creator presents the build as a quick job, and it probably is. What the demonstration doesn't establish is how the organizer performs after weeks of actual use, which is a different test than a few minutes in front of a camera.
What this project cannot tell you
- No published dimensions for the wine holders or trays, so the assembled footprint stays unknown until measured in-store.
- No stated weight capacity or load limit for the trays or the tape.
- No testing of how the gel tape holds up over weeks of heat, humidity, or repeated handling.
The fastest way to close those gaps is a loaded test. Fill every compartment with the items meant to live there, then lift and shift the unit the way it would move in normal use. That reveals whether the top trays stay seated and whether the base feels stable, neither of which the report addresses directly.
A short trial run in the room where it'll actually live is a decent stand-in for the missing long-term data, even if it doesn't settle the question permanently. If it wobbles or the trays slide during that test, that's the answer. It's not a reason to force it into daily rotation anyway.
If daily movement isn't part of the plan at all, mounting is worth considering. Apartment Therapy notes the organizer is designed to be portable but suggests it could be mounted to a wall with adhesive strips or hooks instead (Apartment Therapy, yesterday). No specific product or weight limit is named, so treat that as a suggestion rather than a tested method, and choose hardware rated for a fully loaded unit, not an empty one.
Best uses for this portable storage organizer DIY project
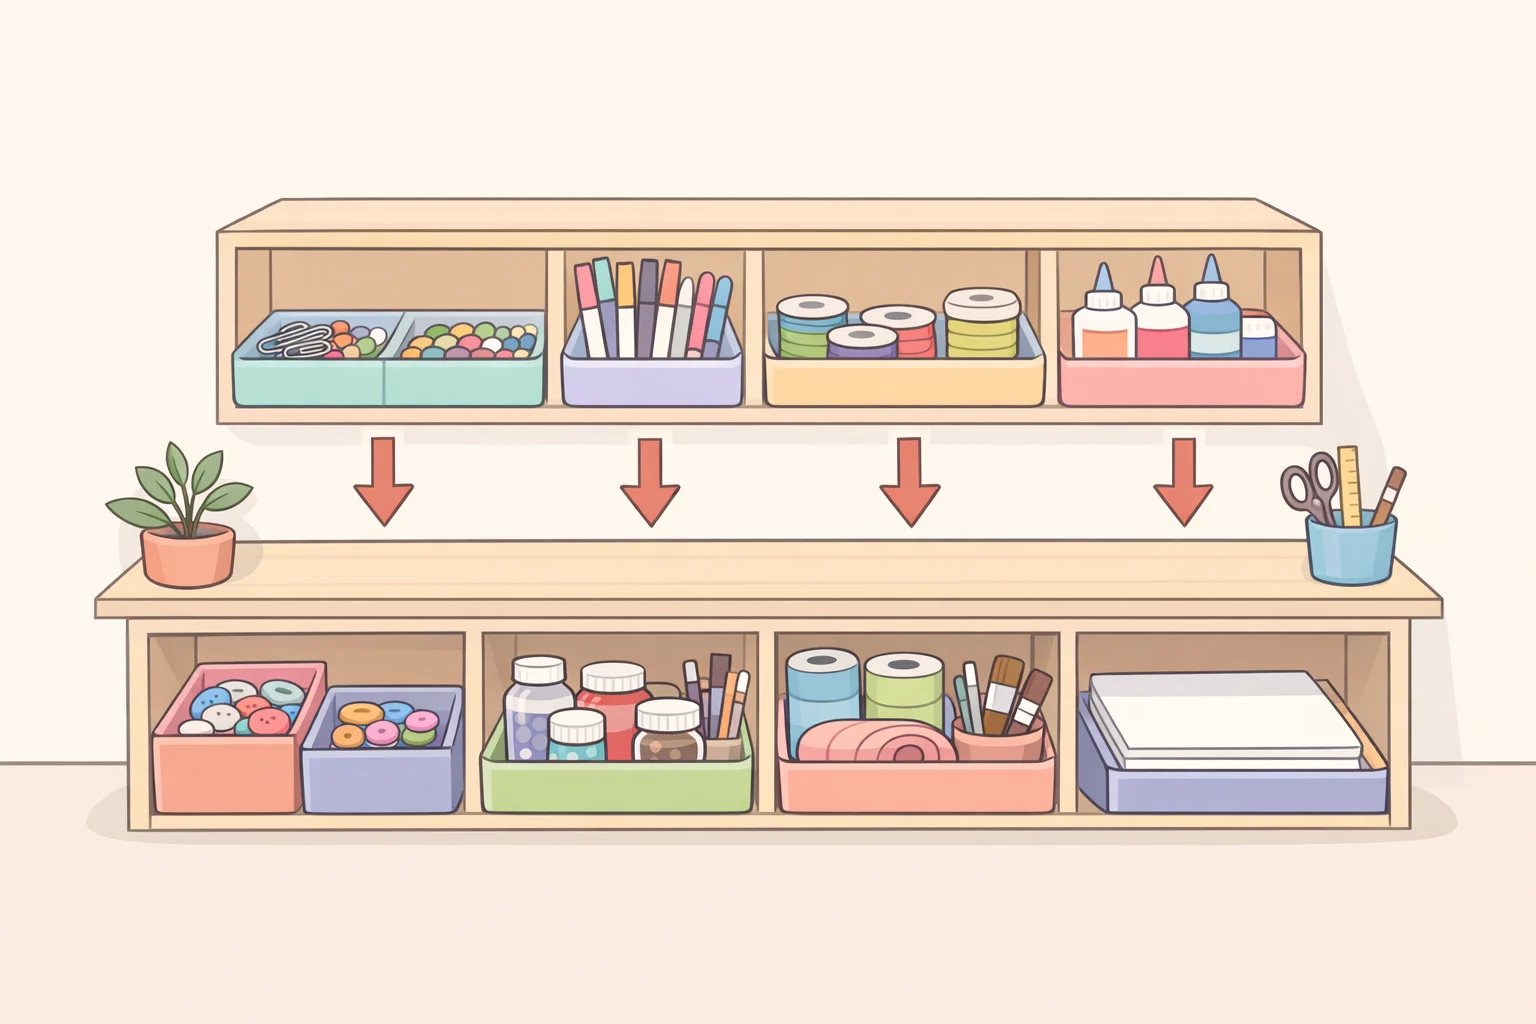
The two-tier layout naturally splits clutter by size. The larger lower cubbies, built from the wine holders, have enough depth for upright or slightly bulky items: markers, small scissors, a roll of tape standing on end. The smaller tray compartments up top are shallower, better suited to loose, lightweight stuff like paper clips, hair pins, or spare buttons. That's a reasonable read of the compartment shapes shown in the demo, not a tested use case.
A desk or craft table is the safer starting point, since the unit can stay on one surface rather than travel loaded from room to room. A sewing station, a homework desk, or a craft room worktable are all sensible homes for it. Anywhere small supplies pile up faster than they get put away is fair game.
Bathroom counters and entryways are a harder sell. Both spots see more humidity and accidental bumps in general household use, so if it lands in one of those rooms anyway, keep the load light and skip anything liquid-adjacent. A stacked, untested unit is not the place for a bottle of nail polish remover.
As a Dollar Tree multi-compartment organizer, this build does its best work matching small, mismatched clutter to a compartment sized for it, not holding anything heavy or anything that would ruin a surface on the way down.
Should you build it
The core facts hold up: nine Dollar Tree pieces, a few minutes of assembly, and a reported $13 price tag (Apartment Therapy, yesterday). What the reporting doesn't establish, dimensions, load capacity, and how the tape ages, are exactly the things that decide whether this becomes a permanent fixture or a one-week experiment.
Build it, load it with the items actually meant for it, and give it a few days in place before deciding. If it fits the space and stays stable under real weight, it's a solid bet for a desk or craft table. Heavier loads, wall mounting, and repeated loaded moves are separate questions the source never tested, so treat those as separate experiments, tackled only after the basic version earns its spot.