
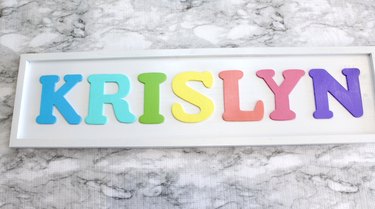
Sprinkling personal touches throughout your space doesn't just brighten up a room; it lights up your day. That's exactly why crafting a custom-painted wood-letter wall sign is such a hit. Whether it spells out a name, a heartfelt quote, or simply a word that inspires, this project is a true splash of your personality onto your living space's canvas.
Today, we dive into the fun world of DIY, where the entire rainbow is at our fingertips. This isn't just about crafting; it's a chance to bring families together, ignite creativity across all ages, and add a uniquely personal flair to your decor.
Video of the Day
Ready to turn a plain piece of wood into a colorful masterpiece that shows off your style? Let's get started!
Video: Custom-Painted Wood Wall Letters
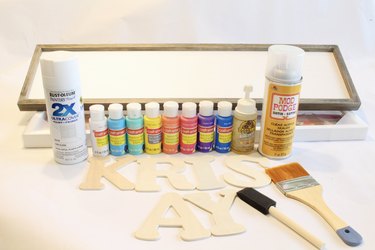
Things You'll Need
Framed or plain wood board
Newspaper or drop cloth
Wood letters spelling out your name/words of choice
White spray paint
Acrylic glossy paint or spray paint in desired colors
Clear sealer spray (optional)
Sponge or paintbrushes
Wood glue
Hanging hardware
Tip
Some craft stores sell wood letters in packs of two. This is handy for multiple projects or shared letters in names. Extra letters also allow for practice or do-overs, making them perfect for beginners.
1. Choose your canvas
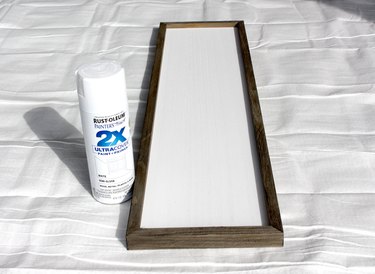
Starting with a framed wood board (sold in craft shops) can save you time and effort, especially since some come ready to hang. Alternatively, you can use a plain wood board or even a piece of MDF (medium-density fiberboard).
Tip
If your board is rough, sand it thoroughly to create a smooth canvas for painting. And don't overlook the wood letters; they may also need sanding to remove rough spots and splinters.
2. Paint the board
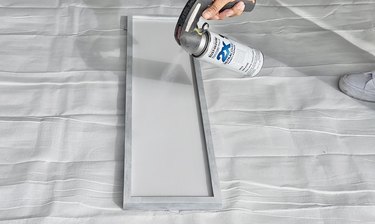
Lay down some newspaper or a drop cloth to protect your work area. Paint the board with an even coat of white paint, covering all sides that will be exposed when you hang the board. Let the paint dry as directed.
Tip
A paint-and-primer-in-one product works best for covering bare wood, but you can use any paint you like.
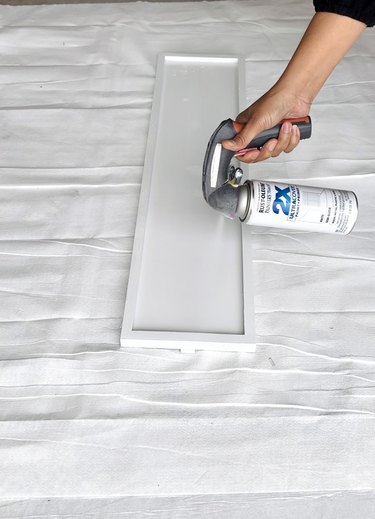
Apply a second coat of paint and let dry. If you're using spray paint, you'll likely need one or more additional coats for full coverage.
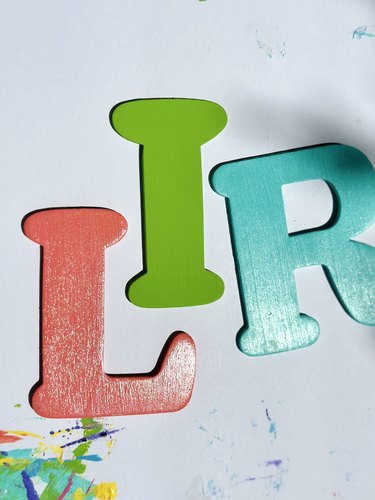
3. Pick your colors
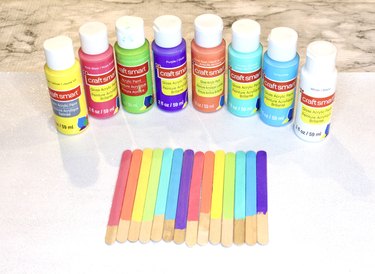
Here's where your creativity really gets to shine! You can choose colors that match the room's decor or shades that reflect a particular theme/mood. You can also go wild with rainbow hues.
It can be helpful to test the colors on popsicle sticks, which have the same wood texture as the letters. And don't be afraid to adjust paint colors by mixing different colors together, adding a dab of white to soften a hue, or adding a dab of black to deepen a tone.
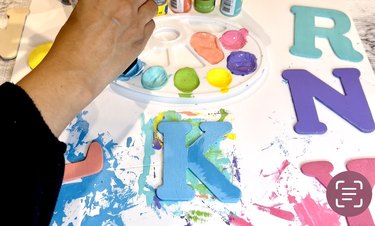
4. Paint the letters
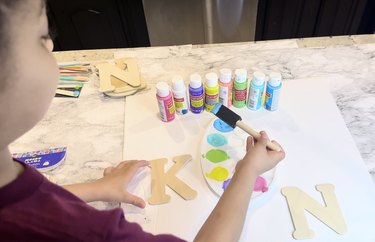
Use a sponge brush to apply two coats of glossy acrylic paint (or other paint of your choice) on each letter, making sure they dry completely between applications.
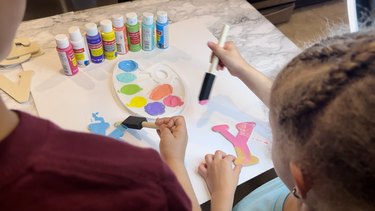
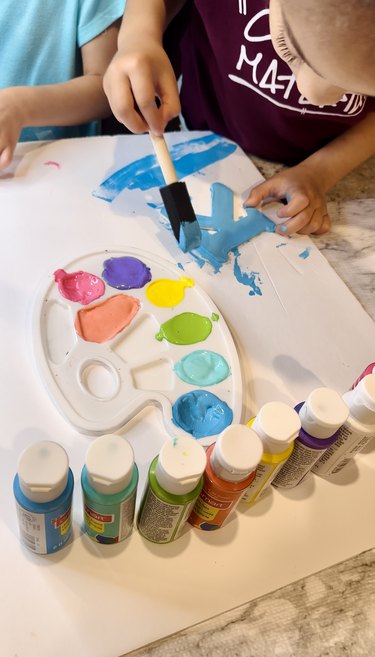
If you like things just so, have the little ones tackle the initial coat and then you can swoop in to perfect the second one. It's a great way for everyone to get involved and feel proud of their contribution!
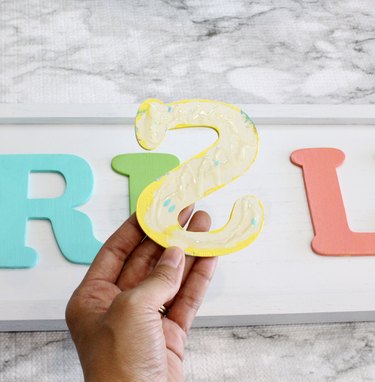
5. Apply sealer
After the paint has dried, a quick spray of a sealer like Mod Podge will protect your sign from the wear and tear of everyday life. This also helps keep the colors vibrant.
Tip
If you've chosen glossy paint for your letters and board, you're already nailing the durability game! But if you went with a matte or satin acrylic and crave that shiny look, no worries—just finish off with a clear glossy sealer (basically, clear spray paint). It'll unify and enhance the sheen across all your letters. I ran out of green glossy paint for one of my letters, so I used this trick, and voilà! They all matched perfectly.
5. Position and glue the letters
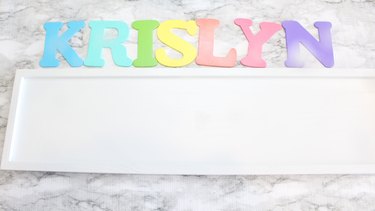
Position your painted letters on the board to spell out your desired words or name. Once you are satisfied with the layout, use wood glue to secure each letter in place.

6. Hang your art
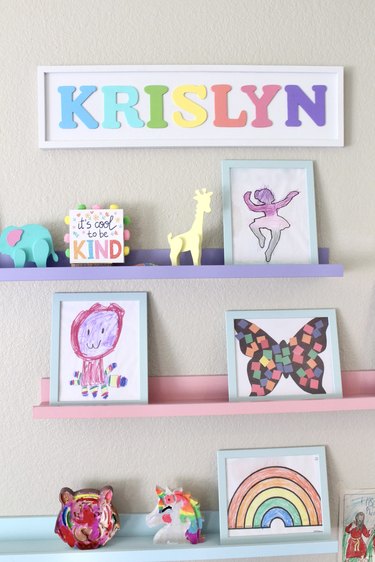
If your framed wood sign doesn't come with hanging hardware, you'll need to attach it yourself. Sawtooth hangers or wire options are perfect for ensuring your sign hangs safely and securely.