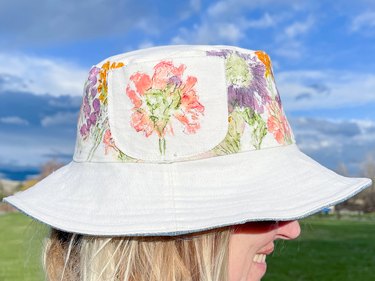
Tending to a garden is all about getting your hands dirty, but that doesn't mean you can't add a dash of style to the mix. To get you started on the outdoor wardrobe of your dreams, we have the perfect DIY: an eye-catching bucket hat made with a unique "flower pounding" technique that adds both color and texture. Oh, and did we mention that our homemade bucket hat includes a pocket that's perfect for storing a few flower seeds? Read on for the full tutorial, which includes a template to get you started.
Gardening never looked so good!
Video of the Day
Video: A Whimsical Gardening Bucket Hat Decorated With Natural Flower Dye
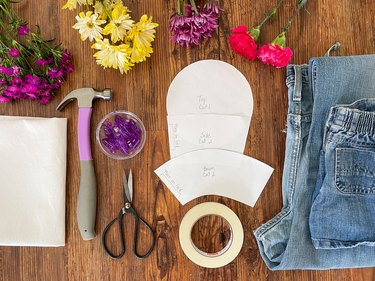
Things You'll Need
White canvas
Preloved jeans
Heavyweight fusible interfacing (optional)
Sharp scissors
Variety of flowers
Masking tape
Hammer
Fine-line black marker
Wonder clips or straight pins
Part 1: Prepare Fabric Elements
1. Wash & soak fabric
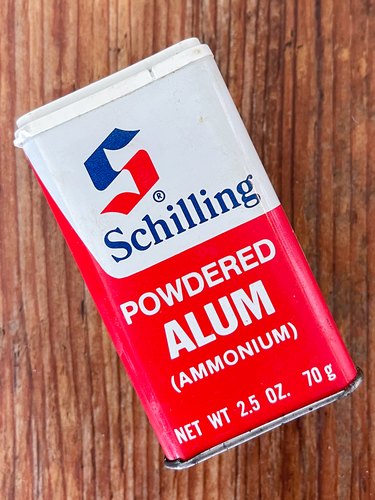
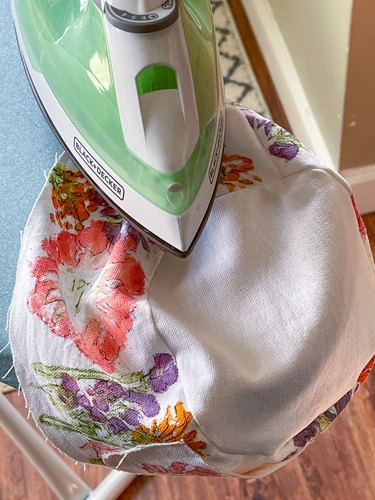
To create the desired flower pounding design, we'll be working with real flowers and their natural dyes. A bit of prep work is required to make sure those pretty flower colors stick to fabric, and this begins with a good wash. After washing all required fabric, dunk it into a hot mix of 1/4 cup alum and 2 cups water. Let the fabric soak and then wring out the excess and let it air-dry overnight. Before you start cutting, use a hot iron to flatten out any wrinkles.
2. Download, print & cut pattern pieces
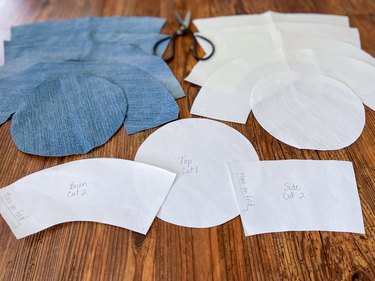
We've got you covered with a bucket hat pattern that you can easily download and print on regular printer paper. Don't forget to select "actual size" or "100%" in print settings to make sure the pattern is printed at the proper size.
Now that you've printed the pattern, use scissors to cut it out. Once you're finished, lay the pattern on the fabric and cut out the pieces you need. For the hat's exterior, we used a white cotton canvas that's perfect for flower pounding. To line the hat, we decided to repurpose a favorite pair of jeans that has seen better days.
Tip
If your heart is set on using fabric for your hat that's not as sturdy as denim or canvas, don't sweat it! Just snag some heavyweight fusible interfacing and iron it on the "wrong" side of the fabric before cutting or sewing. You'll have a hat that's more structured than a skyscraper... OK, maybe not that intense, but you catch our drift!
Part 2: Decorate With Flowers
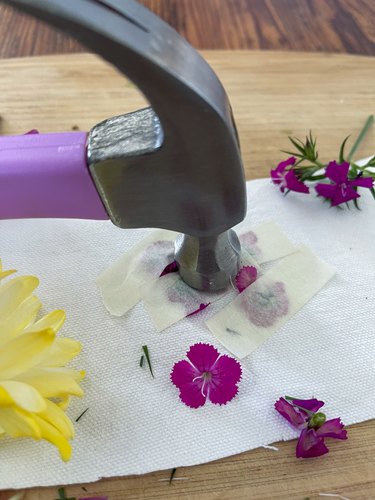
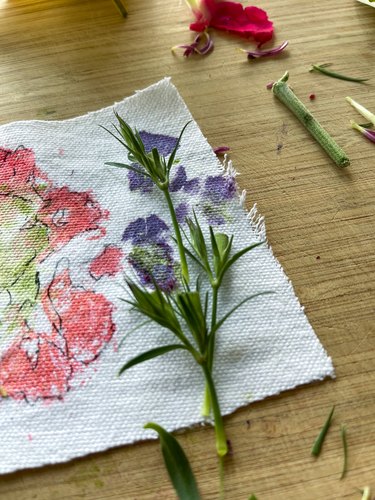
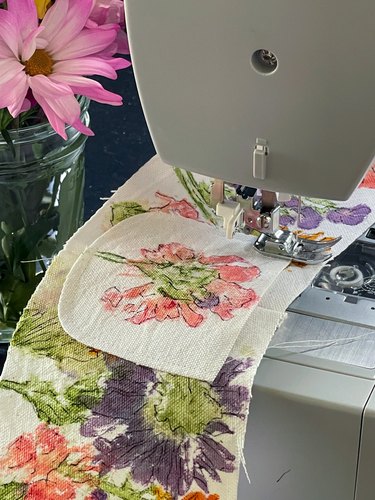
1. Tape & pound flowers
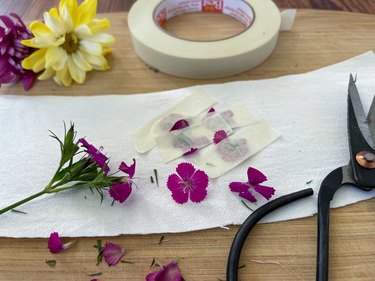
Flower pounding is a fun and easy crafting technique that uses fresh flowers to create colorful prints on fabric. Essentially, you'll place a flower (or two) onto fabric, tape it down so the petals don't stick and pound with a hammer or mallet. The natural pigments in flowers transfer onto fabric, creating a pretty and utterly unique pattern. It's a great way to add a personal touch and a dash of extra flair to your project.
We decided to keep things simple with our DIY bucket hat and limit flower pounding to the hat's side sections and pocket. But if you're up for a challenge, go ahead and decorate the whole thing!
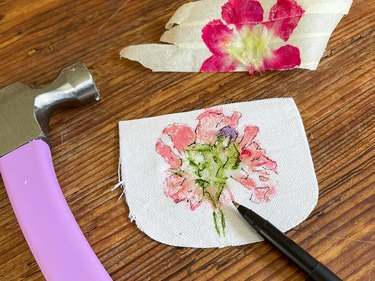
2. Remove tape & flowers
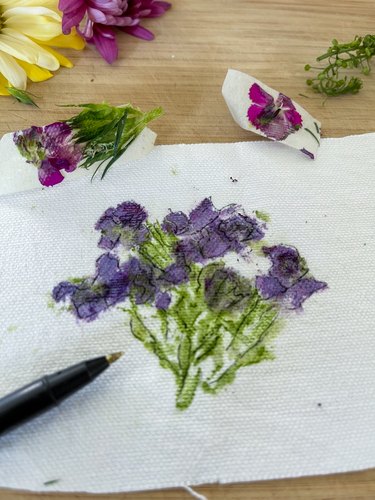
Once you remove the tape, you'll be left with an abstract flower design. If you want to make your flower print pop even more, grab a fine-line marker and gently draw lines around the shapes to make them look like petals and stems. This will give your flowers a bit more detail and make 'em stand out!
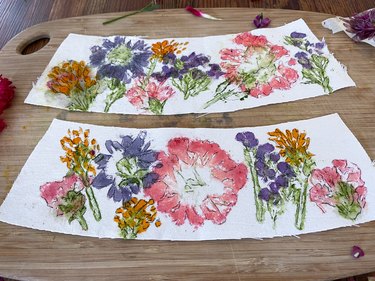
3. Add details
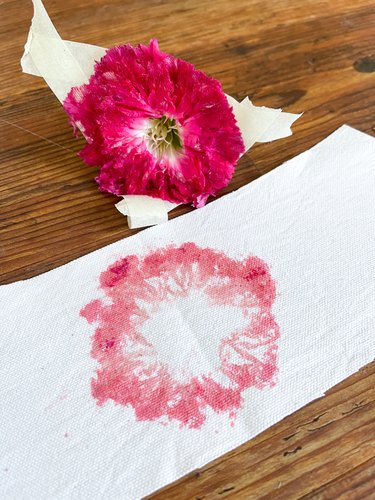
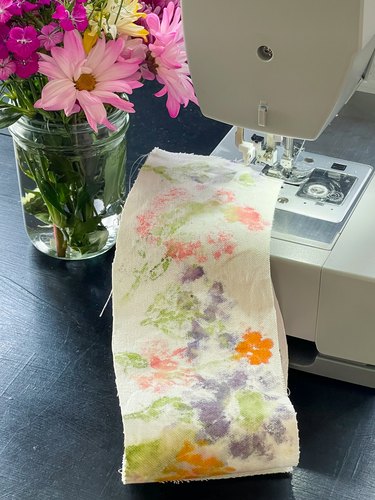
Experiment with different flowers and floral details for your design. Each one will turn out totally one-of-a-kind and special.
If the design isn't exactly what you were going for, no worries! Pound a few extra stems or petals until it looks just right. Remember that the beauty is in the imperfection.
Part 3: Assemble Bucket Hat
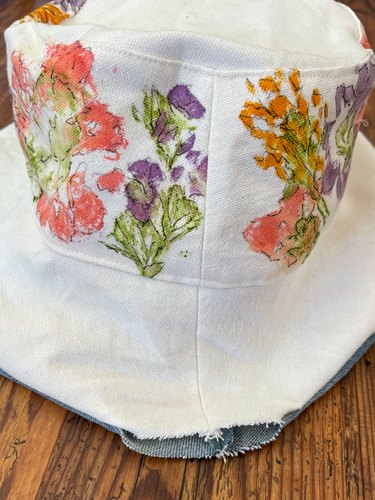
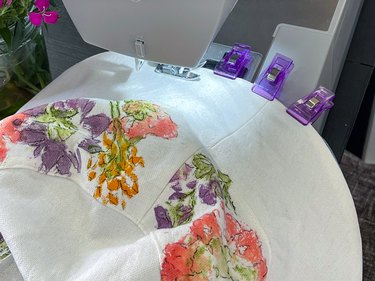
1. Create side pocket
Take two side pieces of outer fabric and place them with the pretty sides (or right sides, as we say in the sewing world) together.
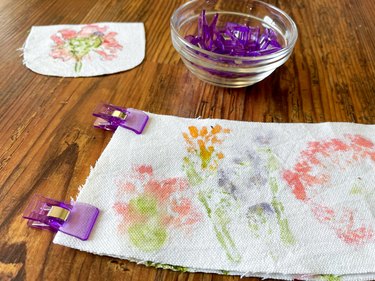
Clip and sew one short edge using a 1/4-in. seam.

Once finished, use an iron to press the seam open.
Match up the other short edges with the right sides facing each other and sew another 1/4-in. seam.
Once you're finished, use an iron to press the seam open.
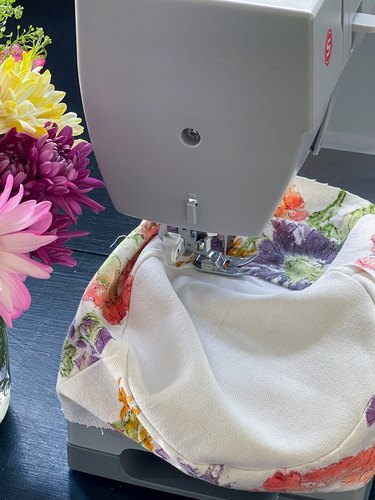
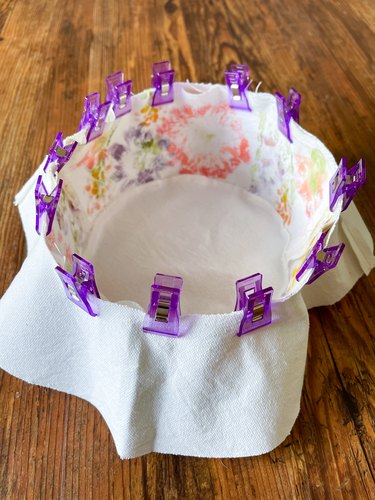
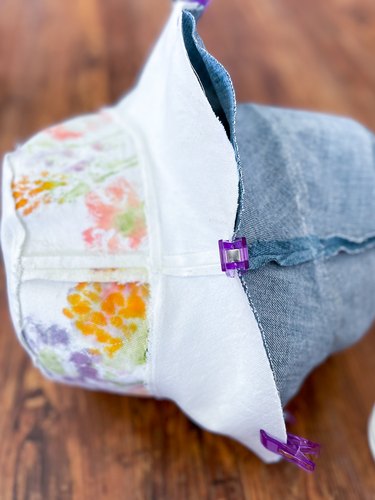
2. Attach top of hat
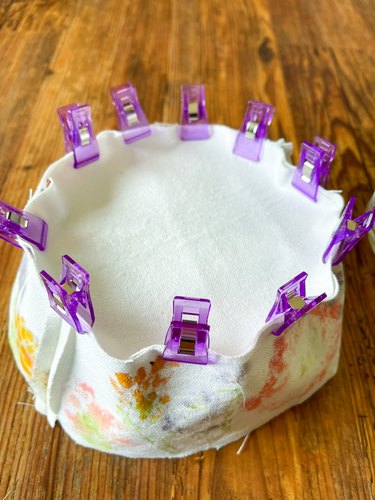
Flip the side section with the pocket inside out and then grab the round hat top and clip it onto the upper edge of the side section. If you decorated the hat top, make sure the pretty side (aka right side) is facing downward.
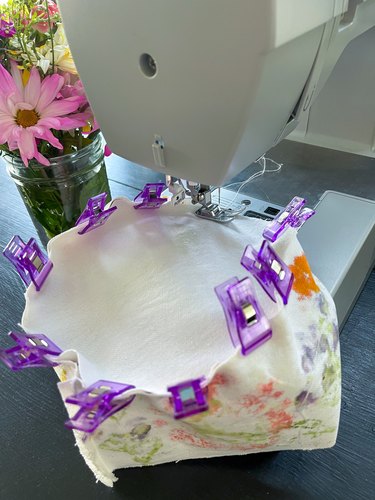
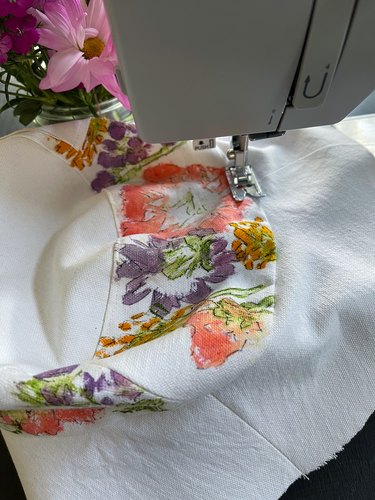
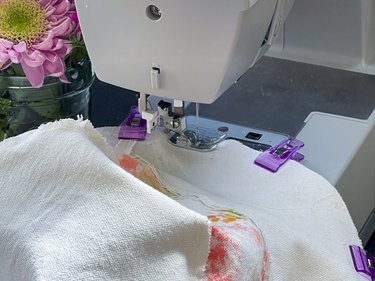
Sew all the way around the hat top using a 1/4-in. seam and be sure to remove the clips as you go.
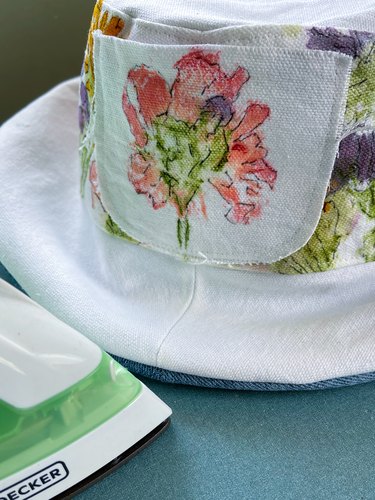
To give your hat a crisp look, turn the hat right-side out, press the seam down and topstitch around the hat atop seam allowance.
3. Form and join hat brim
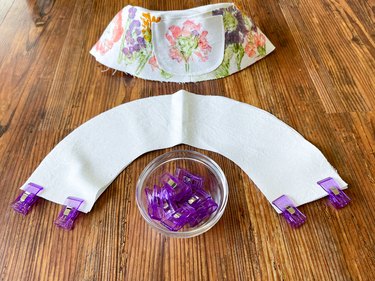
Place the right sides of the brim pieces together and clip and sew both short edges with a 1/4-in. seam allowance.
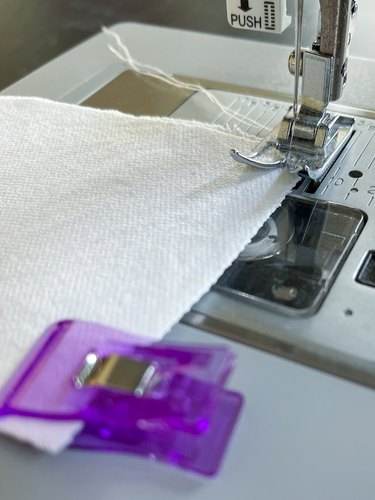
Now, it's time to attach the brim to the hat. Place the smaller edge of the brim to the bottom edge of the hat and clip them together.
Again, make sure the right sides are together. Sew around with a 1/4-in. seam.
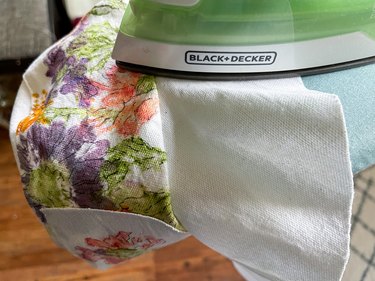
Press the seam up and topstitch over the seam allowance for a nice, crisp finished edge.
4. Assemble hat lining
You'll be assembling the lining of your hat the exact same way as the outer section. It's up to you whether you want to put it together along the way or hold off and sew after the outer piece is finished.
Tip
Pick a fun fabric for both the hat lining and main fabric for a reversible bucket hat. Double the hat, double the fun!
5. Attach outer & inner hats
Turn the two hats so the wrong sides are facing out and place them with the right sides together, matching the side seams and raw edges.
Clip and sew around the outer edge of the brim, leaving a 3- to 4-in. opening. Turn the reversible hat right-side out by pulling all the fabric through the opening.
Press around the brim edge and topstitch.
Continue to topstitch around the entire brim every 1/4 in. or so. You are essentially quilting the brim.
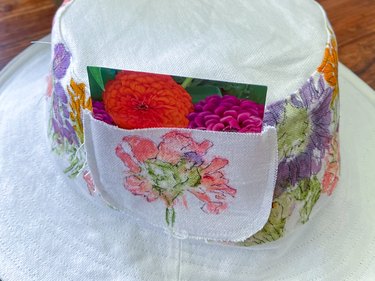
Tip
Make the most of that adorable sun hat pocket! You can stash all sorts of goodies in there, from seed packets to small snacks to treasures dug up in your garden. It's like having a secret storage spot on your head!
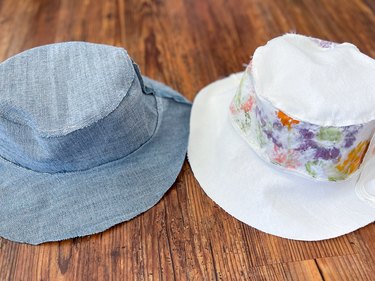
And there you have it: your very own DIY gardening bucket hat! With the flower pounding technique, you've added a unique and personal touch to your hat that's sure to turn heads in the garden.
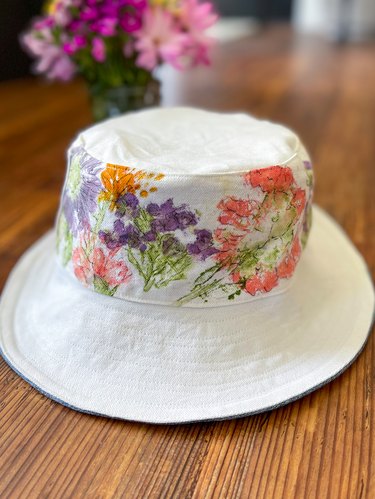
Whether you're planting seeds, pulling weeds or just soaking up some vitamin D, you'll be looking fresh and stylish while you do it. So go ahead and give this floppy bucket hat tutorial a try—we love the thought that each and every hat will be completely original.