Well hello, sweet summertime! Let's blow some bubbles, jump in the creek, run through the sprinkler, make s'mores, tackle fun DIY projects and, of course, create some inspiring sidewalk chalk art. Make your chalk art even cooler this summer with this frozen twist on the summertime craft classic. Our easy-to-follow DIY ice chalk tutorial is a great activity for both beginners and more advanced sidewalk doodlers — from preschoolers to big kids — and it's a perfect way for all kiddos to cool off while having fun creating their own washable chalk drawings. Watch kids' creative ideas flourish as soon as you pop these frozen bad boys out of the mold. First, we'll show you how to make ice chalk, and then we'll share some fun ways to create easy chalk art and street art. Let's get started making "paintsicles"!
Video of the Day
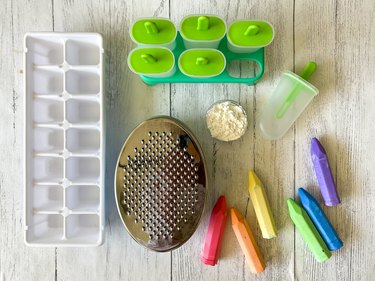
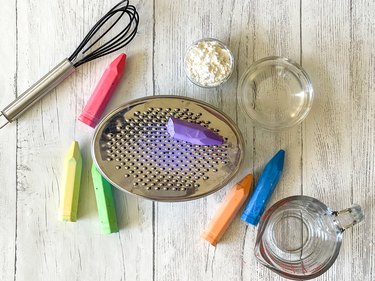
Things You'll Need
1 piece of sidewalk chalk
Grater
8 tablespoons water
4 teaspoons corn starch
Whisk
Ice cube tray
Mini craft sticks
Ice pop mold
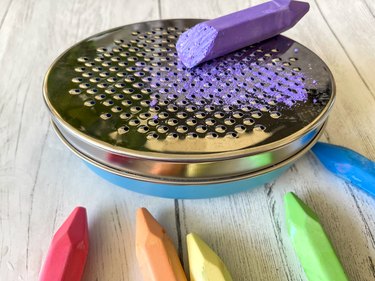
Step 1: Grate the Sidewalk Chalk
Use a cheese grater to finely grate a piece of sidewalk chalk. The chalk color is up to you — use white chalk, pastel, neon, you name it! Stick with one color or test out blending a few to encourage the kids' inner scientist!
Video of the Day
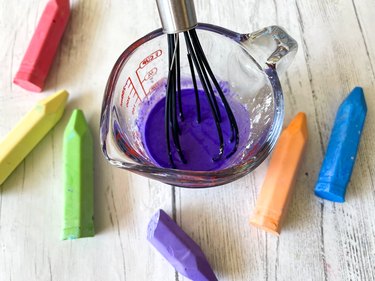
Step 2: Mix Everything Together
Whisk together the grated chalk, 4 teaspoons of corn starch and 8 tablespoons of water.
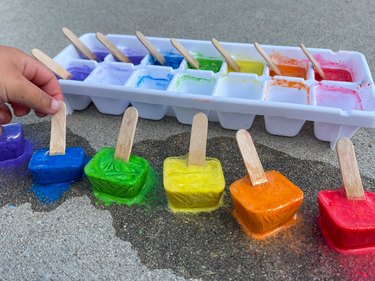
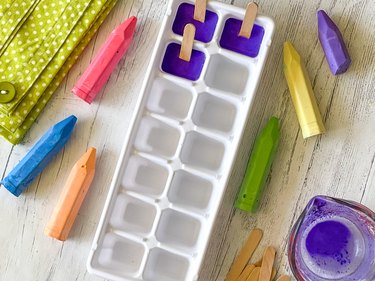
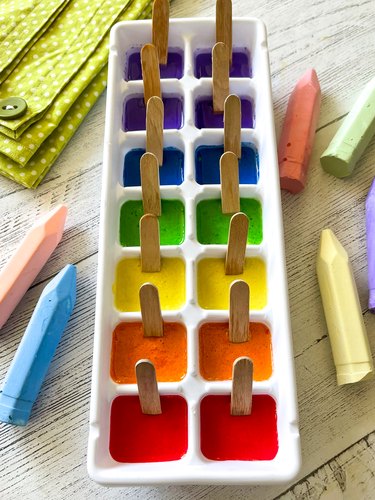
Step 3: Pour the Mixture Into an Ice Cube Tray
Pour the liquid chalk mixture into a regular ice cube tray. Insert mini wooden craft sticks into each cube for a handle. Continue to grate and mix different colors of chalk to add to the ice cube tray.
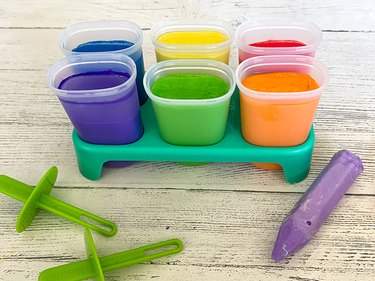
Tip
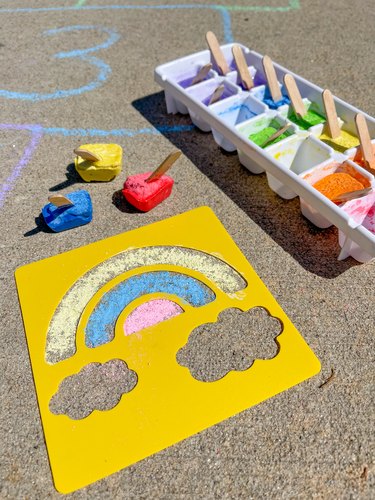
For a fun twist on DIY sidewalk chalk art, pour your favorite colors of this simple chalk mixture into ice pop molds, an ice cube tray with fun shapes or a shaped silicone muffin tin. There are all kinds of muffin tin shapes to inspire a kid’s chalk art ideas, like flowers, hearts, stars, butterflies and even cars. For a next-level sensory activity, add some powdered drink mix into the chalk concoction and voilà — you’ll have some great smells mixed into your colorful sidewalk chalk art!
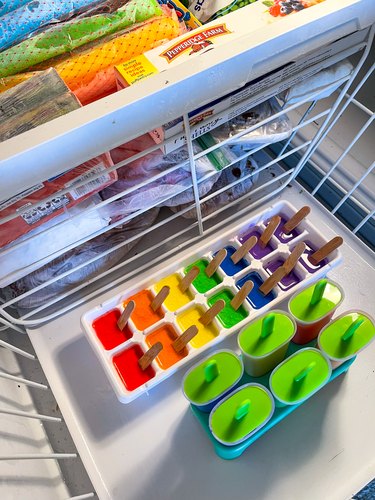
Step 4: Get Freezing!
Place the ice cube trays and ice pop molds into the freezer until they are frozen solid.
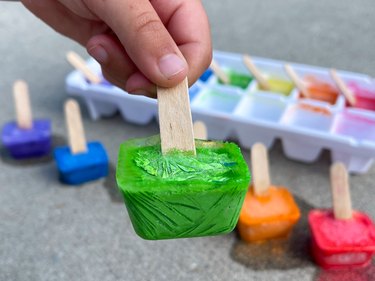
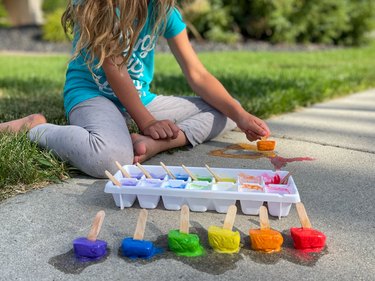
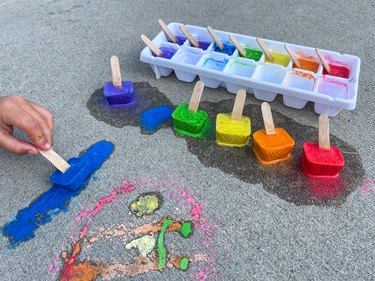
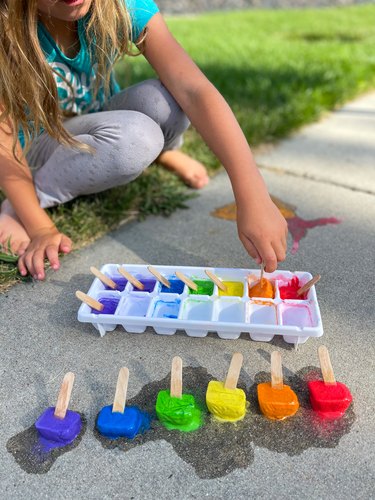
Step 5: Channel Your Inner Artist
Pop the chalk ice out of the molds and start creating chalk-drawing sidewalk masterpieces!
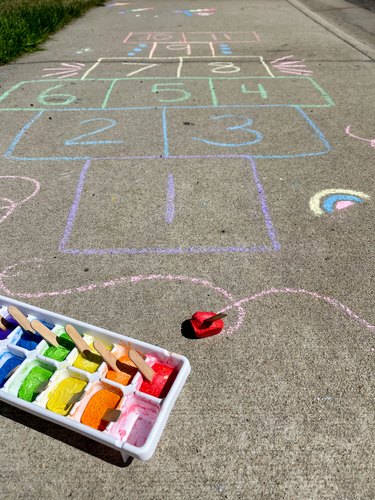
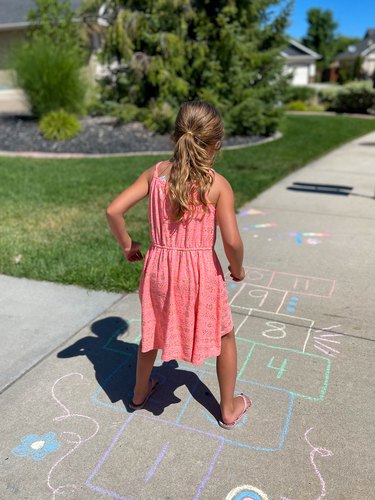
Tip
To up the fun, add some stencils so kids can create more detailed sidewalk art drawings or even a sidewalk chalk art town. Or, turn sidewalk chalk art into ice chalk games and outdoor activities for little ones, like hopscotch, an obstacle course and shuffle board!