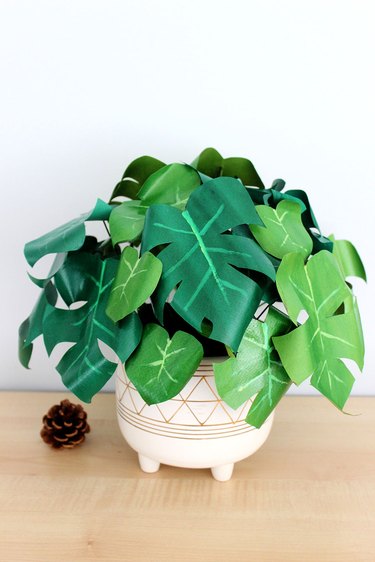
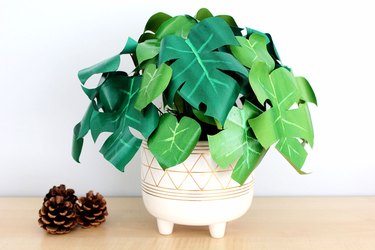
Houseplants are a beautiful way to spruce up your home decor, but what do you do if you don't have a green thumb? A crafty alternative for the plant-challenged is faux plants made of paper. With this easy, step-by-step tutorial, even beginners can learn how to make a paper plant that looks like the real thing. It's inspired by the work of crafter Corrie Beth Hogg, an expert at creating faux greenery. For this project, we'll be making a monstera, also known as a Swiss cheese plant, which is a popular houseplant known for its heart-shaped leaves with splits on the sides. So, gather your materials and get ready for one of the most fun paper crafts you'll ever experience.
Video of the Day
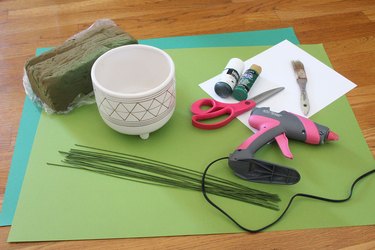
Things You'll Need
Light and dark green poster paper or cardstock
Paintbrush
Water
Dark green acrylic paint
Light green acrylic paint
Black and brown acrylic paint
Scissors
Pencil
Plant pot
Newspaper
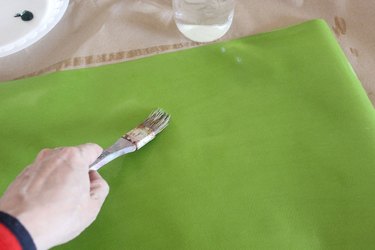
Step 1: Prepare the Paper
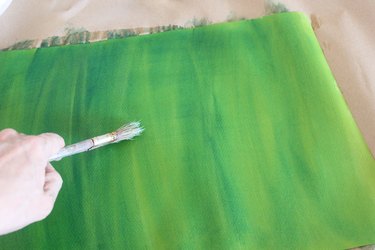
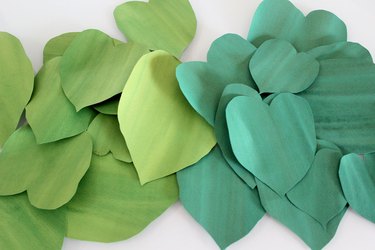
To make the paper leaves, start with cardstock or poster paper in two shades of green: a light green and a dark green. If you take a close look at the actual leaves of indoor plants, the color is not uniform. There are frequently striations of color or even a mottled appearance. Therefore, the paper you use needs to approximate this uneven look. To achieve this effect, begin by applying water to the entire sheet of paper with a paintbrush.
Video of the Day
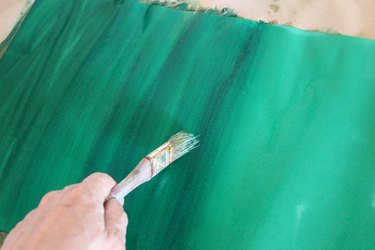
Then, brush on some green paint that is darker than the color of the paper. Apply all the brush strokes in the same direction. Because the paper is covered with water, the green paint will be muted and subtle.
Repeat with all your sheets of green paper. Already, the paper looks more like leaves.
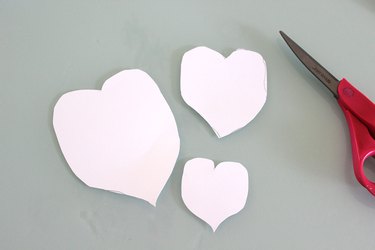
Step 2: Make the Leaf Templates
On a piece of cardstock, draw a monstera leaf shape in three sizes. How large you make the three sizes will depend on the size of your plant pot so that everything is in proportion. As a rule, I don't like to make the leaves larger than the circumference of the pot. To help you draw the monstera shape, consult images online or, better yet, a real plant. A monstera leaf has an elongated heart shape with sides that are straighter rather than curved.

Cut out your templates with scissors.
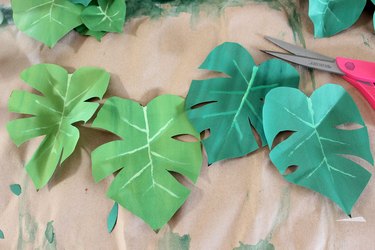
Step 3: Cut the Paper Leaves
Using the templates, trace the leaf shapes onto the green paper. Position the templates so the green striations in the paper will run vertically across the leaves.
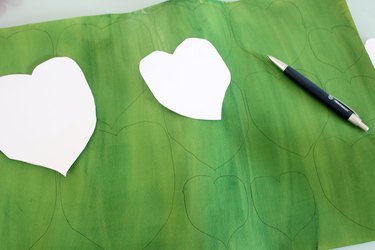
Cut the leaves from the paper, following along the tracing. Don't worry if your paper-cutting is not precise. In fact, the more uneven your cutting, the better since real plants have leaves that are nonuniform.

Step 4: Fold the Leaves
Real leaves are not flat, so we'll perform a little origami on our paper leaves to give them more dimension. The first step is to fold each leaf in half lengthwise.
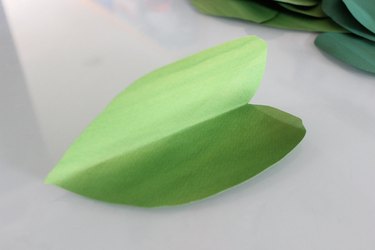
Then, make about six folds that originate from the center fold and go out toward the edges. The two folds at the top should point upward, while the four remaining folds point downward. You may want to create fewer folds on the smaller leaves.
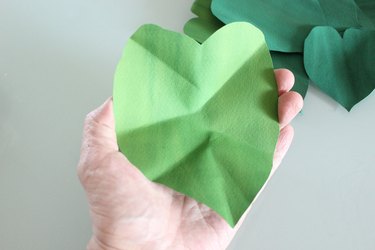
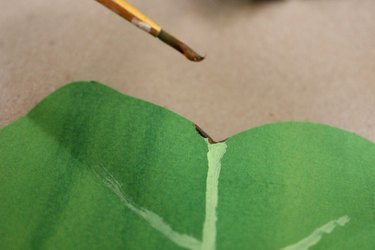
Step 5: Paint the Veins
With a thin paintbrush, paint a center vein along the fold in the center. Select a shade of green paint that is lighter in color than the paper. The vein should be thicker at the top and taper as it descends. Stop the vein about three quarters of the way down the leaf.

Paint the veins that extend outward from the center vein. Use the folds to guide you and again, only go about three quarters of the way.
Step 6: Paint Some Accents
The leaves of actual monstera plants can have some aging, or burning, on them, especially at the tips and edges. To create this detail, paint a little black paint on some of the tips for some added realism.
A little brown paint on the edges makes a big difference but only add this effect to a few of the leaves.
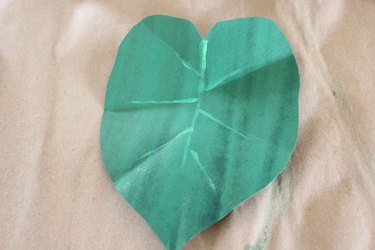
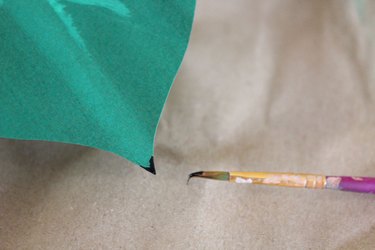
Step 7: Cut the Slits
The monstera plant has distinctive slits on the sides of the leaves. Use scissors to cut out openings of various sizes and shapes in the paper leaves. You can leave the smaller leaves without slits, as the younger leaves will not have developed them yet.
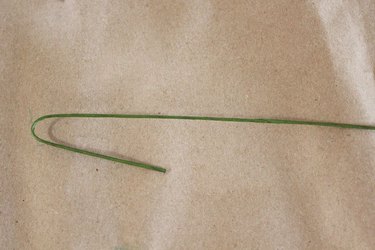
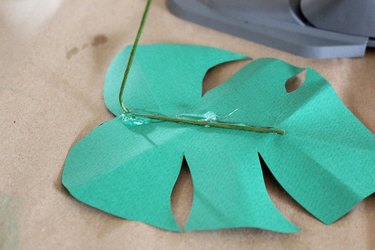
Step 8: Attach the Stems
For stems, we're using floral wire that has already been prewrapped in paper, which you can find at craft stores or on Amazon. The paper wrapping adds some heft and structure to the otherwise thin floral wire. Bend the wire stem about 3 to 4 inches from the top for the larger leaves and 1 to 2 inches for the smaller ones. The angle that you bend the wire stems will determine how the leaves face out in the pot, and because the stems are wire, you can always change the angle later.
Hot glue the bent end of the wire stems onto the back of the paper leaves.
Step 9: Shine the Leaves
Most plants do not have a matte finish; they have a sheen on the leaves. To make the leaves shine, apply a gloss varnish to the front and back of the paper leaves. Another benefit of the gloss varnish is that it makes the colors of the leaves more vibrant. The reason we're adding the varnish now rather than earlier is that the wire stem is helpful for this step. You can hold the stems as you apply the varnish, and the stems hold the leaves up as they dry.

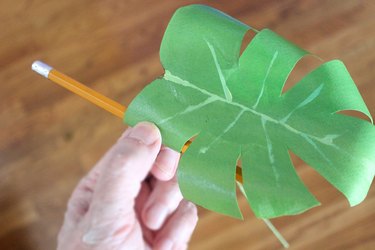
Step 10: Shape the Leaves
After the gloss varnish has dried, use a pencil to curl the leaves randomly. This step adds the final detail of realism to make your DIY paper plant a stunner.
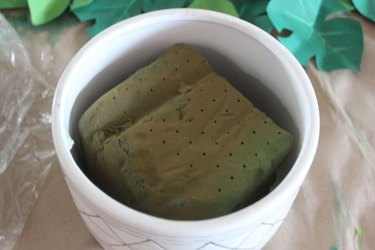
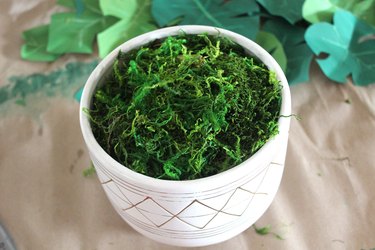
Step 11: Prepare the Pot
Cut a piece of floral foam to fit in the plant pot. There are two types of floral foam: "dry" floral foam for artificial greenery and "wet" floral foam, to which you can add water for fresh foliage. You can use either for this project, and you can even use Styrofoam.
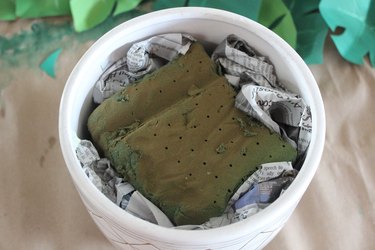
Scrunch up newspaper around the floral foam to keep it nice and snug in the pot.
Cover the foam and newspaper with moss. You can also cover them with pebbles or marbles, but the wire stems can go through the moss more easily.
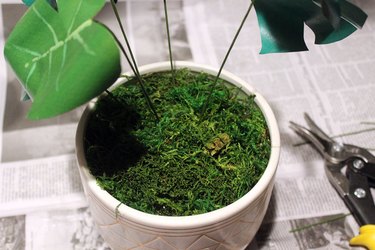
Step 12: Insert the Stems Into the Pot
With wire cutters, trim the wire stems to their desired length. Make some stems longer than others so the leaves will be at different heights.

Insert the stems into the floral foam. Turn the pot as you progress so the leaves are distributed evenly throughout the faux plant.
Once you master this tutorial on how to make DIY monstera, you can adapt it to make other houseplants, like fiddle leaf fig plants, philodendron or snake plants. Just change the shape of the leaves and paint them with those leaves' colors and characteristics. You can even hop on the miniatures trend and make miniature plants. Paper art that fools the eye — it surely is one of the most beautiful craft ideas to liven up your living room or bedroom this spring.