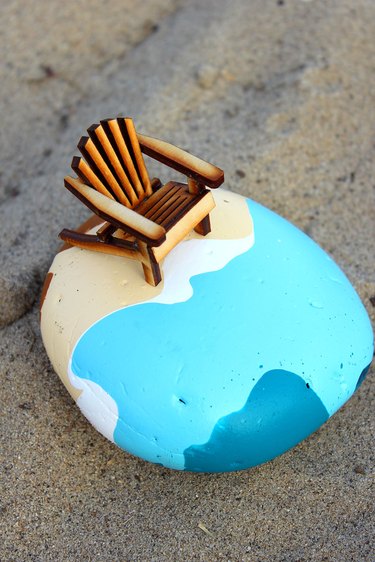
Paint pouring, in which paint is mixed and poured onto a surface like a canvas, has become one of the most popular art techniques for beginners and professionals alike. One creative adaption of this technique is to paint pour on rocks and stones. It's a lot less intimidating than using a canvas, and the results are spectacular. You can use different colors depending on the occasion. As our example shows, an ocean color palette of blues and tans creates patterns that resemble waves and sandy beaches. The painted rocks make a beautiful display indoors or out.
Video of the Day
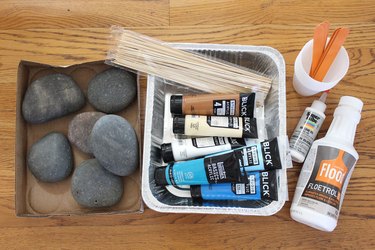
Things You'll Need
Large stones
9 by 11-inch aluminum trays
12-inch wood skewers
Newspapers or plastic tarp
Floetrol paint additive
Acrylic paint
Plastic cups
Popsicle craft sticks
Straw
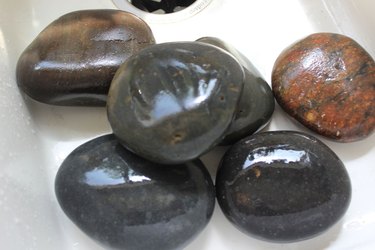
Step 1: Wash the Rocks
Choose rocks or stones that are large (at least 3 inches wide), flat and smooth. Wash them with soap and water to remove dirt and sediment.
Video of the Day
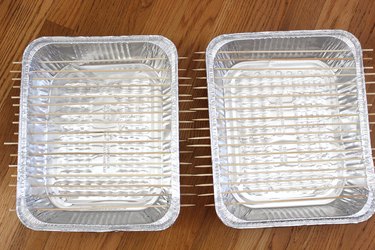
Step 2: Make a Pouring Rack
Insert the pointy end of wood skewers into a 9 by 11-inch aluminum roasting pan about a half inch apart.
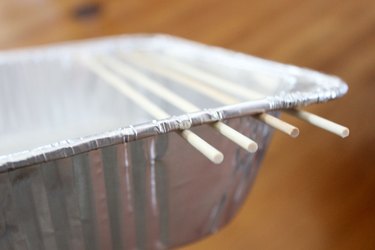
Extend the skewers to the other side of the pan to create a platform for the rocks.
Step 3: Cover Your Work Surface
Paint pouring is very messy, so cover your work surface with newspapers or plastic tarp. Ideally, work on a tabletop rather than the floor. It's easier on your back, and you don't have to worry as much about pets or children running through the mess.

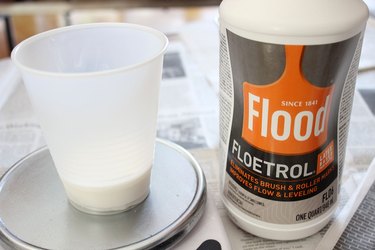
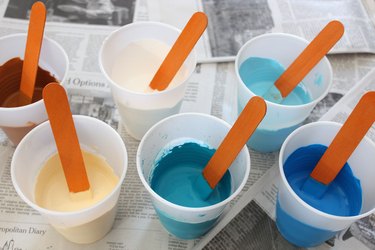
Step 4: Mix the Paint
To make the paint pourable, you need to mix it with a paint pouring medium. Floetrol paint additive is an ideal pouring medium that costs a lot less than what some brands officially name "paint pouring medium." Mix one part pouring medium with one part paint in a plastic cup. To help measure accurately, use a scale if you have one. However, measurements don't need to be exact.
After adding an equal amount of acrylic paint, mix it together with a popsicle stick. The consistency should be very fluid, like a melted milkshake.
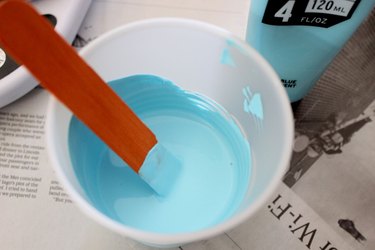
You can also add a little water if the paint mixture is still too thick.
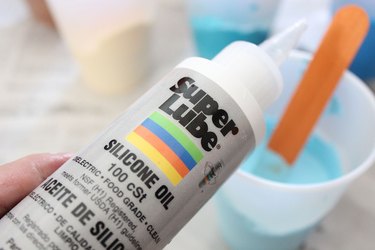
Step 5: Add Silicone Oil
Silicone oil creates the amoebalike "cells" that form in the paint after it is poured. Add a few squirts to some of your paint colors for a more marbleized look.
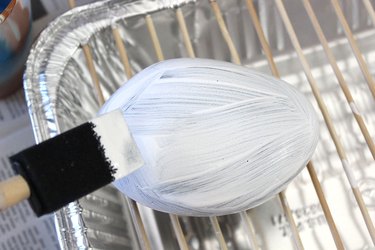
Step 6: Prime the Rocks
Before pouring paint on the rocks, apply a coat of white (or any other color) paint to them. This base coat results in a more even pour.
Step 7: Pour the Paint
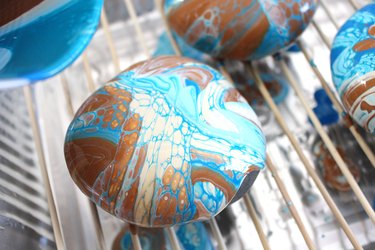
There are many techniques for paint pouring. We'll show two of the most basic pours. The first technique is the straight pour, in which you pour paint directly from the individual mixing cups onto the rock. You can pour the paint in stripes as shown or in any configuration you wish.
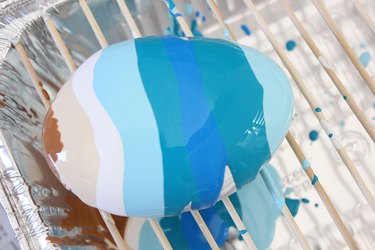
Once the paint is poured, tilt the pan to move the paint around, forming interesting patterns. You can also use a straw to blow on the paint.

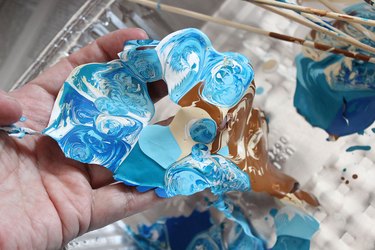
A second way to pour paint is the "dirty pour" technique. With this method, pour the various paint colors one by one into another cup so the colors are stacked.

Pour the paint on the rock and let the colors mingle. Dirty pours create very dramatic patterns.
Step 8: Let the Paint Dry
Keep the rocks on the racks and let the paint dry for a full 48 hours. Do not be tempted to touch the paint before then even if it looks dry.

You may be wondering what to do with the bottom of the rocks. You can paint them once the top is dry, but I like leaving them as is because it's great to see what the rock looks like underneath all that paint.
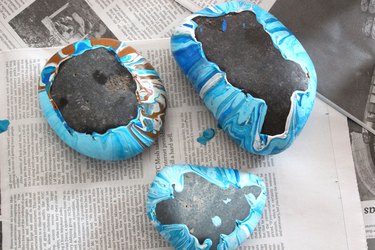
For a bonus art material, peel off the dried paint from the bottom of the aluminum pan. These paint skins can be reused on future paint or collage projects.
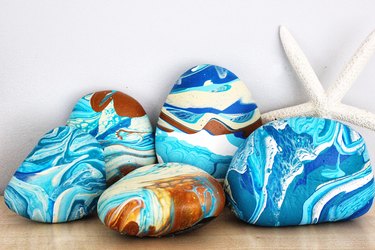
Paint pouring turns these rocks into works of art. Their marbled patterns make them look like exotic dinosaur eggs or geodes.
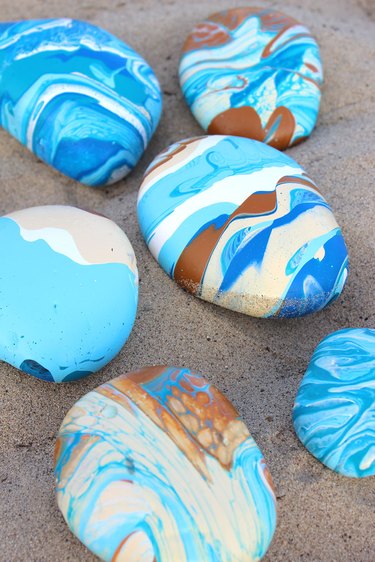
They can also look like sandy beach shorelines, which is perfect for creating miniature vignettes.