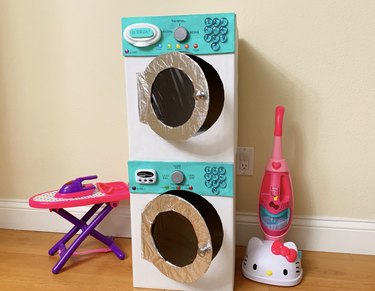
A great way to help foster a child's imagination is by making homemade toys. Parents across the world have experienced that perplexing moment when their children spend hours playing with boxes rather than expensive store-bought toys. Here is a fun & inexpensive way to DIY a cardboard box into a toddler size washer/dryer set! Incorporating as many interactive elements as possible will not only help develop their fine motor skills, but also encourage their creativity!
Video of the Day
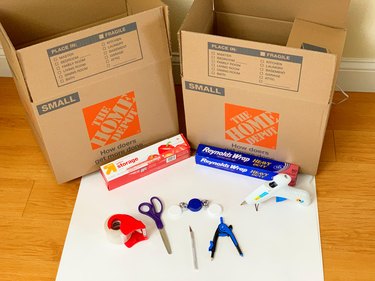
Things You'll Need
2 small cardboard boxes
White poster paper
Scissors/craft knife
Tape
Glue gun
Water bottle tops
Black sharpie
Clear freezer bag
Glass rocks from dollar store
Dispenser top from a wet-wipe packet.
Compass
Door Handle
Optional: paint/spraypaint
Step 1: Tape Boxes
Place one box on top of another to create a toddler size stackable washer/dryer combo. With each step, apply the same method to both boxes. Tape the bottom of each box and then turn them over on their sides leaving one side open.
Video of the Day
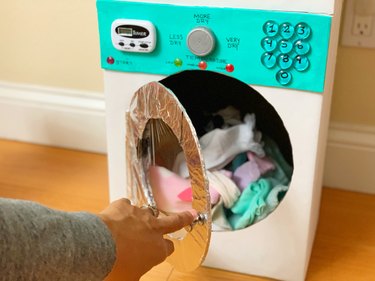
To give smaller kids easier access to the clothing they put inside the washer/dryer, you can insert a box that is no higher than the bottom of the door you create. Slide it in and hot glue it in place.
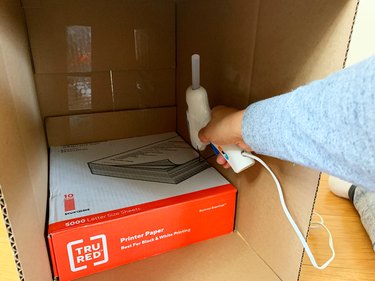
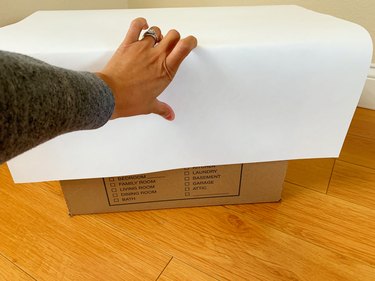
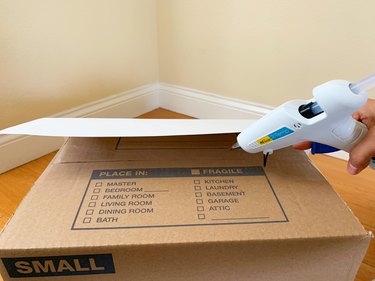
Step 2: Cover Boxes With White Paper
You can absolutely use plain brown cardboard boxes and draw your design elements. You can also make your colors pop a little more using white boxes. If you don't have white boxes, you can cover plain ones with a poster board using tape, spray adhesive or a glue gun.
Tip
Cover the front and sides of your boxes, don't worry about the top and bottom. Once you stack them you will only need to cover the top box. It may take two poster boards to cover one box.
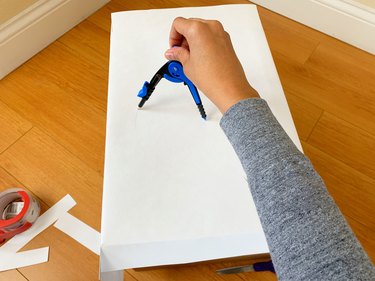
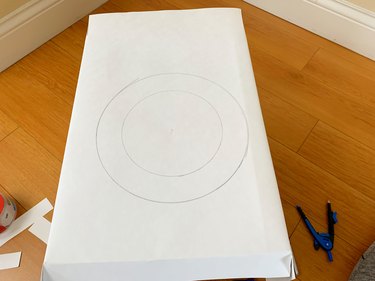
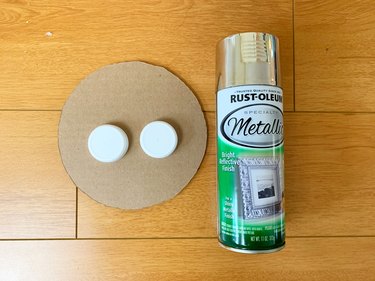
Step 3: Make Washer/Dryer Doors
Once the boxes are covered, use a compass or round object such as a bowl to create a circle for your doors. Repeat the process to create a smaller circle within that circle, which will create the window-view portion of the doors. To make the cardboard doors easier to open, create a hinge effect by drawing a bracket to the left or right of the doors (depending on which way you want them to open).
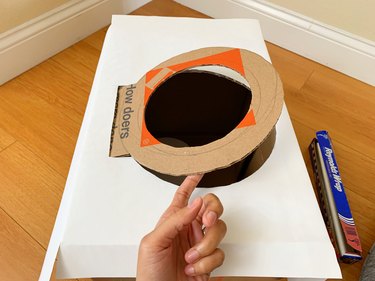
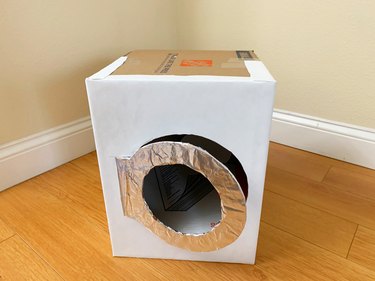
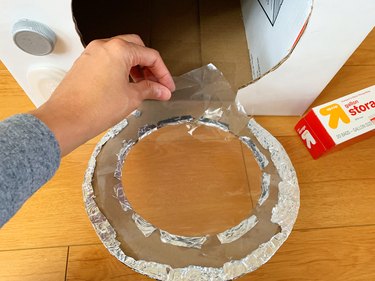
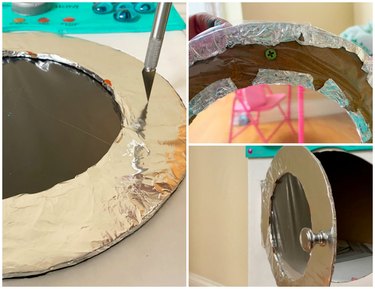
Step 4: Cut Out Doors & Cover
Use a crafting knife or box-cutter to carefully cut out the circles, starting with the inner circles. Take a piece of foil and lay it over the top of each door. Make a hole in the center and begin to cover the door, molding the foil until you no longer see any cardboard. Lastly, use a plastic freezer bag to cover the inside of the door to create the appearance of glass.
Step 5: Add Door Handle
One of the easiest methods is to use a real handle. The screw will twist directly into the handle and you don't have to worry about a safety hazard.
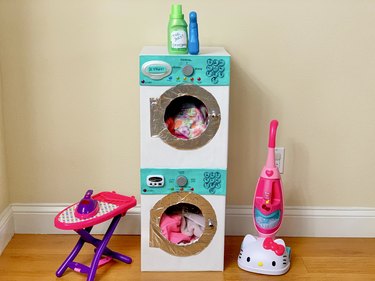
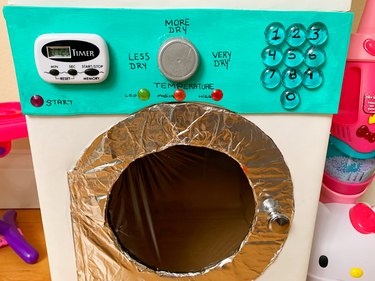
Step 6: Apply Interactive Accessories
After the foundation is done it's all about styling! This is were you add all the interactive elements the kids will love to touch, pull, slide and turn. Objects that are drawn on or glued in place are great, but interactive is always better.
Add a panel with a pop of color instantly grabs a child's attention. Do this by painting directly on the box or adding a piece of foam board which can be applied with a glue gun.
Water bottle tops serve as the dial and can turn by applying it to the cardboard with a nut and bolt. Now the bottle top can be turned back and forth which kids love!
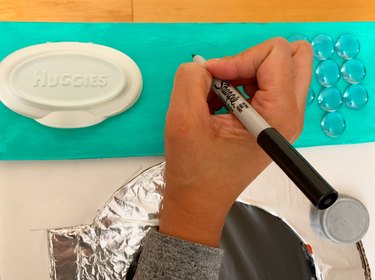
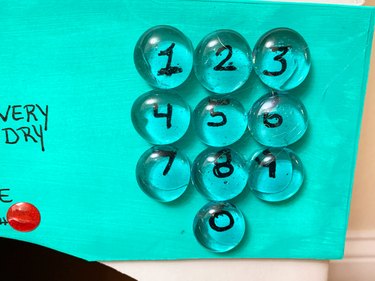
Use a wet wipe dispenser as the detergent & lint trap slot. Include numbers as a way to enhance counting and timing concepts. Make this component interactive by writing the numbers 0-9 and gluing glass pebbles over them to create a number panel.
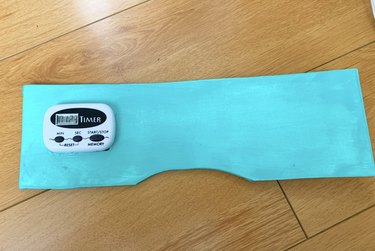
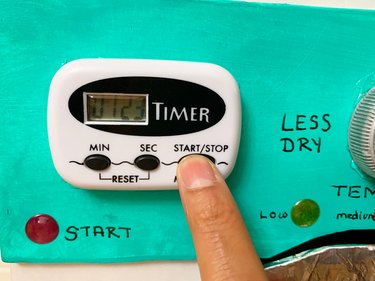
A kitchen timer from the dollar store is a great addition — first, because it's only $1. Second, it has buttons kids can press and makes beeping noises. Kids love sounds!
Last but not least, add colorful stickers. Kids love to touch and feel them!
Hopefully this gets your creativity going to build a fun play space for your little ones!