eHow may earn compensation through affiliate links in this article.
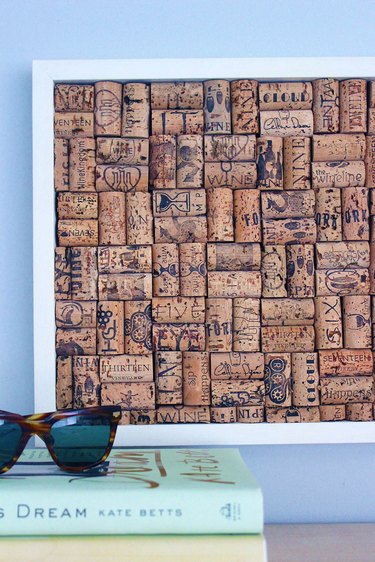
If you have a collection of wine corks, here is a way to both display them and turn them into something functional. This wine cork bulletin board is easy to assemble, and it would look beautiful in a kitchen, game room or entryway. The wine corks look so good on the board, you might not want to even post any notes on it, but the craggy texture of the corks lends itself perfectly to push pins. And let's not forget one of the biggest perks of this bulletin board — it's a great excuse to drink more wine.
Video of the Day
Video of the Day
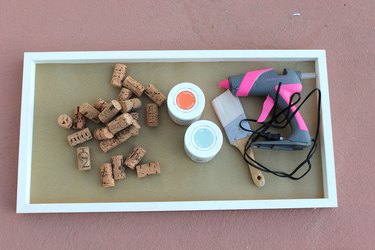
Things You'll Need
Frame or tray
Acrylic paint
Paint brush
Box cutter or sharp knife
Hanging hardware
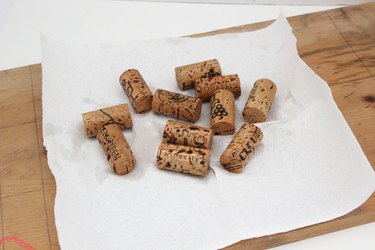
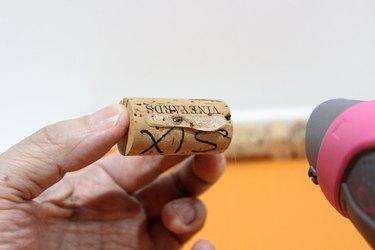
Step 1: Clean the Wine Corks
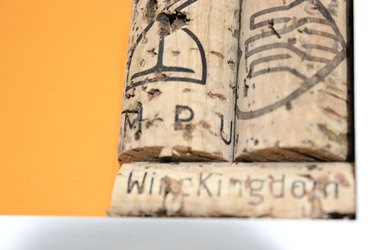
Clean the wine corks in a solution of water and a few drops of dish soap. Rub them with a sponge or lint-free cloth, and then rinse. If the corks are heavily stained with red wine, you can also dip them in bleach for a second, but the bleach can create uneven coloring. My recommendation would be to keep the wine stains, as they give the corks character.
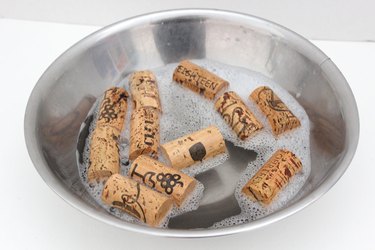
Place the cleaned corks on a paper towel and allow them to air dry overnight.
Tip
If you don't have enough wine corks, you can purchase purchase new ones — or even old ones — online.
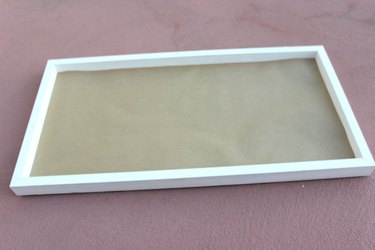
Step 2: Select a Frame
Find a used frame that has a stable wood or fiberboard back. It should also have a depth of at least one inch to accommodate the corks. If the frame has a piece of glass on top, remove it. A shallow serving tray would also work.
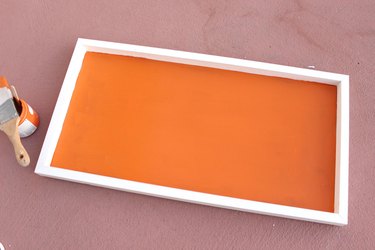
Step 3: Paint the Back of the Frame
The corks will cover the inside of the frame, but there will inevitably be spots that are exposed. Paint the back of the frame a color that can serve as a backdrop for the corks. I chose an orange-brown acrylic paint.
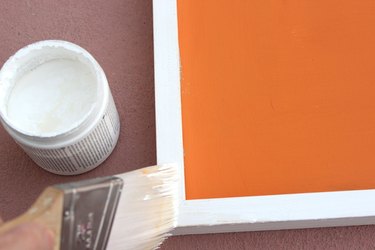
Step 4: Paint the Outside of the Frame
Paint the frame exterior the color of your choice. My second-hand frame was white, and I decided to keep it this color. However, there were scuffs on it, so I touched it up with white paint.
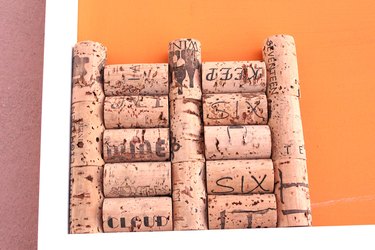
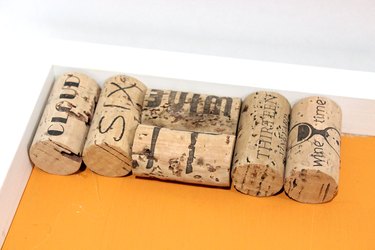
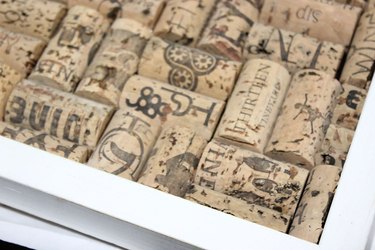
Step 5: Decide On a Cork Pattern
You can arrange your wine corks in a variety of ways, and you should decide on the pattern before you start gluing them down. The simplest arrangement is to position the corks in straight rows.
Another way to arrange them is to alternate rows of vertical corks with horizontal corks.
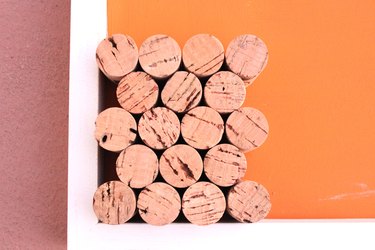
Instead of laying the corks down, they can stand on their ends to create a circular pattern on your bulletin board. For this type of arrangement, your frame will have to be extra deep to accommodate the the height of the corks.
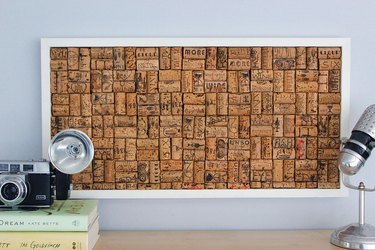
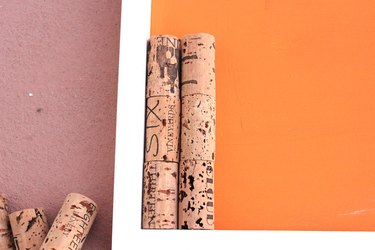
The pattern I chose was two vertical corks alternating with two horizontal corks. It creates a visually pleasing patchwork arrangement.
Step 6: Glue the Corks
Decide which side of the cork you want facing front and apply a line of hot glue to the opposite side.
Starting at one end of the frame, glue on the corks in the pattern you've chosen.
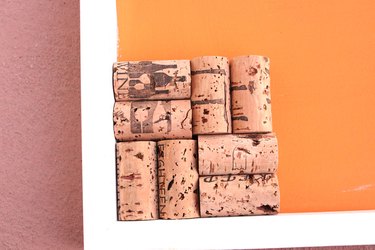
Step 7: Fill in Gaps
When you get to the end of a row, it's more than likely that the space will not accommodate a full cork. We'll fill this gap by cutting a cork.
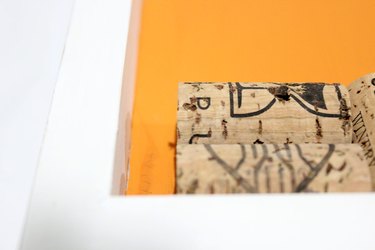
With a box cutter, cut the wine cork to fit into the space. Depending on the gap to fill, you will have to cut it crosswise or lengthwise. The cork is soft and can be easily cut, but do so slowly and carefully to avoid cutting your finger.
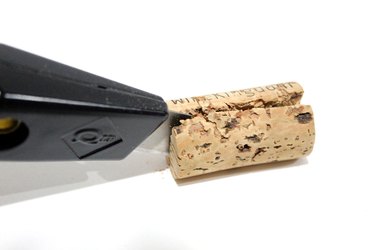
The surface where you cut the cork will be uneven, but that's okay.
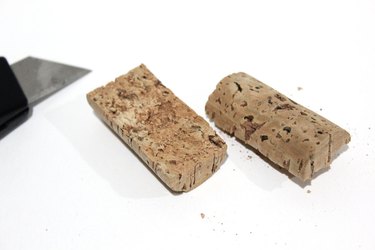
Then hot glue the cork section to fill the gap.
As you work from one corner to the opposite end, you will most likely end up with two sides that need cut cork sections to fill in the gaps. Notice that the bottom row and right edge is comprised of cut cork pieces.
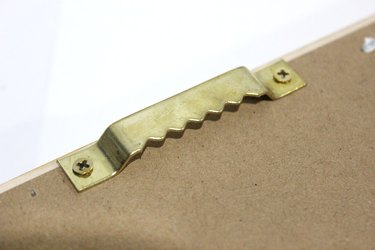
Step 8: Add Hanging Hardware
Screw on hanging hardware to the back of the frame if you wish to hang the bulletin board. If you used an old frame that already has hanging hardware, you're in luck.
Remove any leftover strands of hot glue still stuck on the surface, and the bulletin board is ready for display. You could call this a vintage bulletin board — a very good vintage indeed.