eHow may earn compensation through affiliate links in this tutorial.
If you want to bee the life of your next party, show up carrying your salad in a bowl covered by a homemade beeswax wrap. Everyone will be asking for the name of the hip new marketplace selling them. You will definitely create a buzz when you tell them you made them yourself. It's a beautiful way to reduce daily plastic waste and is a great eco-friendly replacement for plastic wrap. These reusable covers are washable so they'll last up to a year and then all you have to do is re-wax them. Sounds like you'll get a double re-use score when you make and use your own beeswax food wraps.
Video of the Day
Are you ready to beegin this easy DIY project? Your food storage is about to get an eco-friendly upgrade.
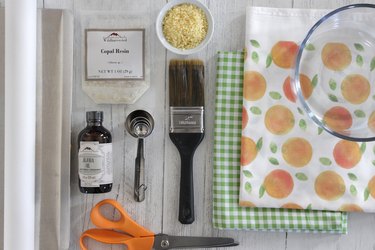
Things You'll Need
100% cotton fabric
Copal resin or pine resin (optional)
Jojoba oil (optional)
Paint Brush
DIY Beeswax Wraps
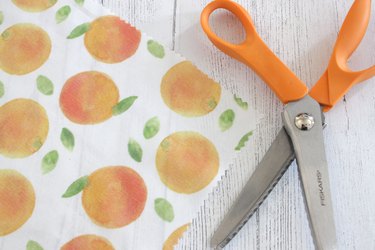
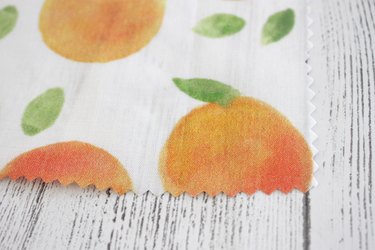
1. Cut fabric pieces into squares
Cut squares of 100% cotton fabric in sizes to fit your bowls. Use pinking shears to help keep your fabric from fraying. Some common sizes to cut your pieces of fabric to are 8 x 8-inch, 11 x 11-inch, and 14 x 14-inch squares.
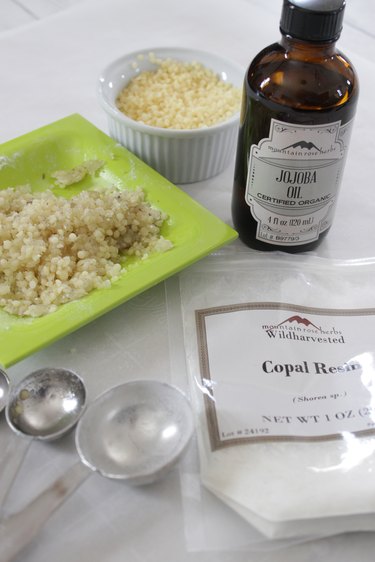
2. Mix the ingredients
You can just use the food grade beeswax pastilles to make these wraps if you'd like. It works just fine. When you place the wraps over the bowl just use the warmth of your hands to mold it to the bowl. But, for a more pliable wrap, use the copal resin and jojoba oil in addition to the grated beeswax.
For an 11 x 11-inch square of fabric, mix together 1 tbsp. and 1 tsp. of beeswax pastilles, 1 tbsp. and 1 tsp. of copal resin, and 1 tsp. of jojoba oil. Mix well. The amount of beeswax and other ingredients will vary depending on the size of the wrap, so mix extra so you have enough to cover one side of the fabric.
Tip
If you find that your own beeswax wraps have a stickiness or are not holding together (and are not sticky enough), you can reduce or increase the resin ratio make your wraps more or less sticky.
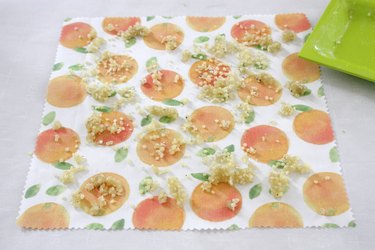
3. Spread the Mixture
Place a piece of parchment paper on a cookie sheet and place the square of fabric on top. Spread the beeswax mixture evenly on the fabric.
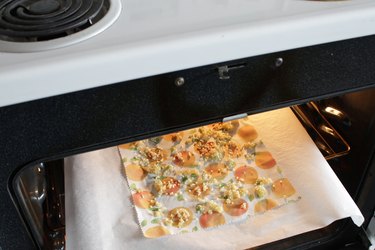
3. Bake Your Wraps
Place the baking sheet in an oven preheated to 225° F. Bake for 15-20 minutes until the wax mixture is evenly melted. Remove the baking sheet from the oven and use the brush to spread the melted wax. If it's not completely melted and even, place it back into the oven for another 5 minutes or so. Use a pair of tongs to gently remove the fabric from the sheet of parchment paper. Let it cool for a few minutes to set the wax.
4. Use Your Wraps
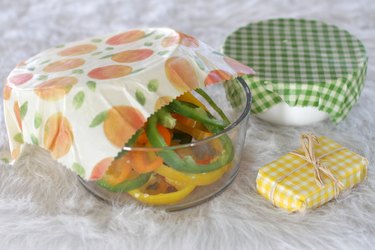
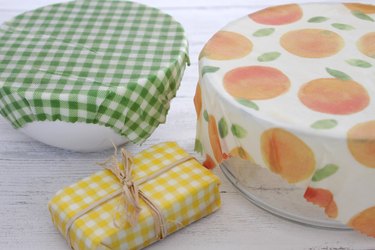
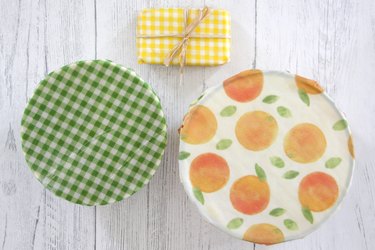
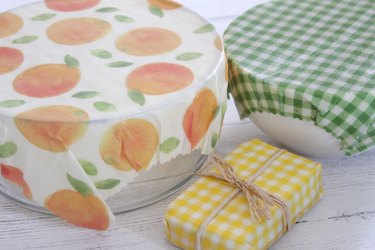
Place these handy and reusable food wraps over bowls or wrap up sandwiches, fruit, veggies, nuts and cheese. They can be washed with cold water and a mild soap and reused over and over again. You are one step closer to a zero-waste lifestyle. SCORE!
Tip
Reusable beeswax wraps are water resistant, but often do not create an airtight seal like traditional cling wrap. Use a rubber band or string to help keep the wrap securely in place.