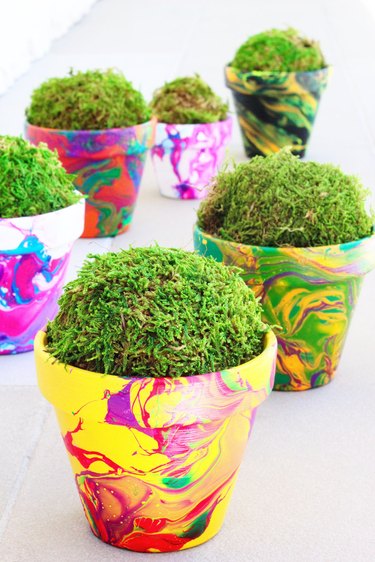
The humble clay pot may seem quite utilitarian, but it can become a work of art with a simple marbleizing technique using fingernail polish. Because nail polish doesn't dissolve in water, you can mix a mélange of nail polish colors in a water bath, swirl them around to create a pattern, and then dip the pots in the solution. The nail polish then adheres to the clay pot in all its marbleized glory. It's a fun technique you'll want to try on a variety of objects.
Video of the Day
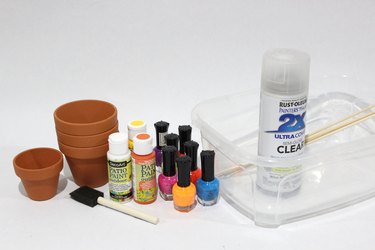
Things You'll Need
Clay pots
Acrylic paints
Foam brush
Plastic bin
Fingernail polish
Wood skewer
Plastic gloves
Paper towel
Clear sealant spray
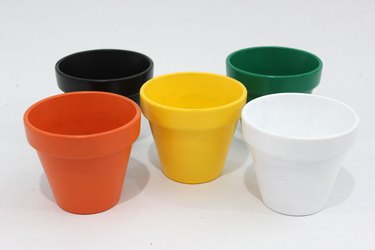
Step 1: Paint the Clay Pots
Paint the clay pots with acrylic paint, using a foam brush to reduce brush strokes. Look for acrylic paint formulated for clay pots and outdoor usage, which will help them withstand the elements. Painting this background color on the pots will help the marbleized pattern stand out, as the terra cotta itself can be dull. Try white, black or any of your favorite colors.
Video of the Day
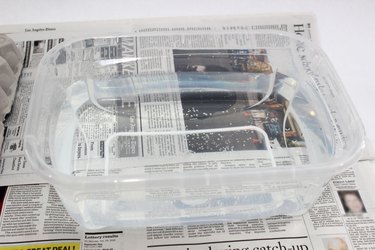
Step 2: Prepare a Water Bath
Select a plastic bin that is big enough for your clay pot to rotate about one revolution. Fill the bin halfway with warm water. If the water is cold, the nail polish will dry too quickly.
Step 3: Add Nail Polish
Wear plastic gloves to keep nail polish from getting all over your hands, and work in a well-ventilated area. Add drops of your first nail polish color, tapping the bottle close to the surface of the water so the polish floats. If it is dropped from too high above, the nail polish will sink to the bottom.
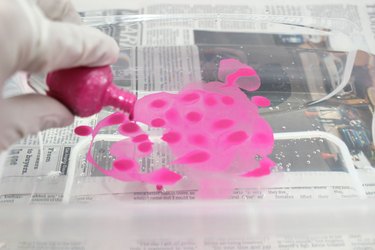
Add two or more colors of nail polish to the water bath. Work quickly, as you don't want the nail polish to dry before dipping the clay pot.
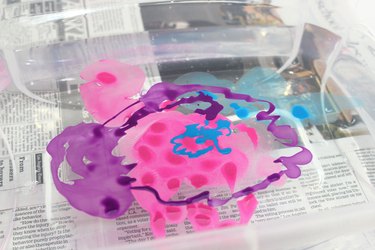
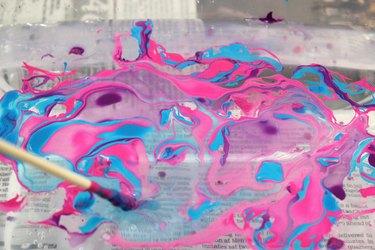
Step 4: Create the Pattern
Run the end of a wood skewer through the nail polish colors, swirling them around to create a marbleized pattern.
Step 5: Dip the Clay Pot
Hold the clay pot by its rim and dip it at one end of the water bath. As it submerges, it picks up the marbleized nail polish. Carefully rotate the pot in the water, still holding it by its rim, so it picks up color on all sides.

Let any water drain from the hole on the bottom of the clay pot, and allow the nail polish to dry.
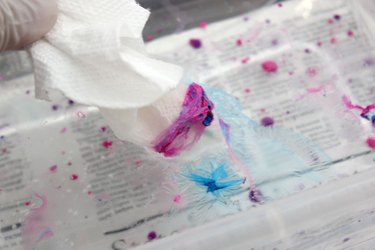
Step 6: Clean the Water
To get the water ready for the next clay pot, wrap a paper towel around a wood skewer and dip it in the water. Stir the skewer around the water, and the excess nail polish will gather on the paper towel.
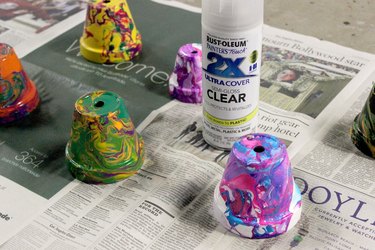
Step 7: Seal the Pots
To prevent the nail polish from chipping, spray the pots with a clear sealant. Two or three light coats will provide a strong protective seal.
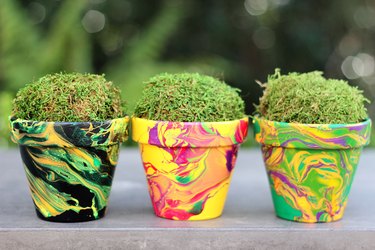
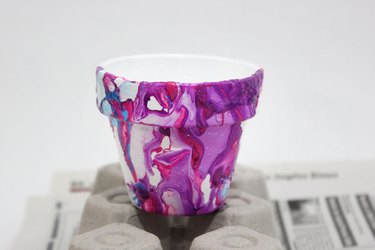
These vibrant marble patterns not only beautify the clay pots, they enhance anything you put in them.