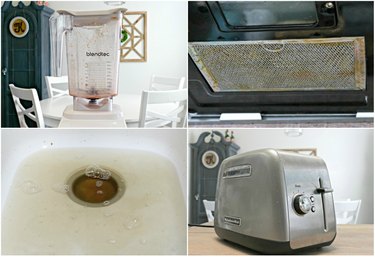
Cleaning your kitchen can be a daunting task. With all of the appliances we have in our kitchens now, as well as greasy vents and clogged drains, keeping your kitchen clean can feel overwhelming. The good news is, it doesn't have to be stressful at all! These 4 cleaning tutorials will help you get your kitchen clean from top to bottom with just a few household ingredients and very little work!
Video of the Day
Things You'll Need
Clean cloth or paper towels
Water
How to Clean a Blender
Blenders are used for so many things now, like making smoothies, mixing salad dressings and marinades, and even making soup. Cleaning them with a scrub brush in the sink isn't necessary, you can let the blender do all of the work instead! Use this method to clean your blender after each use.
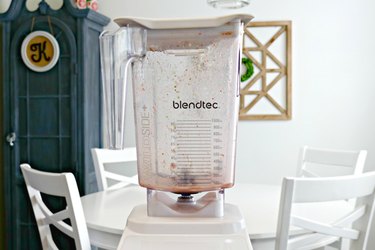
Start by adding water to the fill line and 1 teaspoon of dish liquid to the blender.
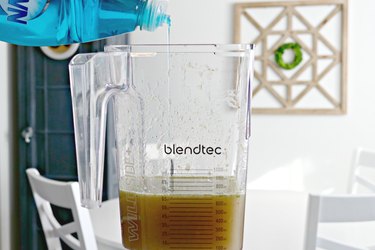
Place the lid on the blender and pulse about 10 times. The blender will mix the soap and water, allowing it to clean the blades and every corner of the inside of the blender.
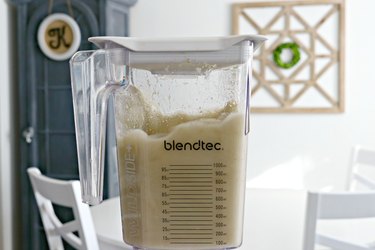
Pour the soapy mixture into your sink and rinse well with warm water.
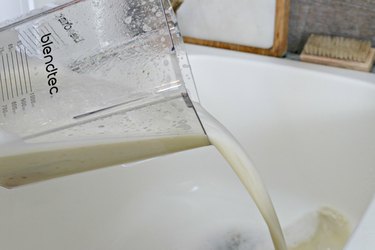
Your blender will be clean and ready to use again!
How to Clear a Clogged Drain
Kitchen drains can get clogged with food particles and other items. If your drain gets clogged, just grab some baking soda and vinegar, and clear it in seconds! Use this cleaning method each time your drain gets clogged.
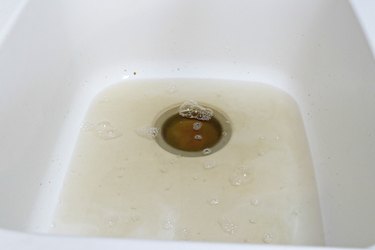
Start by pouring 1 cup of baking soda into the sink drain.
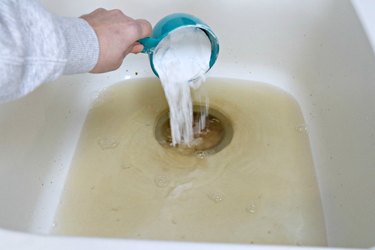
Next, pour 1 cup of vinegar into the drain.
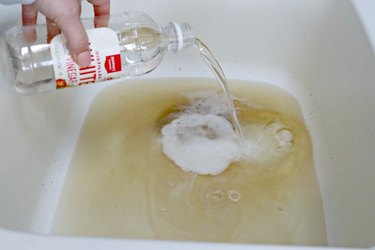
The baking soda and vinegar will start to fizz and help clear the drain quickly.
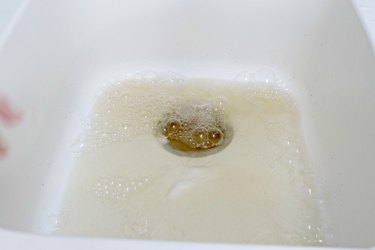
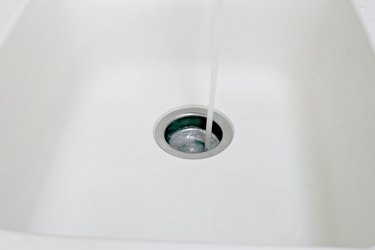
Rinse your drain with hot water and it should be all clear!
How to Clean Stove Hood Filters
Whether you have a hood over your stove or a microwave, your stove hood should have filters. Those filters can become really dirty and sticky over time. The filters are typically metal and usually won't come clean with just a sponge and warm water, but no fear... this trick will help you get those filters clean in no time! Stove hood filters should be cleaned every 6 months to keep them in good working order.
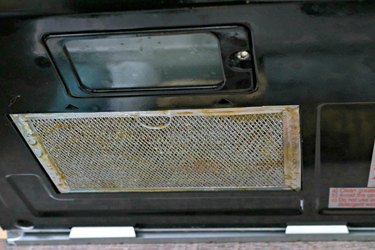
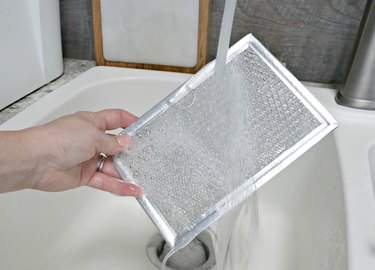
Start by placing the filter in a casserole dish or your sink, and add a generous amount of dish liquid to the dish.
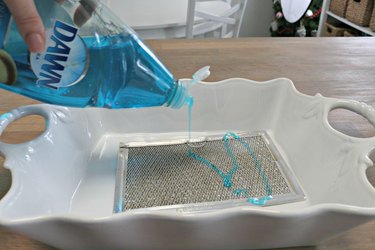
Next, cover the filter with hot water.
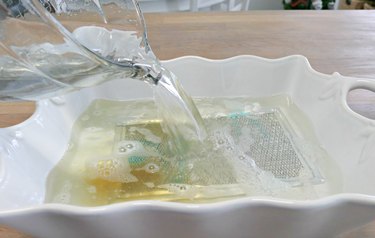
Let it soak for 10 to 15 minutes.
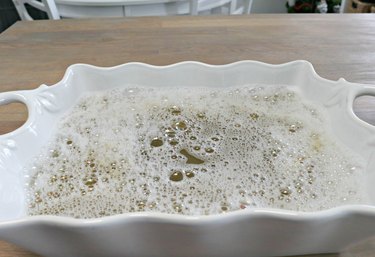
Use a scrub brush to remove loosened grease and food particles.
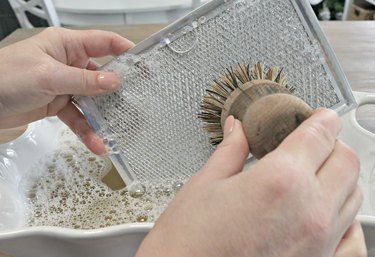
Rinse your filters with warm water, and put them back in place.
How to Clean a Toaster
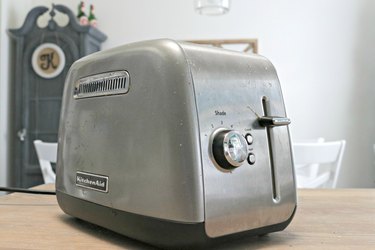
Toasters are one of the most used appliances in our kitchens, and they can get pretty sticky and dirty. The outside of the toaster isn't the only part that needs cleaned though... the inside of your toaster can collect lots of crumbs and burnt pieces of bread, which can become a fire hazard. It's super easy! Clean your toaster at least once per month.
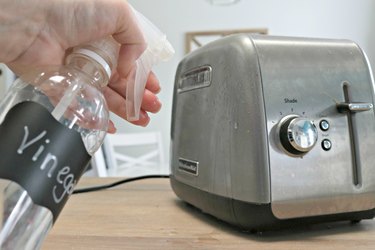
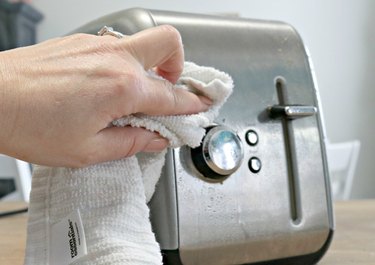
Begin by spraying the outside of the toaster with distilled white vinegar and wipe down with a clean cloth or paper towel.
Next, pull out the crumb drawer at the bottom of the toaster. If you have an older toaster, there may be a latched door instead of a drawer that can be opened. Dispose of any crumbs or burned pieces of bread.
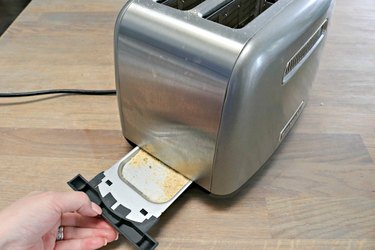
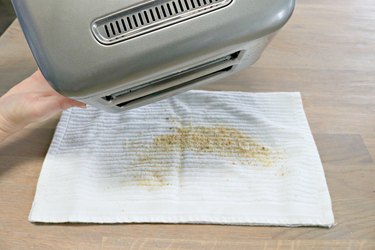
Finally, turn the toaster over and shake out any left over crumbs.
Cleaning your toaster once per month will help extend the life of your toaster and keep it safe for your family to use!