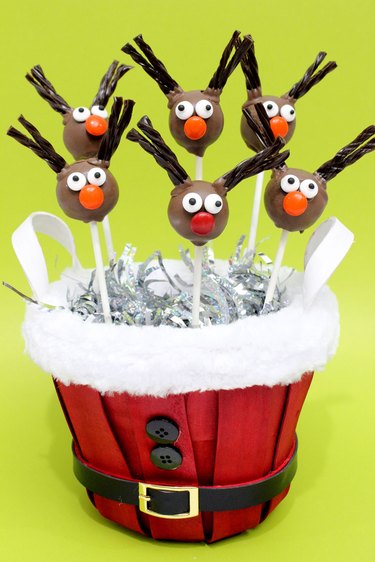
This Christmas, give Santa something different than the same old cookies. When you make these adorable reindeer cake pops, you'll definitely get on the "nice" list. They'll also be a hit at all your holiday gatherings, so make plenty for friends, family and guests. They'll shout out with glee that these cake pops will go down in his-to-ry.
Video of the Day
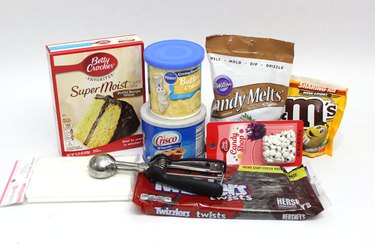
Things You'll Need
Packaged cake mix
Canned frosting
Cookie dough scoop, 1 1/4-inch diameter
Chocolate candy melts
Vegetable shortening
Treat sticks, 6-inch lengths
Sheets of styrofoam, at least 1 inch thick
Candy eyeballs
M&Ms
Chocolate licorice twists
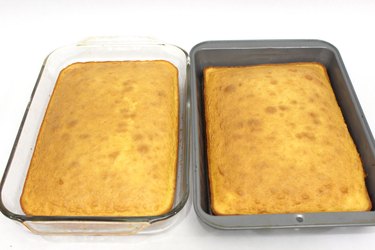
Step 1: Bake the Cake
Bake a cake according to the instructions on the box. Choose any flavor you would like — the color of the cake will be covered up anyway after you dip the cake pops in chocolate. One cake will make about 30 cake pops, so bake two of them if you'd like to make more. Allow the cake to cool for about an hour.
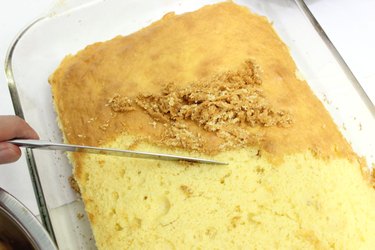
Step 2: Scrape Off the Edges
Use a knife to scrape off the browned edges on the top, sides and bottoms of the cake. Removing the edges will help make your cake pops consistent in texture and color.
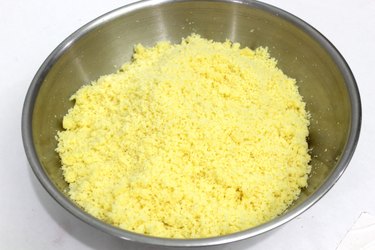
Step 3: Break the Cake Apart
Run the cake through your fingers to crumble it until it has the consistency of moist bread crumbs.
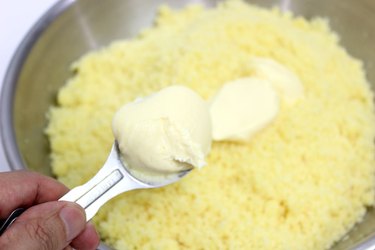
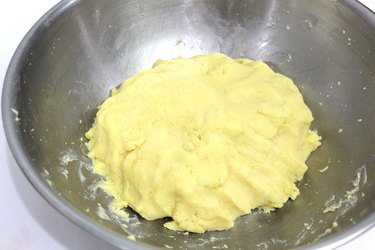
Step 4: Add the Frosting
Add three to four tablespoons of prepackaged canned frosting to the cake crumb. Knead the mixture with your hands, adding additional frosting if necessary, until you have what looks and feels like a mound of cookie dough.
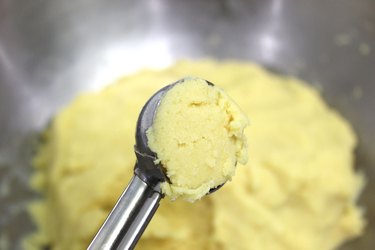
Step 5: Roll Into Balls
Use a 1 1/4-inch diameter scoop, which is normally used for ice cream, cookie dough or melons, to scoop out evenly-sized amounts of the cake mixture.
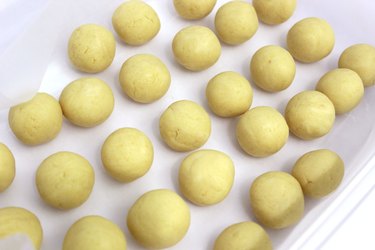
Roll the cake mixture between your hands to form balls. Place them in the freezer for about an hour to harden.
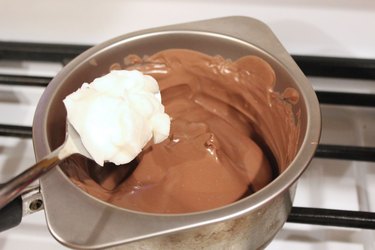
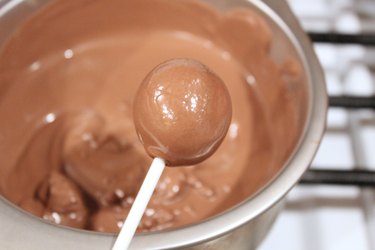
Step 6: Melt the Chocolate
Melt a bag of chocolate candy melts in a double boiler, or microwave it according to the package instructions. Chocolate candy melts, which you can find at the crafts store in the baking aisle, usually come in a light or dark variety. I selected the lighter chocolate, which is closer to the color of real reindeer (or at least that's what I've been told). To thin the chocolate and make it easier to coat, stir in a tablespoon of vegetable shortening.
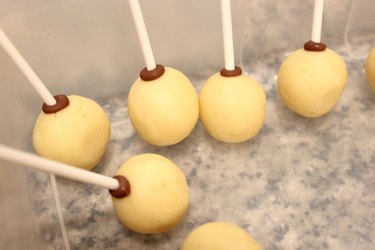
Step 7: Insert the Sticks
Take the rolled up cake balls out of the freezer. Dip about one half inch of the stick in the melted chocolate, and then insert the stick in the cake ball. The chocolate on the stick will act like a glue to lock the cake pop into place. Place the cake pops back in the freezer for about 15 minutes for the chocolate to harden.
Step 8: Dip the Cake Pops
Keep stirring the melted chocolate to give it an even consistency. Dip the cake pop in the chocolate, turning the stick so all sides are coated. Gently tap the stick on the side of the pan to allow extra chocolate to drip off the cake pop.
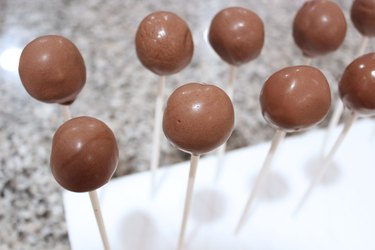
Step 9: Let The Cake Pops Set
Insert the sticks in styrofoam so the cake pops are standing upright. Position the cake pops a few inches apart from each other, as you don't want them touching while they dry. Allow the coating to set for about an hour.
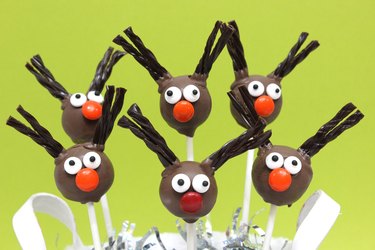
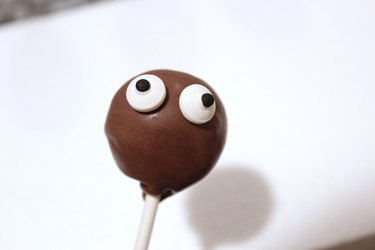
Step 10: Add Facial Features
For eyes, look for small white, round candies like jelly beans. I happened to find candy eyeballs in the baking aisle of my local supermarket. Attach the eyes by dabbing a drop of melted chocolate between the candy and the cake pop with a toothpick. The melted chocolate will act like glue.
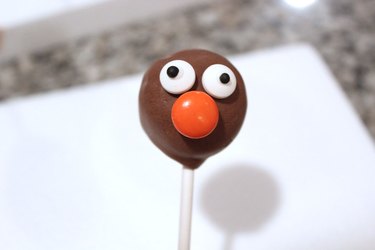
For the nose, use a round M&M. I recommend a brightly colored one instead of brown so that it stands out more. And, of course, you'll want some red noses to make some Rudolphs.
Step 11: Add the Antlers
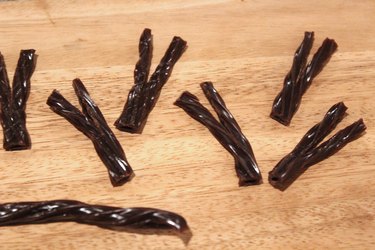
To make the antlers, cut chocolate licorice twists into 2-inch pieces. Then cut a slit half way through each piece. Spread the two halves apart.
Working with one antler at a time, dip the bottom of the antler in the melted chocolate and place it on one side of the reindeer's head. Hold the antler in place until the chocolate sets and the antler no longer moves, about one or two minutes. It helps to be in a cool room. I actually stood in front of the open door of a freezer to help the chocolate harden.
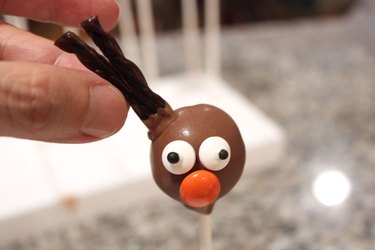
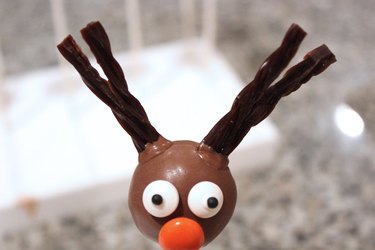
Then repeat with the other antler.
Step 12: Display the Cake Pops
Place a piece of styrofoam in a container, and hide the foam with tinsel or colored tissue paper. Then insert the sticks of the cake pops into the foam.