Halloween is all about transforming yourself into something ghoulish and creepy, which more than likely means putting on makeup, face paint, or fake blood to metamorphose into an otherworldly creature. But when the witching hour comes to a close and it's time to become yourself again, the spooky action doesn't need to end! With these DIY bath bombs filled with creepy crawlies, taking off your special effects will be just as fun as putting them on!
Video of the Day
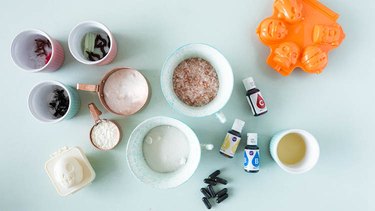
Things You'll Need
1 cup baking soda
1/2 cup citric acid
1/2 cup Epsom salts
1/3 cup cornstarch
5 Tbsp. coconut oil
Food coloring gel
Charcoal tablets
Halloween cake pop molds
Small plastic creepy crawlies
Vaseline or extra oil
Elastic bands (if needed)
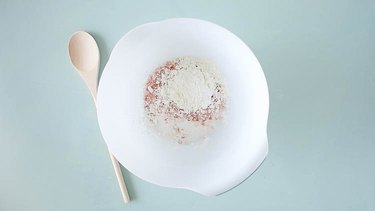
1. Mix the bath bomb base
Add the baking soda, citric acid, Epsom salts, and cornstarch to a bowl and mix it all together. Slowly add the coconut oil while stirring. Keep adding the oil until you have a wet mixture that holds its shape easily.
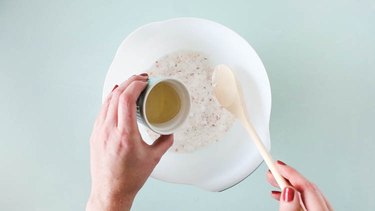
Spoon small amounts of the mixture into individual vessels.
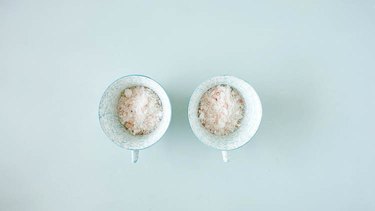
2. Add the color
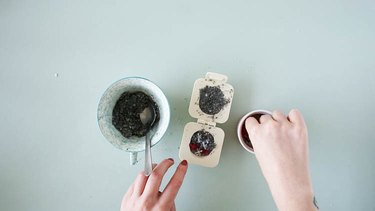
Once you have separated the mixture, you can add some color. I enjoy making my bath bombs in the classic Halloween colors.
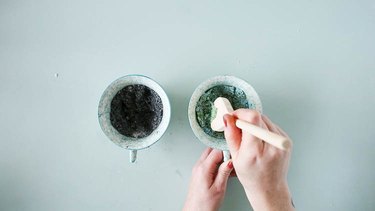
To create a spooky black, I use charcoal. This is not only great for your skin but it also creates a really nice night-black color. Just break open a charcoal tablet and add the contents to the mixture. Stir well until the entire mixture is black.
To create different hues, I use food-coloring gels. They come in a range of colors, or you can even mix your own. Just add a few drops into the mixture and stir until the color is even.
Tip
Use only a few drops of food coloring. It will be diluted in the bathwater and should not stain the tub.
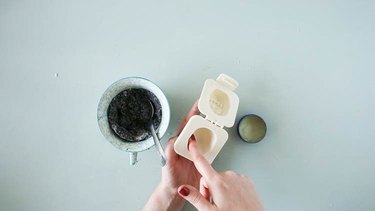
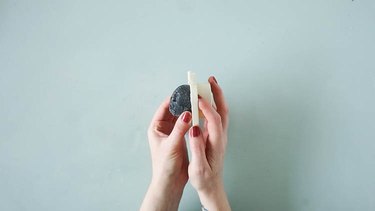
3. Fill the mold
Now you're ready to create some scary bath bombs! First, use Vaseline or oil to coat the inside of the mold. This will make it easier to remove the set bath bomb later.
Fill one side of the mold, pressing in the mixture firmly until you can't put in any more. Half-fill the other side of the mold and then sprinkle in a few plastic bugs and creepy crawlies.
When you're finished filling the mold, press down on both sides firmly and then add one more teaspoon to one side of the mold before closing it. Push the sides together, letting any excess fall out. If your mold doesn't have a clip, hold the sides of the mold together using elastic bands. Put the mold in the refrigerator to set.
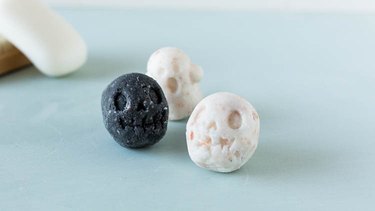
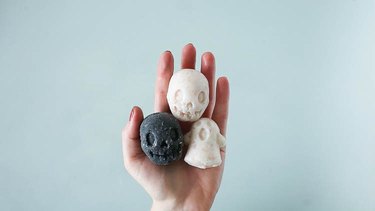
4. Remove the bath bomb
After 24 hours, take the mold out of the fridge. Warm the outside with your hands and then carefully open it, releasing one side of the bath bomb. Gently ease off the other side of the mold.
Tip
If you're finding it difficult to remove the bath bomb from the mold, it can help to tap the back with a spoon.
Keep the bath bomb in a cool, dry location until you're ready to use it. Add it to a warm bath to give someone a spooky surprise!