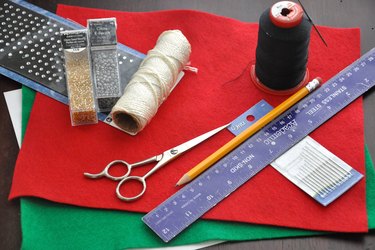
Things You'll Need
Ruler
Pencil
Paper
String
Sewing pins
Sewing scissors
Adhesive tape
Felt (two colors)
Needle
Thread
Jewels
Bell
Pompoms
Fabric glue
If you or your kids are going to a fairy festival, or dressing up for a Halloween costume party or Christmas get-together, an elf hat will add a festive look to everyday clothes or complete a simple costume. With basic hand sewing skills and simple materials, you can make an elf hat to suit the occasion. Make elf hats for children or adults and have fun using a variety of colors and adding different embellishments.
Create a Pattern
Step 1
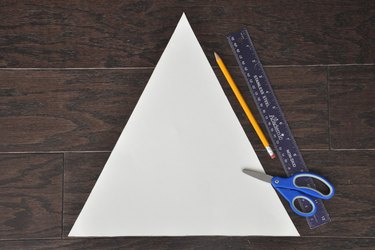
Create a paper pattern for the hat. Measure and draw a triangle 13 inches tall and 13 inches wide using a ruler. Adjust the size as needed to fit a child or adult head. Cut out the triangle.
Video of the Day
Step 2
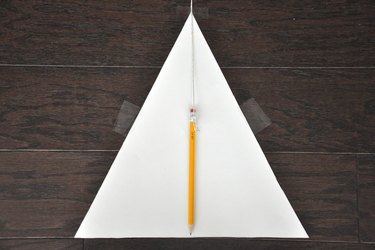
Tie the pencil to a string and hold the string at the top of the triangle so the pencil point reaches the center bottom of the triangle. Tape the string in place on the paper and tape the paper to a table or desk surface.
Step 3
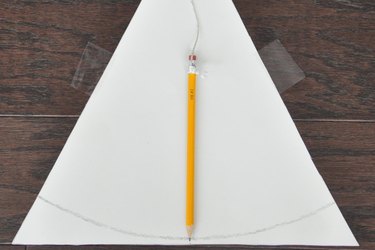
Draw an arc with the pencil from one side of the triangle to the other.
Step 4
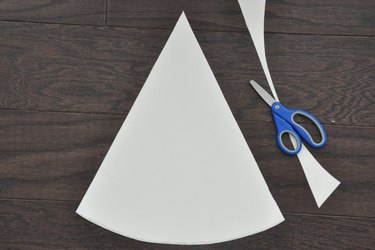
Cut the arc to create the pattern for the hat. It will resemble a slice of pie. This is the basic pattern for the hat.
Make the Hat
Step 1
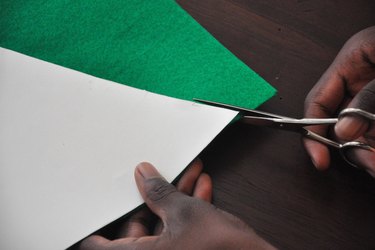
Fold a 22-inch by 14-inch piece of felt in half to create an 11-inch by 14-inch folded piece of fabric. Pin the pattern onto the fabric using sewing pins, with one side of the hat pattern against the fabric fold. Cut out the fabric with sewing scissors.
Step 2
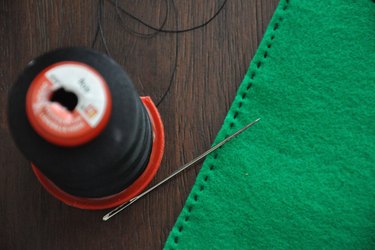
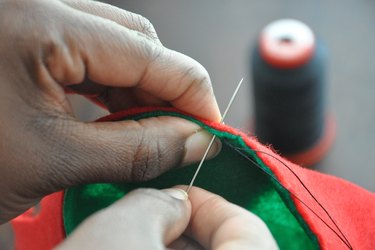
Hand stitch the straight edge of the cut fabric together with coordinating thread and needle using the backstitch or whipstitch. Turn the hat inside out to conceal the stitches. The hat is now cone shaped.
Step 3
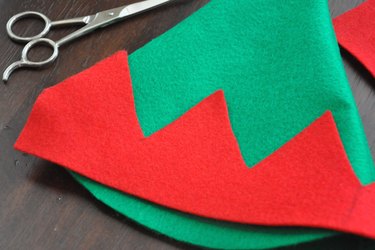
Cut the second color of felt 22 inches long and 2 inches wide to create the band of the hat. Cut one edge in a zigzag design. Adjust the length of the band to the size of the head.
Step 4
Hand-stitch the band around the bottom edge of the hat using a backstitch. Pin the wrong side of the band to the right side of the hat's bottom edge and backstitch the two together. Then fold the band up so that the right side faces out.
Step 5
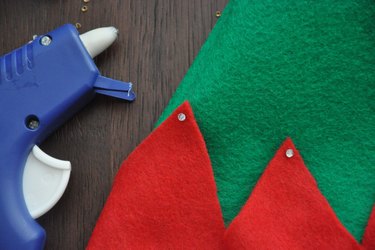
Glue jewels or pompoms to each zigzag tip and a bell or pompom to the top of the hat using fabric glue.
Tip
You can machine stitch or glue the hat together if preferred. For a different look, cut a scalloped edge on the band instead of cutting in a zigzag pattern. For a nature elf, use earthy colors like brown and dark green. Add feathers instead of pompoms and bells.
Video of the Day