Home Sweet Home
Hacks, Tips & Tricks
Squeaky Clean
DIY Decor
Carpentry & Remodeling
Maintenance & Repair
Green Thumb
All Home Sweet Home
Chow Down
Main Dishes
Sweet Treats
Snacks
Copycat Recipes
Drinks & Cocktails
Sides & Appetizers
Veggie Faves
Food Hacks
All Chow Down
Get Crafty
Sew Simple
Fun Crafts
Art Projects
All Get Crafty
Let’s Celebrate
Valentine's Day
St. Patrick's Day
Easter
Mother's Day
Father's Day
4th of July
Back to School
Halloween
Thanksgiving
Christmas
New Year
Weddings
Baby Showers
Birthdays
Parties & Events
Gifts
All Let’s Celebrate
JOIN OUR NEWSLETTER
JOIN OUR NEWSLETTER
Home
Home Sweet Home
Carpentry & Remodeling
Carpentry & Remodeling
By
Damarys Ocaña Perez
Char Miller-King Is Changing Woodworking Perceptions
Home Sweet Home
By
Jill Layton
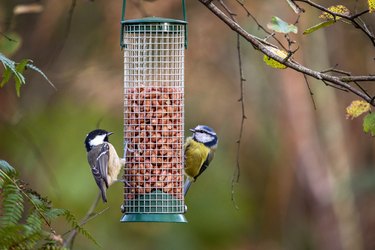
Bird Feeders for Attracting Beautiful Birds to Your Yard
Home Sweet Home
By
Kendall Wenaas
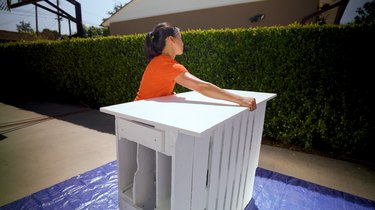
How to Make a DIY Bar for Your Lawn Party
Home Sweet Home
By
Kathryn Walsh
10 Women Woodworkers Who Are Breaking Barriers
Home Sweet Home
By
Fred Decker
10 Smart Ways to Babyproof Your Bathroom
Home Sweet Home
By
Tim and Mary Vidra
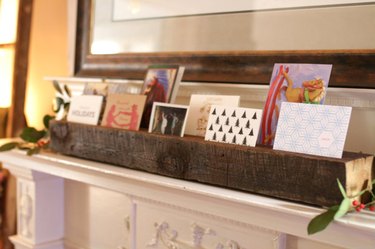
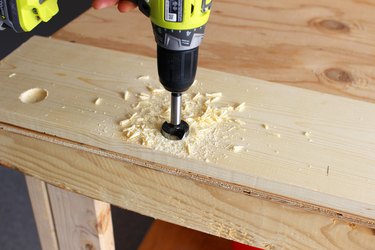
How to Make a Reclaimed Wood Card & Photo Display
Home Sweet Home
By
eHow Team
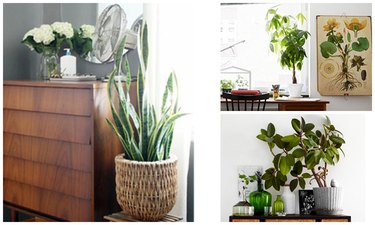
5 Houseplants That Are Easy to Keep Alive
Home Sweet Home
By
Carrie Waller
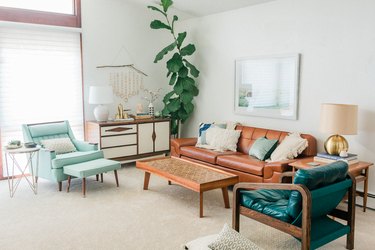
Easy Upgrades to Lighten and Brighten Your Living Space
Home Sweet Home
By
Rachel Metz
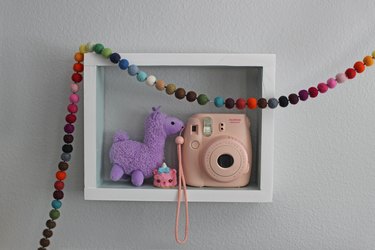
DIY Wall Box Shelf
Home Sweet Home
By
Rachel Metz
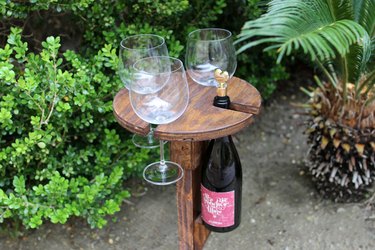
DIY Outdoor Wine Caddy
Home Sweet Home
By
Rachel Metz
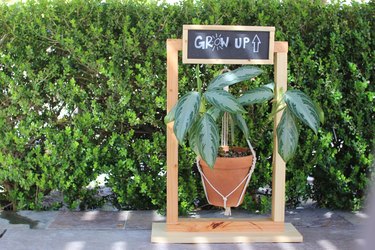
DIY Hanging Planter Sign
Home Sweet Home
By
Miaira Jennings
9 Simple Woodworking Projects That Are Perfect for Beginners
Home Sweet Home
By
Rachel Metz
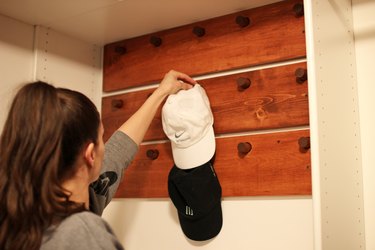
DIY Hat Organizer
Home Sweet Home
By
Rachel Metz
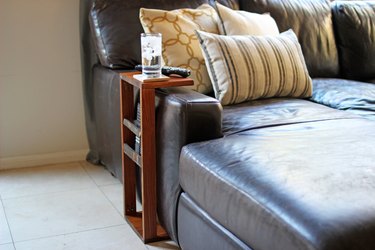
DIY Couch Arm Table
Home Sweet Home
By
Tim and Mary Vidra
Create Your Own Rustic Wall Rack to Display Knives Tutorial
Home Sweet Home
By
Trisha Sprouse
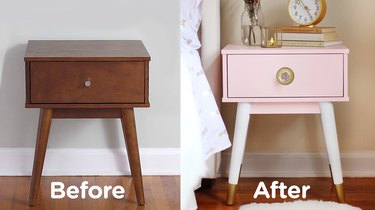
Luxe Nightstand Makeover
Home Sweet Home
By
Maya Marin
Use Paint Sticks to Create a Herringbone Pattern for a Tabletop
Home Sweet Home
By
Jerri Farris
DIY Concrete Block Planter
Home Sweet Home
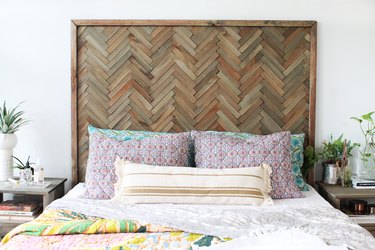
By
Lindsey Crafter
DIY Herringbone Headboard With Wood Shims
Home Sweet Home
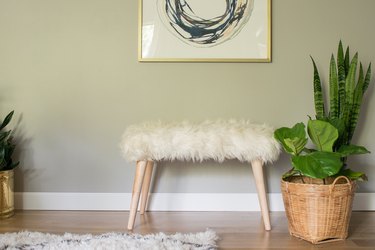
By
Ashley Mayes
How to Upcycle a Shag Rug Into a Chic Bench
Home Sweet Home
By
Charlotte Smith
How to Make a Monogrammed Cheese Board
Home Sweet Home
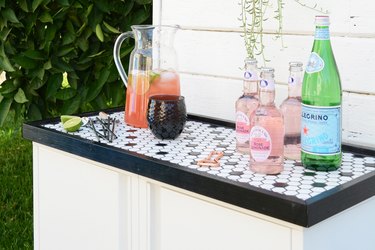
By
Jeran McConnel
Make This Cool Outdoor Buffet (With Removable Tray Top!)
Home Sweet Home
By
Machelle Vanderhoeven and Malissa Levesque
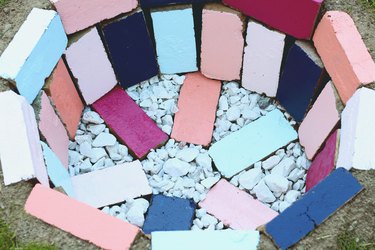
How to Build a Brick Fire Pit in Your Backyard
Home Sweet Home
By
Rachel Pereira
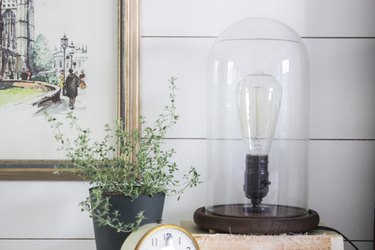
How to Make an Industrial Wooden Lamp
Home Sweet Home
By
Ashley Mayes
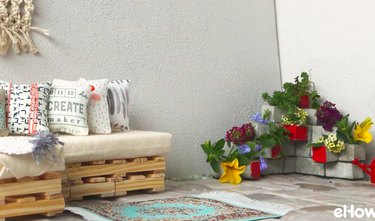
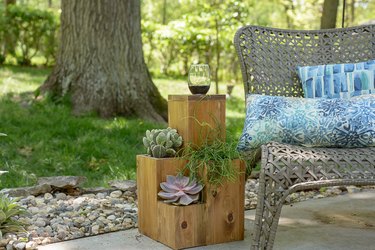
Double-Duty Design: How to Build a Side Table Atop a Small Garden
Home Sweet Home
By
Julia Fain
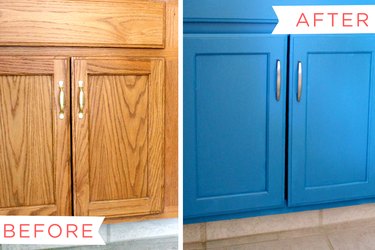
How to Paint a Bathroom Vanity Cabinet
Home Sweet Home
By
Ashley Mayes
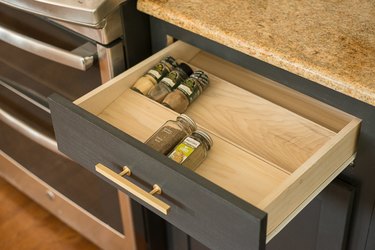
How to Make a Spice Drawer Organizer
Home Sweet Home
By
Caroline Burke
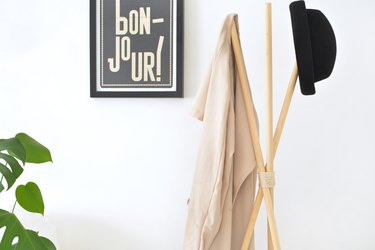
How to Make a Teepee Hat and Coat Rack
Home Sweet Home
By
Carrie Waller
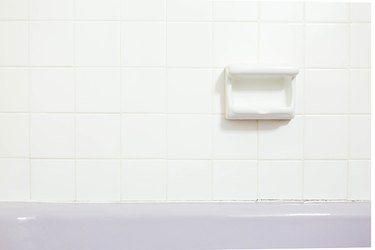
How to Remove Caulk from a Bathtub
Home Sweet Home
By
Carrie Waller
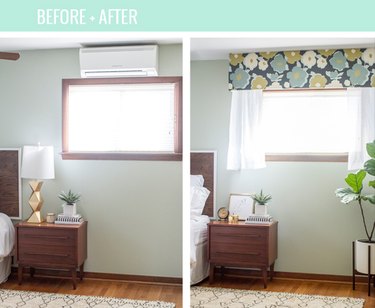
How to Hide an AC Wall Unit With a Cornice Board
Home Sweet Home
By
Carrie Waller
The Best Way to Wrap Up Christmas Lights
Home Sweet Home
By
Jennifer Bridgman
How to Add Custom Wainscoting
Home Sweet Home
By
Ashley Mayes
How to Build Your Own Modern Plank Wall
Home Sweet Home
By
Rachel Pereira
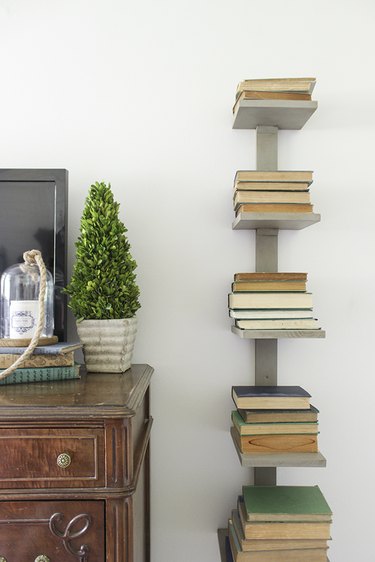
How to Make a Vertical Bookshelf
Home Sweet Home
By
Carrie Waller
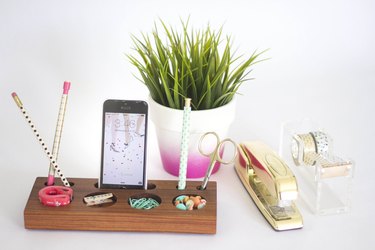
How to Make a Modern Desk Organizer From a Block of Wood
Home Sweet Home
By
Sarah Dorsey
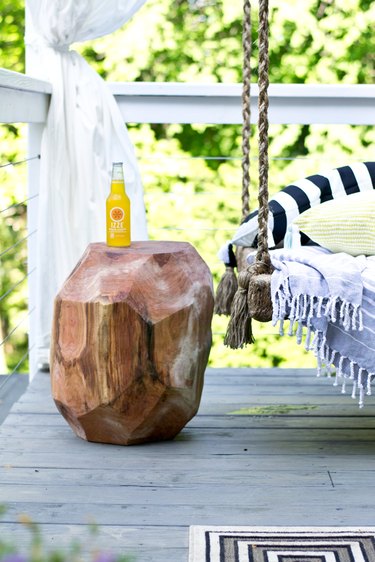
How to Make a Geometric Log Side Table for Your Patio
Home Sweet Home
1
2
3
4
5
>
Report an Issue
Contact*:
Severity*:
High
Normal
Low
Description*:
Screenshot loading...
Cancel
Submit