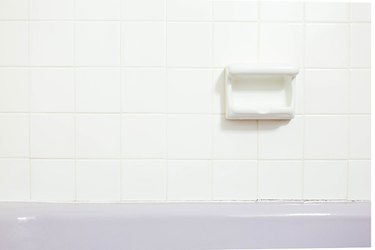
When you start to see small bits of caulk peeling away from the seam where the wall meets your bathtub, or—worse still—black spots indicating mold or mildew buildup, it's time to remove the old caulk and lay a new line down to ensure a water-tight seal. Left unaddressed, water can seep into the wall behind the tile, leading to serious wood rot, softened backer boards and ruined tile installation, and hundreds of dollars in repair costs. Read on for the step-by-step instructions you'll need to tackle your next caulk removal project.
Video of the Day
Things You'll Need
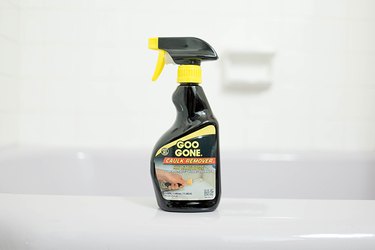
Caulk remover chemical
Rubber glovers
Eye protection
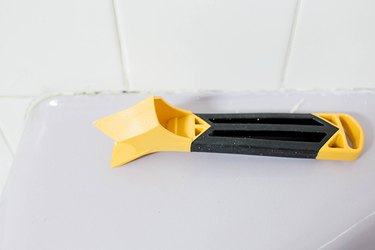
Caulk remover tool
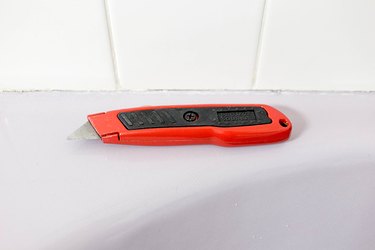
Utility knife
Shop vacuum
Warning
Be sure to use eye protection and rubber gloves when using caulk remover products. Most contain acetate and benzyl alcohol, which are irritants to skin and eyes. They are also flammable, so don't use them near any sources of heat or flame. Always ventilate the area when using caulk remover chemicals.
Step 1: Spray the Caulk with a Remover Chemical
If the caulk is loose or brittle, remove as much as you can with a utility knife or caulk removal tool before using the remover solvent. These products can be messy to use, so removing as much caulk as possible first will minimize the mess. Spray a steady line of caulk remover chemical along the line of cracked caulk you plan to replace. Follow the directions on your bottle for specific wait times and precautions, but you will typically want to leave the chemical to work for five minutes before moving on to Step 2.
Video of the Day
Step 2: Scrape Away the Old Caulk
Use a caulk removal tool to scrape out the old line of caulk in small pieces. These types of tools are specifically designed to get behind and under the old caulk line to make removal easier.
Tip
Cover the bottom of the tub with newspaper before this step t keep pieces of old caulk from falling down the drain.
Step 3: Cut Out Any Remaining Caulk with a Utility Knife
Use a sharp utility knife to slice through and remove any hard-to-remove pieces of caulk. Try scouring the middle, top and bottom of the stuck caulk line, and then scrape it out using the utility knife or the caulk removal tool used in Step 2. Be careful when using a utility knife, especially on fiberglass tubs, as you can easily scratch them.
Step 4: Vacuum Up The Debris
Use a shop vacuum rated for water usage to suck up the discarded caulk and any other dust or debris that may have collected in the bathtub or on the floor of the bathroom. Empty the shop vacuum and dispose of the refuse quickly to eliminate fumes and odor from the chemicals. Once the work area is clean of debris and old caulk, you're ready to move on to adding fresh caulk to your bathtub!
