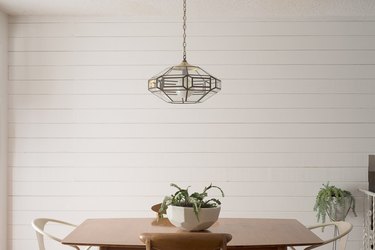
You might be surprised to learn how easy it is to convert an average wall into the focal point of your room. This simple guide will help you add visual appeal to one of your walls by covering it with wood planks. We bet it's easier than you think.
Things You'll Need
Stud finder
1 x 6 x 12 tongue and groove planks (21)
Measuring tape
Miter saw
Air compressor
Nail gun
2-inch finish nails
Jig saw
Circular saw
Wood filler
Sanding block
Paintable caulk and caulking gun
High-hiding primer
Paint
Paint brush
Paint roller
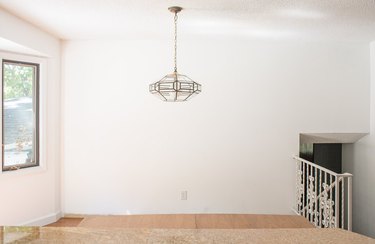
Step 1: Prepare Wall for Planking
Clear the wall and the space around it to prepare for planks. Take off electrical covers and anything else that is adhered to the wall.
Video of the Day
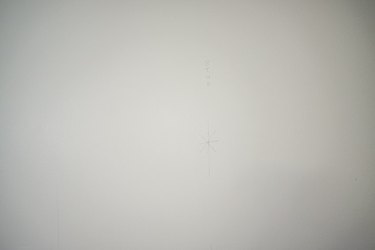
Step 2: Mark the Studs
Using a stud finder, mark where the studs are across the whole wall.
Step 3: Measure the Wall and Plan the Plank Cuts
Measure your wall and decide how to best fit your planks. This particular wall is 14 feet by 8 feet. Each plank is 6 inches by 12 feet.
At our local big box store, they sell 8 or 12-foot lengths. The best option for this wall was to use the full 12-foot board and cut a 2-foot length to finish each row. A good approach is to draw out what the planks would look like on a piece of paper. To help make your decision, compare the options you're considering. It will look best to have any seams alternate on the wall.
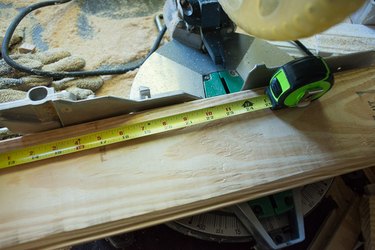
Step 4: Cut Planks
Cut your boards using the miter saw.
Step 5: Level Your Planks
Start at the bottom of the wall with a 12-foot plank. Place the first plank on the far left side of the wall on the floor with the smooth surface out. Use a level to check to see if the board is level when it's sitting on the floor. If level, continue to step 6. If it's not level, use a shim to make it level before proceeding.
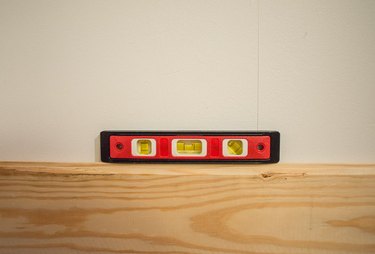
Tip
If you get your first board level, then your following boards should be level throughout this whole process.
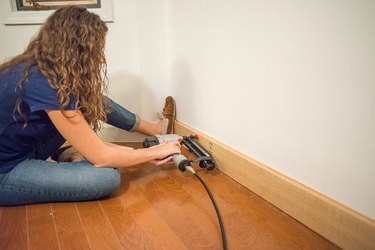
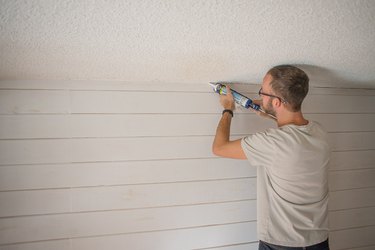
Step 6: Attach the Planks
Use an air compressor and nail gun to nail in your board. You will need to apply pressure to the board so that each nail goes in well. Place two nails in the board at every other stud.
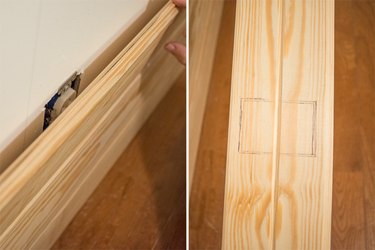
Step 7: Cut Around All Electrical Outlets
When you come across an electrical outlet, you will need to place an electrical extender on the outlet to make it come out further from the wall. Once that has been done, trace the outlet box on the back of the plank where it's going to fit on the wall. Use a jigsaw to cut your template out of the board.
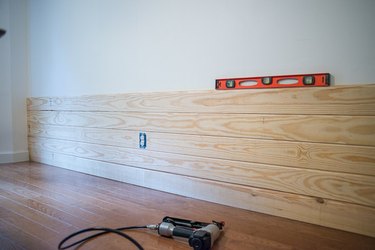
Step 8: Continue Adding Planks
Repeat steps six and seven to continue filling in the wall.
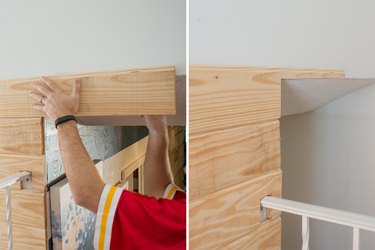
Step 9: Address Other Obstructions
If you have other obstructions (such as a staircase or railing), then you will need to make a template for each one and use a jigsaw to cut the pattern out. Keep in mind, that the seams between the boards need to be straightly aligned. For some areas (like the top of the staircase pictured below), it might be easiest to place the next plank above and then fill back in afterwards. This will help make sure you have a straight seam.
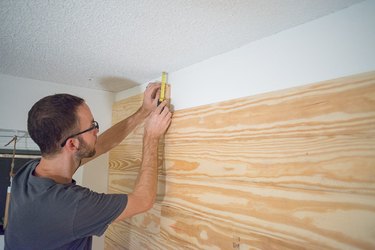
Step 10: Finish Adding the Planks
Keep adding your planks, making sure to keep up with your original pattern, until you get to the top of your wall. More than likely, the boards will not fit exactly. In this case, measure what the distance is between the top board and the ceiling. Use that measurement to cut your board to size using a circular saw. Once cut, nail in the top boards.
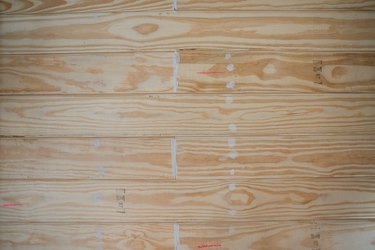
Step 11: Fill the Nail Holes
Using your finger and wood filler, fill in the nail holes, blemishes and seams (if you needed two boards to complete one row on your wall) in the boards. Let the filler dry. Once dry, sand to get a smooth finish and repeat filling and sanding as necessary.
Step 12: Prime
Prime your wall using a high-hiding primer. Make sure to not overcoat your brush, because you want to be able to see the seams in the wood. Once the wall has had two coats, look back over the wall for imperfections. Go back over the imperfections with wood filler. Let the filler dry and then sand.
Step 13: Caulk
Use interior paintable caulk to caulk the edges of your wall and the top where the board meets the ceiling. This gives your wall a more finished look.
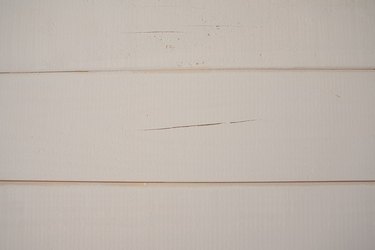
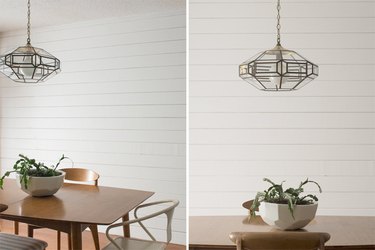
Step 14: Paint
Pick your paint color and paint the boards to finish.
Video of the Day