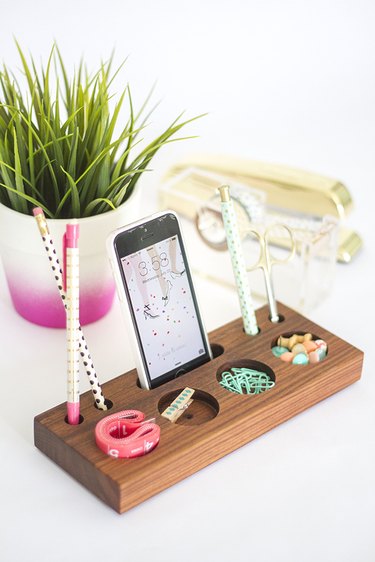
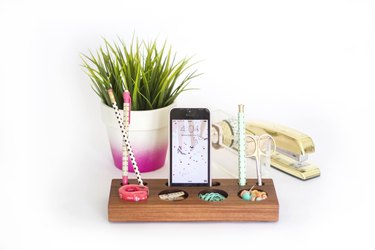
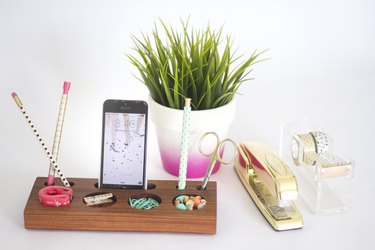
Tackle your next desktop office organization project by transforming a wooden plank into a custom desk caddy. The process is simplified with a handy printable measuring guide, so all you have to do to start is mark your holes and drill them with a drill press. After completing just a couple of finishing steps, you're done and ready to put your go-to office supplies in order — there's even a spot for your smartphone.
Video of the Day
Things You'll Need
9-by-3-1/2-by-1-inch precut wooden plank
Ruler
Awl
Drill press
Metal clamp
1/2-inch Forstner bit
5/8-inch Forstner bit
1-5/8-inch Forstner bit
Socket chisel
Wooden mallet
Rubber gloves
Danish oil in natural finish
1-inch paintbrush
Steel wool grade #0000
Microfiber cloth
1-inch rubber feet, 4
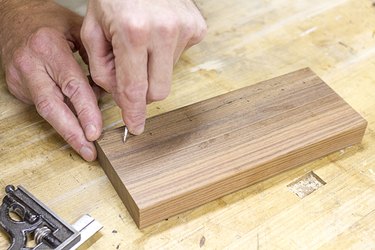
Step 1: Mark the Holes
Use a pencil and ruler to lay out the design of your caddy. The printable measuring guide will help you mark the holes accurately across the wooden plank.
Video of the Day

Tip
Measure from both the top and the sides for each mark on the wood, creating an "X" that marks the spot. This ensures accuracy in cuts later on.
Step 2: Mark With an Awl
Go back over the wooden plank and make a light indentation in the center of each of the "X" marks with an awl. This will help the Forstner bit find the mark more easily and more accurately in the next step.
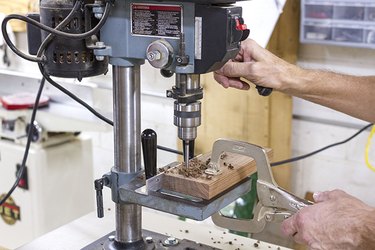
Step 3: Drill the Holes
Lay the wooden plank on the platform of a drill press with the marks facing up. Outfit the drill press with a 1/2-inch Forstner bit, and set the depth of the bit to go into the wood at a 7/8-inch depth. Line the plank up under the bit with the first hole directly under the bit. Clamp the plank in place and drill the first of four pencil holes in the desk caddy.
When finished with the first hole, unclamp the plank, realign the next hole under the bit, re-clamp it into place and drill the hole. Repeat the steps across all four pencil holes.
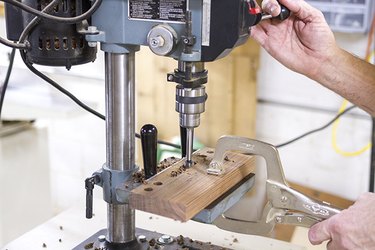
Step 4: Drill the Phone Slot
Remove the 1/2-inch Forstner bit and add a 5/8-inch Forstner bit in its place. Do not change the 7/8-inch depth. Align the first of the two holes on either end of the phone slot with the bit, clamp it into place and drill into the wood. Next, realign the plank so that the bit is over the second marked hole, and drill into place.
To finish, realign the plank, clamp it into place and drill out concentric and overlapping holes with the drill press. Drill out as much of the slot as you can; five or six holes will be necessary to complete it. You'll chisel out the rest of the slot by hand in a later step.
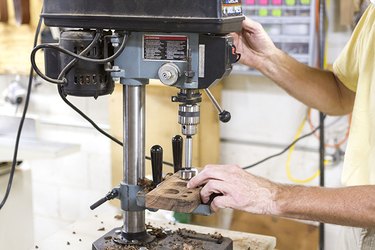
Step 5: Drill Cubby Holes
Switch out the 5/8-inch Forstner bit for a large 1 5/8-inch Forstner bit, and reset the bit to go into the wood at a 1/2-inch depth. Align the plank on the drill press platform, setting the first of four holes directly beneath the bit, and clamp it into place. Drill the hole, unclamp the plank, realign it, re-clamp it into place and drill the remaining three holes in the same fashion.
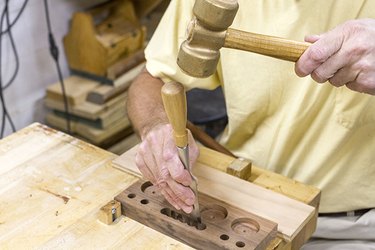
Step 6: Chisel Out the Phone Slot
Remove the plank from the drill press platform and set it on a flat surface, clamping it into place using a workbench clamp or the same type of clamp used to hold the wood in place on the drill press. Align a sharpened socket chisel along the outside edge of the phone slot and carefully hammer the end of the chisel with a wooden mallet. Continue moving the chisel and hammering out the remaining excess wood from the phone slot.
Tip
You also can use the chisel to even out the bottom of the slot and interior edges. For this detail work, you will slowly guide the chisel with your hands instead of a mallet to create an even finish.
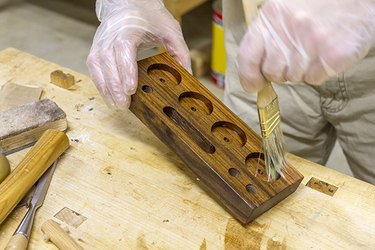
Step 7: Add a Clear Coat
Dip a 1-inch paintbrush into natural finish Danish oil, and brush one layer onto all of the interior, exterior, side, top and bottom surfaces of the finished caddy. Allow it to dry for 24 hours before handling. Run a piece of grade #0000 steel wool over the surface of the dried caddy, and then buff it with a microfiber cloth until the finish shines.
Warning
Wear rubber gloves to avoid getting the oil on your hands, and allow the brush or any rags you may use to air dry before disposing properly.
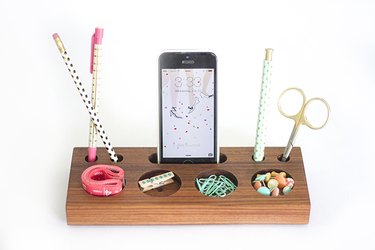
Step 8: Fill the Caddy
Add rubber feet to the bottom of the finished caddy, one to each of the four underside corners, and then fill the organizer with your office supplies and smartphone.