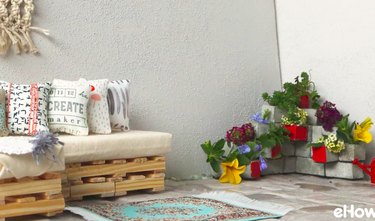
A concrete block planter is easy to build — and inexpensive, too. Although we created a corner planter, you can configure the blocks in any shape that works for your space. In a single afternoon, you can spark up your space with blooming color.
Things You'll Need
19 concrete blocks
Masonry chisel & hammer
Landscape fabric
Construction adhesive
Paint & paint brush
Window screen
Potting soil
Plants
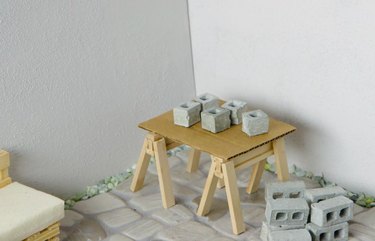
Step 1: Prepare the blocks
Score a line all the way around a block, tapping lightly on a masonry chisel with a hammer. Lay the block flat, put the chisel onto the scored line, and firmly strike the chisel with the hammer. Repeat to create five half blocks.
Tip
You may be able to purchase half blocks. If so, you need 16 full blocks and five half blocks for this planter.
Step 2: Prepare blocks for planting
Cut landscape fabric to fit each block. Apply construction adhesive to the edges of each block and secure the landscape fabric.

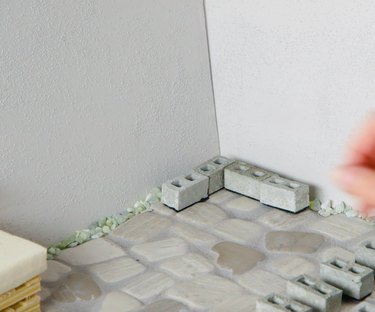
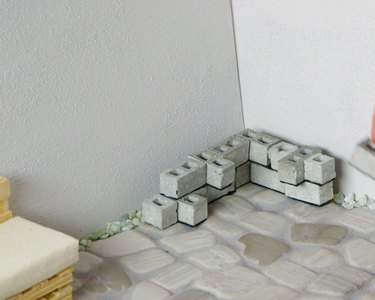
Step 3: Stack the blocks
Set out the first layer of blocks, starting with a half block, then a full block facing forward. Add another half block, then two more full blocks. At the corner, set out two full blocks.
Starting at the corner, place two blocks in each direction.
On the left side, add a half block, then a full block facing forward, followed by another half block.
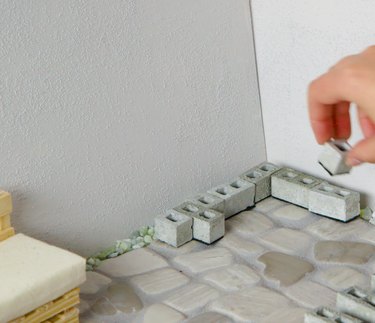
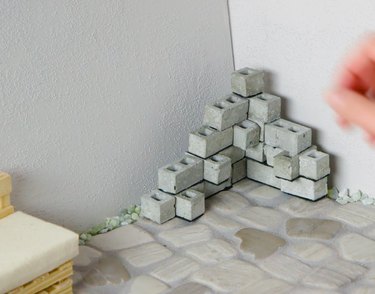
Begin the second layer with one half block, a full block set facing forward, and another half block, and a full block.
At the corner, place one full block, another facing forward, then one more full block parallel with the wall.
For the third layer, set a full block over the front-facing block. Add two full blocks — one facing forward and the other forming the corner. Add one more full block, covering the front-facing block near the end of this row.

Place two full blocks at the corner to create the fourth layer, then top the structure with a half block.
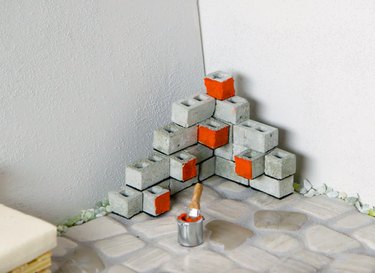
Step 4: Paint the blocks
Paint the forward-facing blocks as desired.
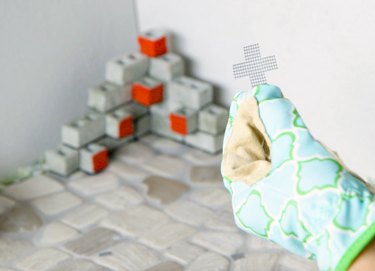
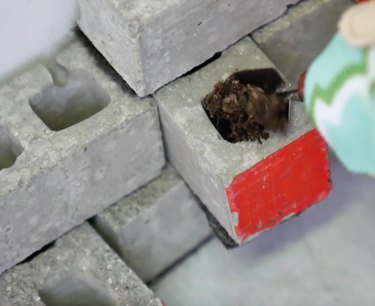
Step 5: Prepare planter
Cut square of window screen to fit into the cores of the blocks to be planted. Trim the squares into "t" shapes. Fold each piece of screen and push it down into the open core.
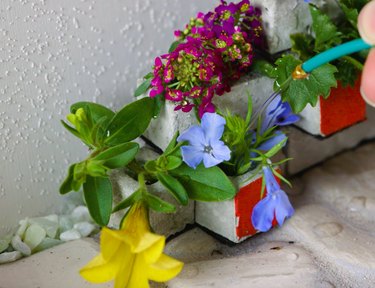
Add soil to the prepared openings.
Add plants and water thoroughly.

Video of the Day